How to Build a Corporate Training Presentation in 6 Steps with Zendeck
Let's be real: you didn't get into HR or L&D so you could spend your Thursday afternoon nudging a text box four pixels to the left. Yet that's the ritual most training teams live with every week — a draft outline in one hand, a 500-slide template graveyard in the other, and a brand manager checking whether the logo is exactly the right shade of blue.
That ritual is finally dying. The biggest time-killer in corporate training isn't writing content — it's fighting the slide layout. Teams that switch to AI-assisted production are cutting deck-building time from days to hours, and they're doing it without losing the branded, polished look that makes training feel like it came from your company rather than from a random template farm.
Here's the six-step workflow we use with our own training content, built around Zendeck. It handles the repetitive parts — layout, branding, distribution — so you can focus on the actual teaching.
01. Why the blank-slide ritual is wasting your team's week
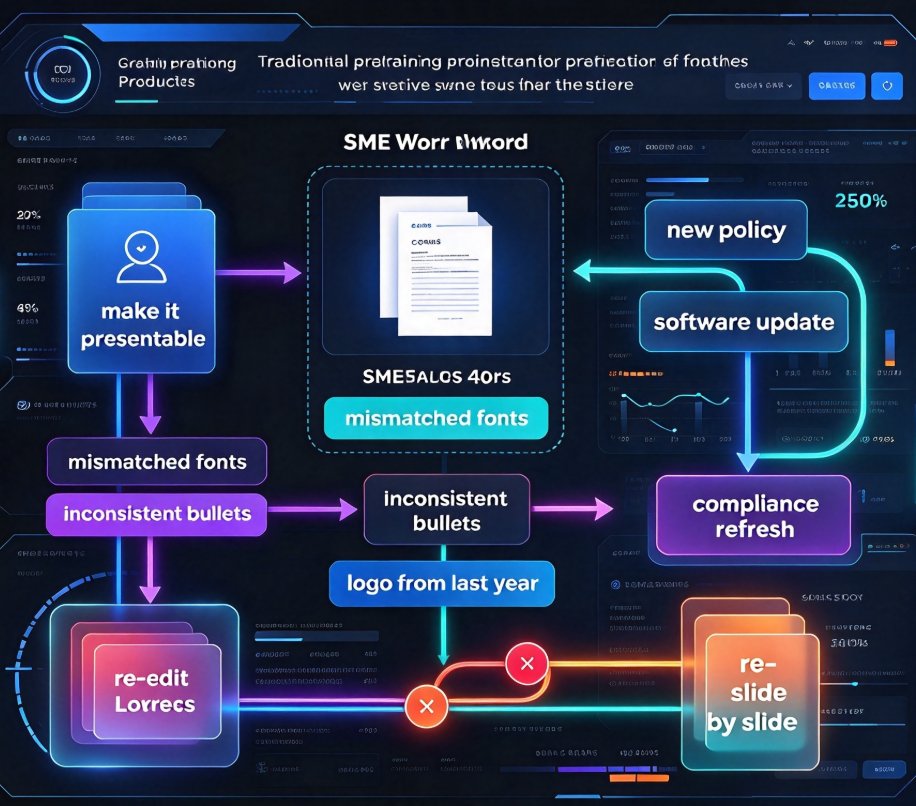
Every corporate training project starts the same way: an SME hands you a Word document of content, and someone volunteers to "make it presentable." Three hours later, you have 40 slides with mismatched fonts, inconsistent bullets, and a logo copy-pasted from last year's Q3 deck.
The pain isn't a lack of effort. It's that every deck is rebuilt from zero, and none of that work carries over to the next one. Training content changes constantly — a new policy, a software update, a compliance refresh — and with the traditional approach, each change means re-editing slide by slide, deck by deck.
The fix is to flip the production model: start from the content outline, let the tool handle layout and branding, and keep every step repeatable. That's exactly what the workflow below does.
02. Step 1 — Import your course outline, skip the blank canvas
Stop opening an empty PowerPoint and asking "what do I put on this slide?" Start with the content you already own.
In Zendeck, you import your course outline as a Word document, Markdown, or plain text, and the tool generates a structured deck from it — headings become slide titles, paragraphs become bullet points, and the hierarchy of your material stays intact. You're not transcribing; you're converting.
The result: your SME's document becomes a draft deck in minutes, not hours. You're not starting from zero; you're editing a structure that's already 80% done. That's the difference between building a deck and assembling one.
If you're wondering where this whole "content-in, deck-out" trend is heading, our deep dive on AI deck generation replacing traditional PPT covers why the blank-canvas era is ending.
03. Step 2 — Apply a branded template so every deck looks like you
This is where most corporate decks fall apart. An SME creates slides in their own style, an intern "fixes" the fonts, and the final version has three different logo placements. Learners notice. Brand trust erodes.
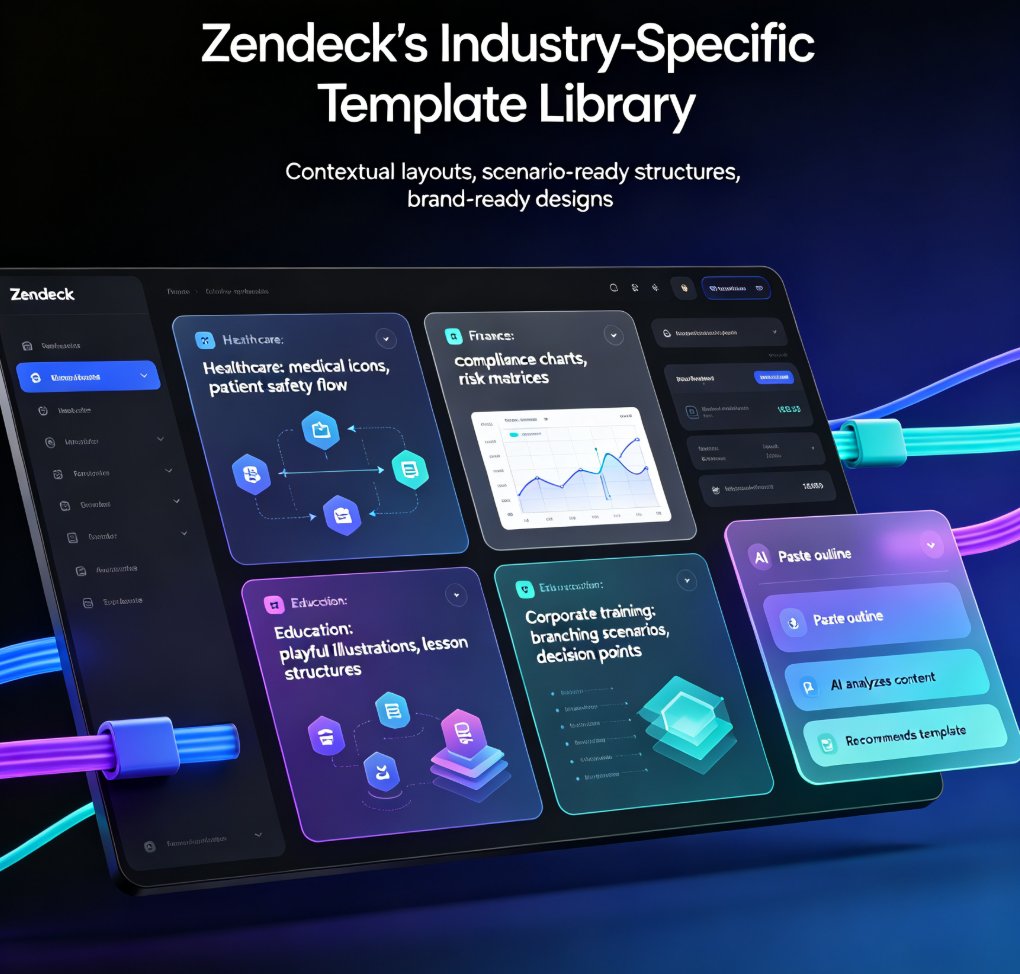
Zendeck's template library includes your company's branded templates — logo, color palette, approved fonts — applied with one click. Instead of manually re-coloring every slide, you pick your brand kit and the entire deck reskins automatically. Every future deck inherits the same treatment, which is the only way consistency actually scales.
Branding consistency is what separates a "deck" from actual company training material. If your learners can't tell who made it, they won't trust it. For a deeper look at keeping every deck on-brand, check out 5 ways to create a custom brand kit in Zendeck.
04. Step 3 — Let smart layout fix the visual mess for you
Here's the part that used to eat the most clock: aligning text boxes, resizing images, fixing spacing, matching fonts. Zendeck's smart layout handles it automatically — it unifies fonts, spacing, and structure across the whole deck, so slide 12 doesn't look like it was made by a different person than slide 3.
Smart layout is the difference between "I made some slides" and "this looks professionally produced." And the time savings are real: we broke down exactly how in our piece on 5 ways Zendeck smart layout cuts presentation design time.
A friend's tip: don't hand-tweak every slide after the layout runs. Review the deck once, spot-fix the one or two slides that genuinely need a human eye, and move on. The 80/20 rule applies hard here.
05. Step 4 — Pull charts and icons from the asset library
Training decks die when they're just walls of text. But hunting for the right stock icon is its own time sink, and most free icon sites look, well, free. The result is a deck that mixes five illustration styles and still fails to explain the process it's supposed to teach.
Zendeck's asset library gives you icons, charts, and illustrations that match the deck's visual style — no more mixing incompatible art in one presentation. Need an interactive chart or a diagram to explain a workflow? The library integrates with your slides so you add the right visuals without leaving the editor.
If your team regularly turns data into training slides, our guide to adding interactive charts from Zendeck's asset library walks through it step by step.
06. Step 5 — Add narration and turn slides into a micro-course
Not everyone attends live training. Remote employees, new hires on different schedules, field teams — they all need the same content, without the meeting.
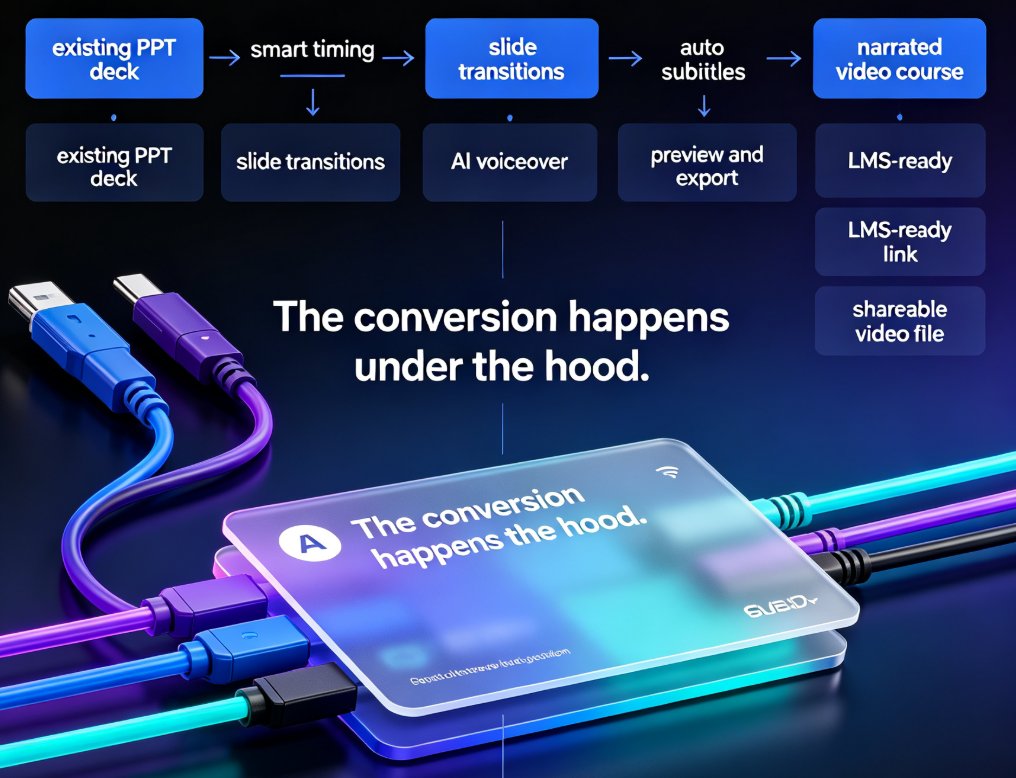
This is where a training deck stops being a slide file and becomes a real learning asset. Zendeck's PPT-to-video feature adds narration to your slides and turns the deck into a micro-course your team can watch on demand. You can add voiceover and subtitles directly, which keeps the video accessible for people who watch without sound or on a noisy commute.
Turning a slide deck into a narrated video is how one training session becomes an evergreen course. For the broader picture of where this is heading, read our analysis of AI-generated video decks replacing traditional corporate training, or dive straight into the PPT-to-video workflow.
07. Step 6 — Share, collaborate, and ship to your LMS
The final step — distribution — is where teams traditionally lose another two days. Emailing PPT attachments creates a version-control nightmare: "did you get the latest one with the fixed slide 12?"
Zendeck handles sharing and collaboration from the editor. You can co-edit with colleagues in real time, share a link for review, and keep every version in one place instead of scattered across inboxes. If you need to push the content into your learning management system, you can export it in a format your LMS actually accepts.
Version control isn't a tech feature anymore — it's the reason training decks actually get updated when something changes. If a policy shifts, you update the deck once and the link stays current. No more re-sending files, no more four versions floating around.
For a focused look at keeping collaboration and sharing from devolving into chaos, see our article on AI presentation collaboration and secure sharing in 2026.
08. Three pitfalls that still trip up training teams
Even with the right tool, teams make the same mistakes over and over:
-
Treating every deck as a one-off. You build a deck, ship it, and forget the system that produced it. The six steps above only pay off if you repeat them for every project. Make them a checklist, not a one-time experiment.
-
Ignoring accessibility. If your training includes subtitles, alt text, and readable contrast, it works for everyone — including learners with disabilities and people watching without sound. It's not a compliance checkbox; it's reach. Our piece on accessible e-learning with Zendeck auto captions has the details.
-
No review policy. When everyone on the team can edit freely, brand drift creeps in. Decide who owns the final version, set a light review step, and let collaboration happen in the editor rather than across email threads.
If any of these sound familiar, you're not alone — every training team we talk to has hit at least one of them. The workflow handles the mechanics; the habits handle the rest.
09. The numbers: Zendeck vs the old way
We get asked constantly: how much time does this actually save? It varies by team, but a typical comparison looks like this:
A one-time investment in this workflow saves days across every future training project. Here's the breakdown in table form:
| Task | Old way (manual) | Zendeck way |
|---|---|---|
| Turn outline into slides | 3–5 hrs of manual layout | ~10 min, auto-structured |
| Apply branding/logo | 1–2 hrs per deck | One click, one reskin |
| Find icons & charts | 1 hr hunting stock sites | Pull from asset library |
| Create video version | Hire studio, days of work | PPT-to-video, same day |
| Share & update | Email attachments, version chaos | Link sharing, auto-sync |
The catch: the workflow only works if you commit to it. Try it on your next low-stakes training deck first, get comfortable, then roll it out across the whole L&D team. Once the repeatable system is in place, the blank-slide ritual is gone for good.
FAQ
Can we import our existing Word outline into Zendeck?
Yes. Zendeck accepts Word documents, Markdown, and plain text. Paste or upload the outline, and it becomes a structured deck — headings become slide titles and paragraphs become content blocks. You edit from there instead of starting from a blank slide.
How do we keep the company logo and brand colors consistent in every deck?
Apply your branded template once. Zendeck reskins the entire deck with your logo, colors, and approved fonts in a single click, so every slide matches. No more manual color-picking across 40 slides.
Can we turn the training deck into a video for remote employees?
Yes. Zendeck's PPT-to-video feature adds narration and subtitles, converting the deck into a narrated micro-course that remote learners can watch on demand — no studio needed.
How do we share training decks with a distributed team without version chaos?
Share a secure link and invite teammates to co-edit in real time, keeping all versions in one place. When content changes, you update the deck once and everyone sees the new version — no more emailing attachments.
Do we need design skills to get a good result?
No. Smart layout, the asset library, and branded templates handle the visual layer. You focus on the content and the teaching; the tool produces the polished, on-brand look.
That's the workflow. Six steps, one repeatable system. Next time an SME hands you a Word document and says "make a training," you'll know exactly what to do — import, brand, layout, visualize, narrate, ship. The days of the blank-slide ritual are over, and honestly? Good riddance.