How to Build a Custom Branded Template in 5 Steps with Zendeck
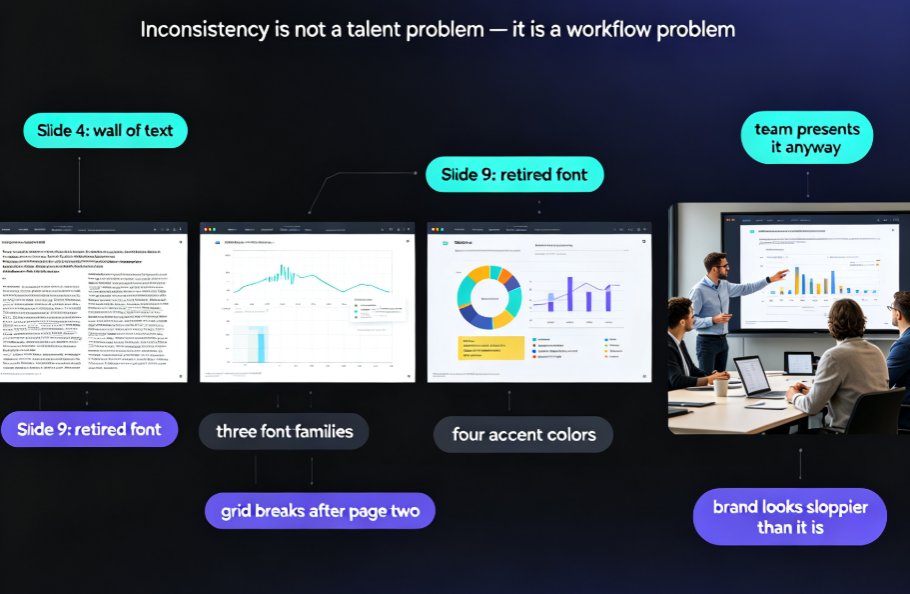
You've been there. You open your presentation tool, scroll through fifty templates, pick one that sort of matches your brand, and spend the next hour fixing colors, swapping fonts, and nudging logos back into place. Then next week, you do it all over again. Different deck, same fight.
I've watched training managers, educators, and marketing leads burn entire afternoons on this. They're not bad at design — they're just working without a system. Every deck is treated like a one-off project, so every deck starts from zero.
Here's the fix: build a custom branded template once, and let every future deck inherit your brand automatically. In this guide, I'll walk you through building your own branded template in Zendeck in five steps. No design background required. By the end, you'll have a reusable foundation that keeps your colors, fonts, and layouts locked in — so you can spend your time on content, not formatting.
Why a Custom Template Beats Picking One Off the Shelf
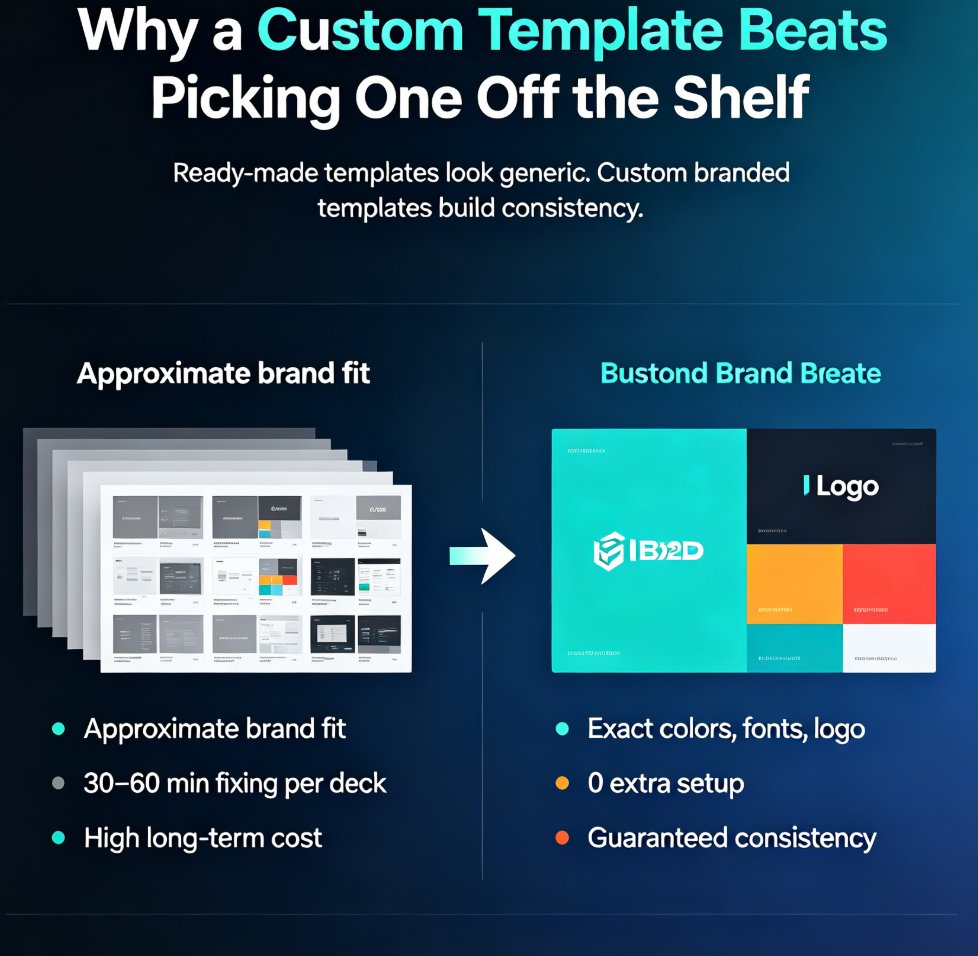
Let's be real: ready-made templates are fine for a quick internal update. But if you're creating decks for clients, students, or leadership, off-the-shelf templates have a ceiling. They're designed to look generic so they appeal to everyone — which means they match no one.
A custom branded template is the single highest-leverage asset a team can build for its presentations. You invest once, and every deck you produce afterward inherits the same visual identity without any extra effort.
Here's the honest comparison:
| Factor | Ready-made template | Custom branded template |
|---|---|---|
| Brand fit | Approximate at best | Exact — your colors, fonts, logo |
| Setup time per deck | 30–60 min of fixing | 0 — it's already correct |
| Consistency across team | Depends on each person | Guaranteed by the system |
| Updates | Re-edit every deck | Change once, applies everywhere |
| Learning curve | Low | Low (one-time setup) |
| Long-term cost | High (repeated fixes) | Low (amortized over every deck) |
The math is simple: if you make ten decks a year and save even 30 minutes per deck, that's five hours back — every year, forever. For a team of five, that's a full work week.
01 Define Your Brand Foundation Before You Touch a Single Slide
Most people start by opening the tool and fiddling with layouts. That's backwards. The first step happens before you create anything: you need to lock down your brand's visual DNA.
Ask yourself three questions:
- What are your exact brand colors? Not "blue" — the hex codes. If you don't have them, grab them from your logo or website CSS. Write down a primary color, a secondary color, and a neutral (usually white or a light gray).
- What fonts does your brand use? Pick one for headings and one for body text. Two fonts max; more than that and you're back to chaos. If you don't have brand fonts, choose a clean sans-serif pairing like Inter + Open Sans.
- What's your logo file? Make sure you have a high-resolution version with a transparent background (PNG or SVG). A logo on a white box looks amateur — the transparent version is non-negotiable.
Write these down. This is your brand spec, and it's the source of truth for everything that follows.
If you skip this step, you'll end up with a template that looks "close enough" — and "close enough" is exactly how decks drift off-brand slide by slide. Ten minutes of prep here saves hours of cleanup later.
02 Set Up Master Layouts That Do the Heavy Lifting
Now that you know your brand DNA, it's time to build the skeleton. In Zendeck, this is where you define the master layouts — the underlying structure that every slide inherits.
Start with the layouts you actually use. Most teams only need four or five:
- Title slide — big headline, your logo, maybe a subtitle
- Section divider — for breaking up major topics
- Content slide — title bar, body area, footer
- Two-column slide — for comparisons or side-by-side content
- Closing slide — thank-you, contact info, or next steps
For each layout, set the position of the title, the body area, and the footer. Keep the footer consistent: page number, your brand name, maybe a subtle tagline. This is the part people notice subconsciously — consistent footers make a deck feel professionally produced even if the content is average.
A quick tip from someone who's built a lot of these: resist the urge to create a layout for every possible scenario. Five layouts that get used are worth more than twenty that don't. You can always add more later.
03 Build Reusable Components (Headers, Footers, Content Blocks)
With layouts in place, you move to the building blocks: the components that appear across slides. This is where your brand really comes to life.
Think of components as the furniture in a room. The layout is the floor plan; the components are the chairs, tables, and lamps. You want them consistent everywhere.
In Zendeck, build these reusable pieces:
- A branded header — your logo plus a thin accent bar in your brand color
- A footer system — page numbers, section labels, and your brand name
- Content blocks — pre-styled boxes for quotes, callouts, statistics, and key takeaways
- Chart and icon styles — set the default colors so any chart you drop in matches your palette
The payoff here is huge. When every component is pre-styled, you never have to think about whether a stat box should be blue or gray — it just is. And when you're generating slides with AI, these components become the building blocks the AI assembles, which means the output is on-brand by default.
Reusable components are what turn a template from "a nice-looking deck" into "a brand system." The difference is that a deck is a one-time artifact; a system keeps producing on-brand output indefinitely.
04 Wire Everything into Zendeck's Brand Kit
Here's where Zendeck does the heavy lifting. Instead of manually applying your colors and fonts to every element, you centralize them in a brand kit — and the template pulls from it automatically.
Your brand kit stores your colors, typography, and logo in one place. When you build your template, every element references the kit. That means if your company rebrands next year, you update the kit once and every template and deck that uses it updates automatically. No hunting through fifty slides to fix a hex code.
This is also the step where you connect your template to Zendeck's AI. Once your brand kit is configured, the AI uses it as the guardrail for any new content you generate. Drop in a Word outline, and the AI builds slides that already match your brand — no manual fixing required.
If you want the full rundown on setting up brand kits, this guide on setting up brand kits in Zendeck walks through it in detail.
The brand kit is the difference between a template that works for one person and a system that works for your whole team. It's the single feature that makes brand consistency scalable — which is exactly why teams that rely on it never go back.
05 Save, Test, and Reuse — Then Let AI Do the Rest
You've built the foundation. Now it's time to make it permanent.
Save your template as a reusable asset in Zendeck. Then run a test: create a new deck from your template and generate a few slides with AI. Check that the colors, fonts, and layouts all hold. Test it on a phone and a projector — responsive behavior matters more than people think.
Once it passes, you're done. Every future deck starts from your template, and Zendeck's AI handles the rest — generating slides, applying layouts, and keeping everything on-brand.
This is where the magic happens. Your team no longer needs to remember "which blue is our blue" or "do we use bold headings or not." The template answers those questions for them.
Teams that build this system report that deck creation time drops dramatically — often by half or more — because the formatting decisions are already made. For a deeper look at how brand kits scale across hundreds of slides, check out this piece on maintaining brand consistency with AI brand kits.
Who Actually Needs a Custom Branded Template?
Honestly? More people than think they do. But these three groups benefit the most:
- Educators and trainers — courseware needs to look consistent across an entire curriculum, not just one lesson. A branded template makes a semester of materials feel like one cohesive program.
- HR and internal comms teams — onboarding decks, policy updates, and training modules all need to reflect the company brand. A template keeps every internal deck professional.
- Consultants and agencies — client-facing decks are your brand. A custom template with your logo and colors makes you look established, even if you're a two-person shop.
If any of these sound like you, a custom template isn't a nice-to-have — it's the difference between looking like a team and looking like a collection of individuals.
Mistakes That Sabotage Branded Templates (and How to Avoid Them)
Even with a solid template, a few common mistakes can quietly undo your work:
Mistake 1: Over-designing. A template with 20 different layouts is a template nobody uses. Keep it to five or six layouts max. Simplicity wins.
Mistake 2: Ignoring the footer. Footers are the most overlooked element, and they're the first thing audiences notice as "off." Set them once and never touch them again.
Mistake 3: Letting people override everything. If your template is flexible enough, you don't need to lock it down — but if you're seeing off-brand decks, consider restricting editing permissions. There's a practical guide on fixing off-brand AI slides that covers exactly this scenario.
Mistake 4: Treating the template as finished. Your brand will evolve. Review your template quarterly and update the brand kit when things change. A template that's six months stale is almost as bad as no template at all.
If you're just getting started and want more ideas, the courseware design section has plenty of practical walkthroughs.
FAQ
Q: Can I build a custom template in Zendeck without design skills?
A: Yes. Zendeck's layout tools are visual and drag-and-drop, and the brand kit handles colors, fonts, and logos automatically. You define the structure; the tool enforces the consistency.
Q: How do I save a branded template for reuse in Zendeck?
A: Once you've built your layouts and components, save the deck as a reusable template in your workspace. Every new deck can then start from that template with one click.
Q: What's the difference between a brand kit and a template in Zendeck?
A: A brand kit stores your visual identity (colors, fonts, logo) in one place. A template is the structural layout of your slides. They work together: the template defines the skeleton, and the brand kit ensures every element uses the right visual style.
Q: Can I update a branded template after creating it?
A: Yes. Update the template and the brand kit, and any new decks you create will use the updated version. Existing decks can be re-synced to the new template when needed.
Q: How many slides should a reusable template include?
A: Keep it lean — five to six master layouts (title, section divider, content, two-column, closing) is enough for most teams. More layouts mean more maintenance and more room for inconsistency.