Convert PowerPoint to an AI-Narrated Video in 4 Steps with Zendeck
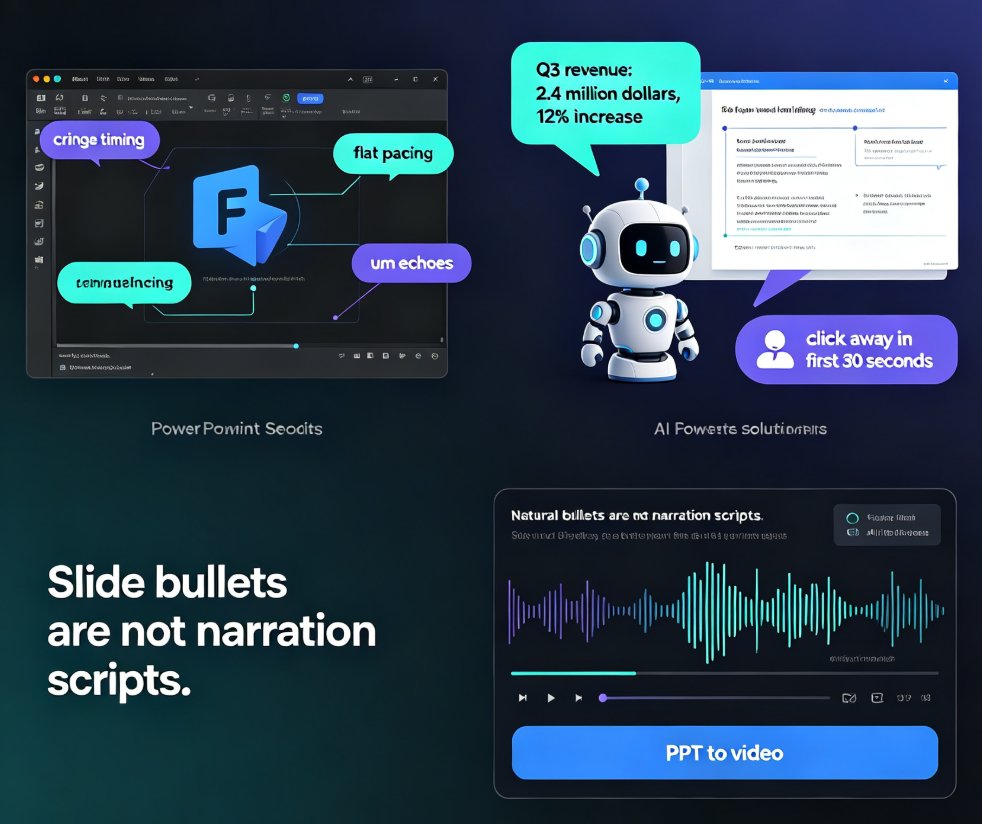
You've spent hours building a PowerPoint. It's packed with insights, data, and hard-won experience. But let's be honest—nobody watches it. The deck sits in a folder, opened once during a meeting, then forgotten. The fix? Turn it into a narrated video. And no, you don't need a microphone, a studio, or a video editor.
Repurposing an existing PPT is the fastest way to create video content—no recording equipment, no video editing skills, no studio. With Zendeck's PPT-to-video engine, you can transform static slides into an AI-narrated micro-course in four simple steps. Let's walk through the exact workflow.
01 Why Your PowerPoint Deserves a Second Life as a Video
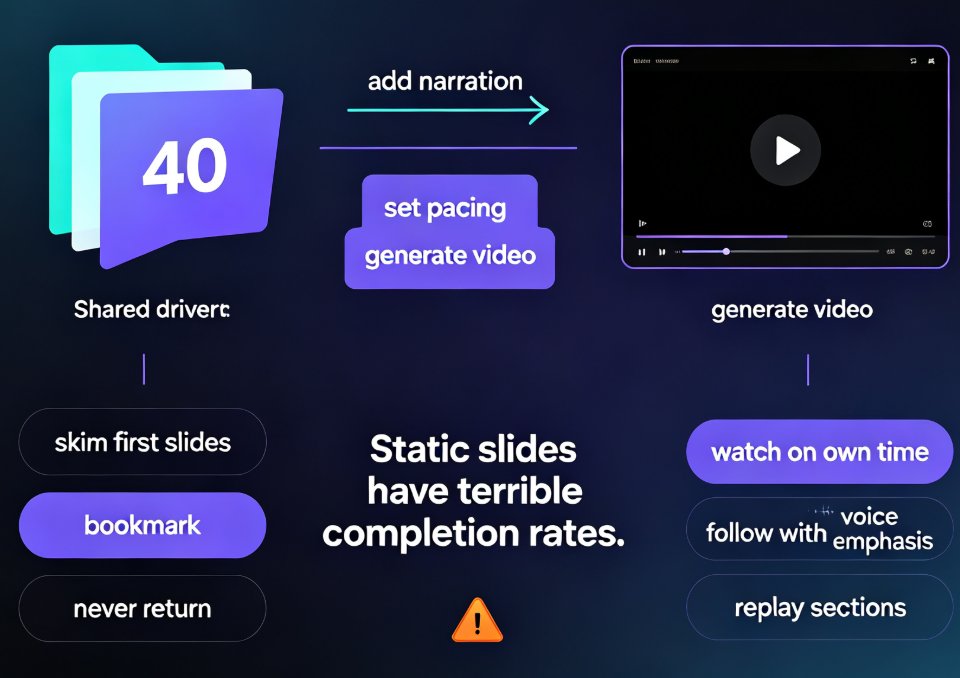
Think about your last training deck. Did learners actually read it? Probably not. But if you sent them a short video with the same content, they'd watch it. Video is more engaging, easier to digest, and works on any device. That's why converting PPTs to video is one of the smartest content moves you can make.
The pain point is universal: static slides get ignored, but video gets watched. You already have the content—the slides, the notes, the structure. The missing piece is narration and motion. Zendeck adds both automatically.
Here's what you gain:
- Higher engagement – Viewers retain more from video than from reading slides.
- Time savings – No need to recreate content from scratch.
- Scalability – Turn one deck into a reusable training asset.
- Accessibility – Add voiceover for learners who prefer audio or have visual impairments.
If you're building a full course, you can also use Zendeck's micro-course creation workflow to go from outline to finished video in one sitting.
02 The 4-Step Workflow to Convert PPT to AI-Narrated Video
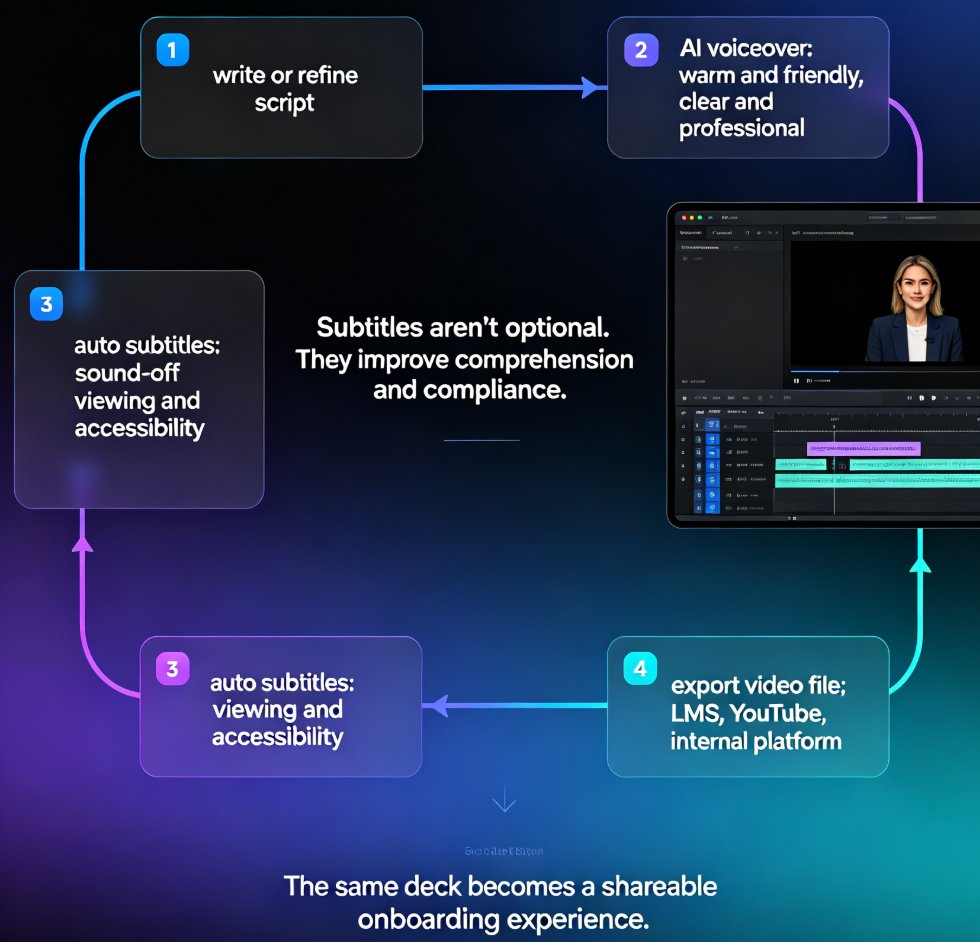
Zendeck's PPT-to-video feature is designed for speed. You don't need to learn complex video editing tools. Just follow these four steps.
Step 1: Upload Your PowerPoint
Start by uploading your existing PPT or PDF file. Zendeck reads each slide, including your speaker notes. If you don't have notes, no problem—you can paste a script later. The tool preserves your original layout, so you don't have to redesign anything.
Pro tip: Clean up your slides before uploading. Remove clutter, fix typos, and make sure each slide has one clear message. This makes the AI narration more coherent.
Step 2: Generate AI Narration
Once your slides are in, it's time to add the voice. You have two options:
- Use your speaker notes – Zendeck converts them into a natural-sounding script.
- Paste a custom script – Write or edit the narration directly in the tool.
Then pick a voice. Zendeck offers a range of AI voices with different tones—professional, friendly, energetic. You can also adjust the speed and pitch. No microphone needed.
This is where the magic happens: Zendeck automatically syncs the narration to each slide, so the audio matches the visuals perfectly. You don't have to manually align anything.
Step 3: Customize Visuals and Audio
Now you can polish the video. Zendeck lets you:
- Add background music from the built-in library.
- Adjust slide timing to match the narration.
- Add captions or subtitles for accessibility.
- Insert transitions between slides.
- Overlay your brand colors and logo using a brand kit.
If you want to go deeper, you can also add interactive charts or create branching scenarios for more advanced training videos.
Step 4: Export and Share
When you're happy with the result, hit export. Zendeck renders a clean MP4 file that you can download and share anywhere—LMS, YouTube, Slack, or email. You can also generate a shareable link for team collaboration.
That's it. Four steps, no recording equipment, no editing suite. You've just turned a static deck into a narrated video.
03 Pro Tips for a Professional AI-Narrated Video
Even with AI doing the heavy lifting, a few tweaks can make your video feel polished and professional. Here's what I've learned from years of creating training content.
Keep Slides Simple
AI narration works best when each slide has a single focus. If a slide is overloaded with text, the voiceover will feel rushed. Break complex ideas into multiple slides.
Use a Conversational Tone
Write your script the way you'd speak to a colleague. Short sentences, active voice, and a friendly tone. Avoid jargon unless your audience expects it.
Add Pauses for Emphasis
Zendeck lets you adjust pacing. Use a slower pace for key points and a faster pace for transitions. This keeps the video dynamic.
Test Different Voices
Don't settle for the first voice you hear. Try a few options. A warm, confident voice works best for training; a bright, energetic voice suits product demos.
Compare: Manual Recording vs. Zendeck
| Aspect | Manual Recording | Zendeck PPT-to-Video |
|---|---|---|
| Equipment | Microphone, audio interface, soundproofing | None |
| Editing | Separate audio and video tools | Built-in AI sync |
| Time per 10-slide deck | 2–4 hours | 20–30 minutes |
| Skill required | Audio engineering, video editing | Basic slide editing |
| Consistency | Varies with mood and environment | Always uniform |
| Cost | Hardware + software licenses | Included in Zendeck |
The table above says it all: Zendeck cuts production time by up to 80% and removes the technical barriers entirely. That's not a marketing claim—it's the reality of AI-powered creation.
04 Common Mistakes to Avoid (and How to Fix Them)
Even with a smooth tool, things can go sideways. Here are the pitfalls I see most often, and how to avoid them.
Mistake 1: Cramming Too Much Text on a Slide
Fix: Split dense slides into multiple slides. Aim for 3–5 bullet points per slide, max.
Mistake 2: Using a Robotic Voice
Fix: Choose a voice with natural inflection. Zendeck's newer voices sound remarkably human. Test a few before committing.
Mistake 3: Ignoring Slide Timing
Fix: Let the narration dictate the pace. If a slide has a long script, give it more time. Zendeck's auto-sync handles this, but review it manually.
Mistake 4: Skipping the Script Review
Fix: Always read your script aloud before generating. Typos and awkward phrasing become glaring in audio. Use Zendeck's built-in editor to polish.
Mistake 5: Forgetting Accessibility
Fix: Add captions and ensure your video has a transcript. This helps learners with hearing impairments and boosts comprehension. Zendeck makes this easy.
If you're dealing with compliance training, check out how to turn a compliance manual into a video course with Zendeck—it's a perfect use case.
FAQ
What is Zendeck's PPT-to-video feature?
Zendeck's PPT-to-video feature converts your existing PowerPoint slides into a narrated video using AI voiceover. You upload a PPT or PDF, add a script or use your slide notes, and Zendeck generates a video with synchronized narration, transitions, and optional background music.
Do I need a microphone or recording equipment?
No. Zendeck uses built-in AI voices to narrate your slides. You can choose from multiple natural-sounding voices and languages, and adjust the tone and speed. This eliminates the need for a microphone, audio editing, or a quiet recording studio.
Can I edit the AI narration after it's generated?
Yes. You can edit the script text, change the voice, adjust pacing, and even re-generate specific sections. Zendeck also lets you add background music and fine-tune the timing of each slide to match your narration perfectly.
How long does it take to convert a PPT to a video?
Most users can go from upload to a finished video in under 30 minutes. The AI handles narration and syncing automatically, so you only need to review and tweak. For a 10-slide deck, the rendering typically takes just a few minutes.
Ready to give your old slides a new life? Open Zendeck, upload your PPT, and let the AI do the talking. You'll wonder why you ever recorded voiceovers manually.
For more advanced workflows, explore our PPT-to-video category or learn how to add narration to slides in detail.