Turn PPT into Narrated Micro-Course: Zendeck PPT-to-Video Step-by-Step
Your deck is finished. Training written, charts cleaned up, colors on-brand. Then the email lands: "Could we get a video version for the people who missed the session?"
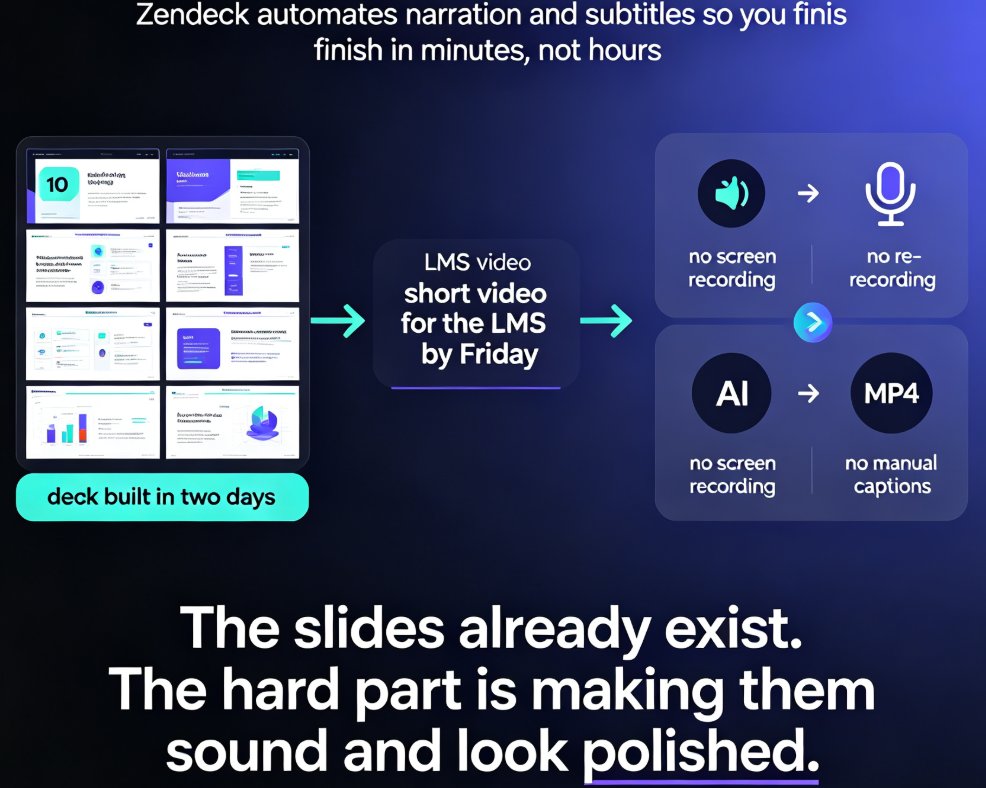
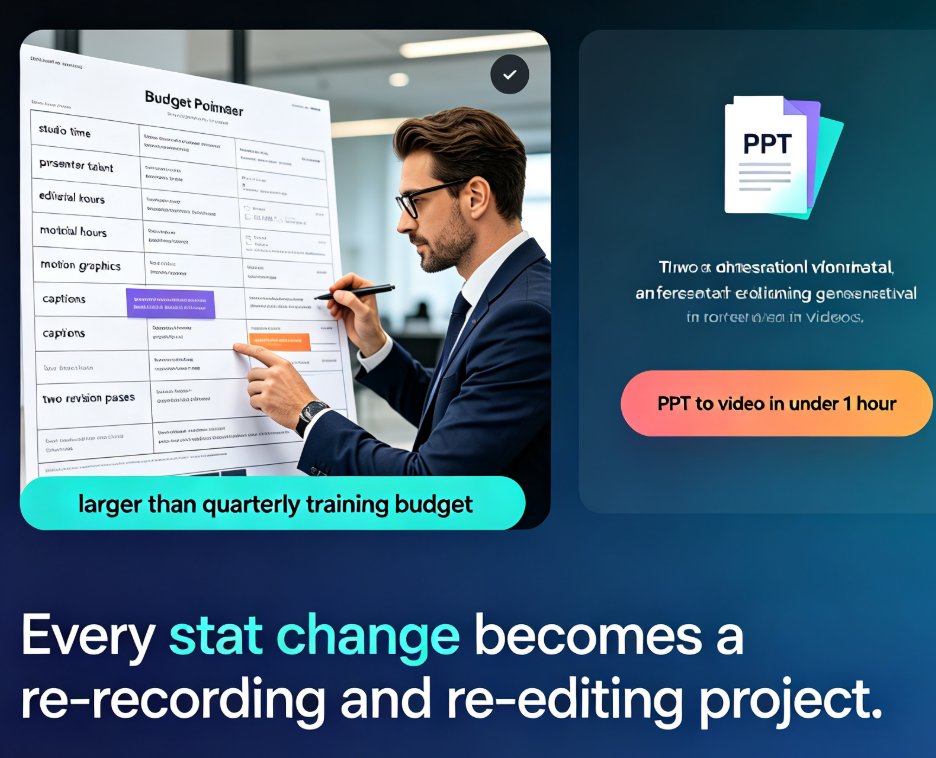
You've been there. And you know exactly what that request usually costs — a weekend of screen recording, hours in a video editor, or a contractor invoice that exceeds the department coffee budget for a quarter. Let's be real: turning slides into video has always been the most expensive step in course production. It doesn't have to be.
Here's the workflow that finally changes it: Zendeck's PPT-to-video pipeline converts an existing deck into a narrated, published micro-course in four steps — import, narrate, sync, export — no recording studio, no video editor, and no separate rendering toolchain. The rest of this guide walks through each step in sequence, with the exact settings we use in practice.
01 The Real Problem with Static Slides: Nobody Replays Them
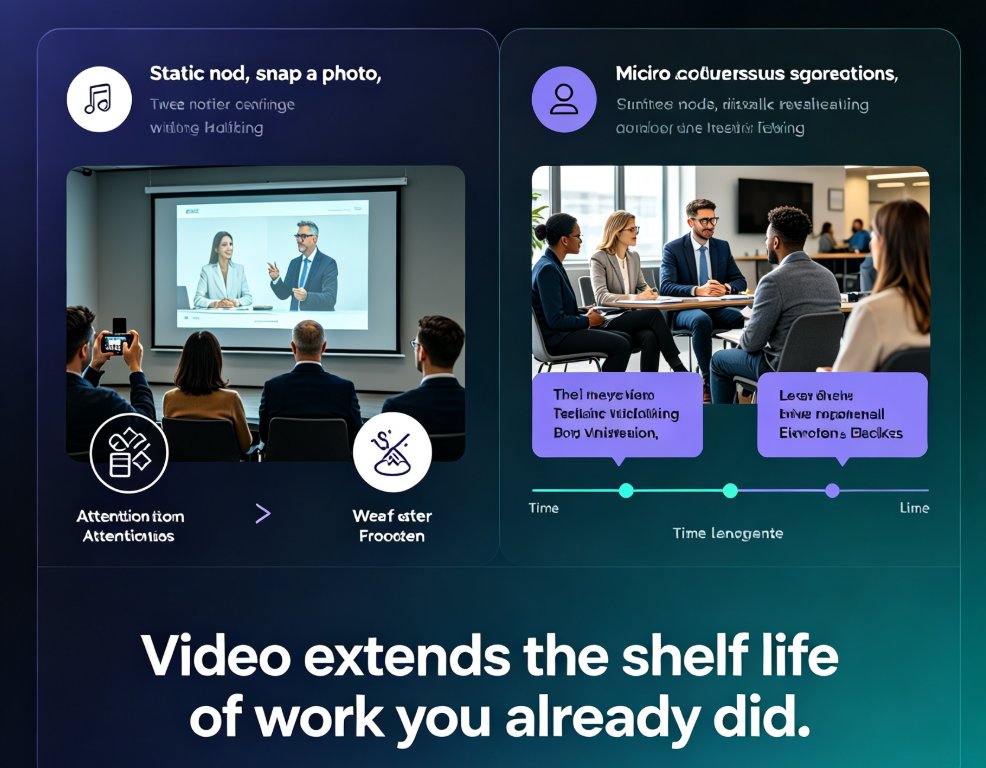
A static slide deck is a one-time artifact. People attend the session, nod, take a photo of the screen, and silently forget most of it within a week. A narrated video course, on the other hand, gets watched on demand, replayed before exams, and reviewed during onboarding. That's the fundamental reason more and more training teams are converting their existing presentations into micro-courses — not because they want "more content," but because video extends the shelf life of work you've already done.
The blocker was never motivation; it was tooling. Screen recording captures you clicking through a deck — animations, awkward pauses, and the cat walking across the desk in the background. Manual video editing produces polished results, but the economics are brutal: traditional production runs 4-6 hours for every 10 minutes of finished video (scripting, recording, cutting, re-rendering). Multiply that across a library of courses and you'll quickly see why so many training programs stall at "one really good deck."
02 What PPT-to-Video Conversion Actually Is (and Isn't)
Before we get to the steps, let's clear up one misconception. PPT-to-video in the AI sense isn't screen recording, and it isn't a glorified slideshow exporter. Modern conversion tools parse the structure of your deck — title hierarchy, bullet text, charts, embedded images — then re-render that content as animated visuals designed for retention, with narration laid on top. Think of it as knowledge visualization instead of capturing the screen.
Zendeck handles this three-part job: re-rendering slides as clean video frames, generating or accepting narration, and syncing slide transitions to the voice track. If you're coming from the corporate training world, this is the same capability that's been driving the shift toward AI PPT-to-video as the 2026 corporate training standard — but you don't need to redesign your material to use it. Your existing deck is the input.
03 Step by Step: From Finished Deck to Published Micro-Course
Here's the exact flow. No extra software, no learning curve to speak of. Total time for a typical 30-slide deck: around 20 minutes from upload to download.
◉ Step 1 — Import Your Existing Slides
Zendeck lets you bring in a finished deck directly — upload your PPTX, or paste an outline and let the AI rebuild it. For this workflow, the fastest path is uploading the deck you already have.
If your deck was built in PowerPoint with messy fonts and inconsistent colors, you can optionally apply a template or one-click reskin to clean it up before conversion. Our guide on building consistent decks with a custom brand kit explains how to standardize that step. But if your material is already clean, you can skip straight to the interesting part.
◉ Step 2 — Add Narration: Text-to-Speech or Your Own Voice
This is the step that separates a slideshow from a course. Zendeck offers two paths:
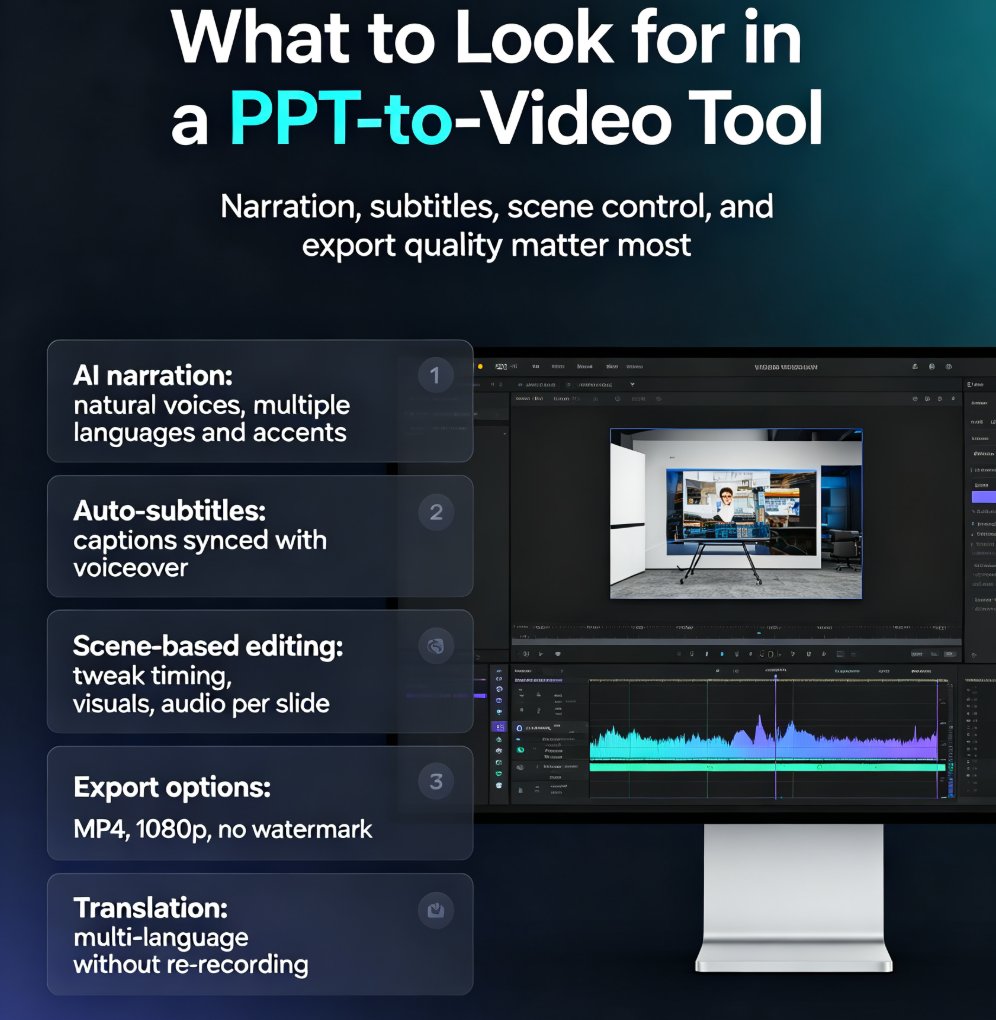
- Text-to-speech (AI voice): The fastest option. The tool reads your slide content (or a script you provide) and generates a natural, non-robotic voiceover. You can pick a voice, adjust speed, and regenerate specific chunks rather than re-recording the whole file.
- Your own recording: If you have a lecture you want to preserve — or a company voice that should stay consistent — record directly inside Zendeck or upload an existing audio file, and the tool aligns it to your slides.
If you want the details on the recording route, we covered the mechanics in how to add narration to your slides with Zendeck's PPT-to-video. And if accessibility is part of your requirements, Zendeck can auto-generate subtitles from the narration in the same pass — which we'll come back to in a moment.
◉ Step 3 — Sync Slide Timing and Pacing
Narration without timing is just an audiobook with visual noise. In Zendeck, after the voice track is ready, review the auto-synced timing: each slide's on-screen duration matches the corresponding narration segment, so the deck advances exactly when the speaker reaches the next point.
Take a few minutes to review pacing on slides with heavy content. If a bulleted slide narrates for 40 seconds, consider splitting it — short screens hold attention far better in video than in live presentations. You can also add interactive in-video quizzes here if your platform supports them.
◉ Step 4 — Export MP4 and Upload to Your LMS
Once pacing looks right, export. Zendeck renders the course as an MP4 file — 720p to 1080p depending on your plan — complete with narration, transitions, and optional subtitles burned into the video or delivered as a separate track. The output drops directly into Moodle, Canvas, Teachable, or any SCORM-capable learning management system.
One habit worth stealing: always export with auto-subtitles enabled. It's a single toggle at export, and it instantly makes your course watchable in muted environments — which, if you've ever seen viewing data, is most of them. The accessibility angle matters beyond compliance, too; our WCAG-focused guide for Zendeck users walks through why this is becoming table stakes for courseware.
04 Benchmark: Zendeck vs. the Manual Toolchain
Let's put the time savings in context. Below is the breakdown we use internally when comparing production routes for a 10-minute narrated course (approximately 30 slides).
Time to produce a 10-minute narrated micro-course
| Method | Tools required | Typical time | Skill needed | Consistency |
|---|---|---|---|---|
| Manual script + record + edit | Mic, recorder, video editor, audio cleanup | 4-6 hours | High (editing, audio) | Depends entirely on the editor |
| Screen recording | OBS / PowerPoint record | 60-90 minutes | Medium | Raw: cursor paths, flubs, dead air |
| Zendeck PPT-to-video | Browser + existing deck | ~20 minutes | Low | On-brand templates, synced narration, subtitles |
The headline number speaks for itself: you can hit a quality bar that's consistent across an entire course library, in about 20 minutes per piece, versus 4-6 hours of manual production per 10 minutes of video. That arithmetic changes the economics of building a training library — it turns "we can only afford to convert our best deck" into "we can convert them all."
05 What Separates a Replayable Micro-Course from a Slideshow with Sound
Speed matters, but only if the output is actually watchable. After converting dozens of decks for corporate and education clients, here are the three habits that make the difference:
- Cut slide density. If a slide narrates for longer than 45 seconds, split it. In video, attention drops rapidly past that mark. Zendeck makes this easy because you're only re-syncing narration timing, not re-editing footage.
- Use a consistent voice. Whether you pick one AI voice across the entire library or record your own, consistency builds trust. Jumping between voices makes a course feel assembled rather than authored. If you're running branded training across teams, our guide on 5 hidden features of AI presentation tools for team productivity covers how to standardize this at scale.
- Include captions by default. We mentioned this in Step 4, but it deserves repeating: subtitles double the contexts in which your course is usable — commutes, open-plan offices, and learners with hearing impairments. It's also the single cheapest accessibility fix you'll ever make, since Zendeck generates them from the narration automatically.
06 When This Workflow Pays for Itself
The economics shift fastest for three use cases:
- Compliance and onboarding teams who need to convert an existing deck library into video without hiring production help. This is exactly the pattern driving the broader move to AI-generated video decks in corporate training.
- Universities and training centers moving lecture material online — see the category guides on micro-course production for more on structuring lessons.
- Independent trainers who record once, then want a video version without booking studio time.
In each case, the pattern is the same: you've already invested hours in the deck. The video version shouldn't cost you that investment twice. Zendeck's PPT-to-video workflow makes the conversion a twenty-minute step instead of a weekend project — and the output is an actual course, not a glorified screen recording.
FAQ
Can I record my own voice, or is Zendeck limited to text-to-speech?
Both. Zendeck's narration panel offers text-to-speech with selectable voices and speed adjustment, or you can record directly in the tool or upload an existing audio file. The pipeline aligns whichever voice track you choose to the slide timing automatically.
Do I need to redesign my slides for video, or can I use the existing PPTX?
Use the existing deck. Upload your PPTX and Zendeck re-renders it as video frames. If the deck was built with messy styling, you can apply a one-click reskin or template first, but there is no requirement to redraw anything.
What formats does Zendeck export, and will the MP4 upload to Moodle or Canvas?
Zendeck exports MP4 (720p to 1080p depending on your plan) with narration, transitions, and optional auto-subtitles. Any SCORM-capable LMS — Moodle, Canvas, Teachable, and similar platforms — accepts the file directly.
Will my original PowerPoint animations carry over to the video?
The content structure is preserved and re-rendered as animated frames synced to the narration pacing. If your deck has bullet fly-ins, the video shows the same sequential appearance timing. Exotic animation stacks may render more simply — the goal is a clean, watchable micro-course, not a pixel-perfect replay.
How long does it actually take to convert a 30-slide deck?
Typically around 20 minutes end to end: a minute or two to upload, a few minutes for AI narration generation, a few more to review pacing, and the render itself completes in one to two minutes for a 10-minute course. Manual production of the same video runs 4-6 hours.