How to Create Employee Onboarding Videos from Your PPT with AI Narration
How to Create Employee Onboarding Videos from Your PPT with AI Narration
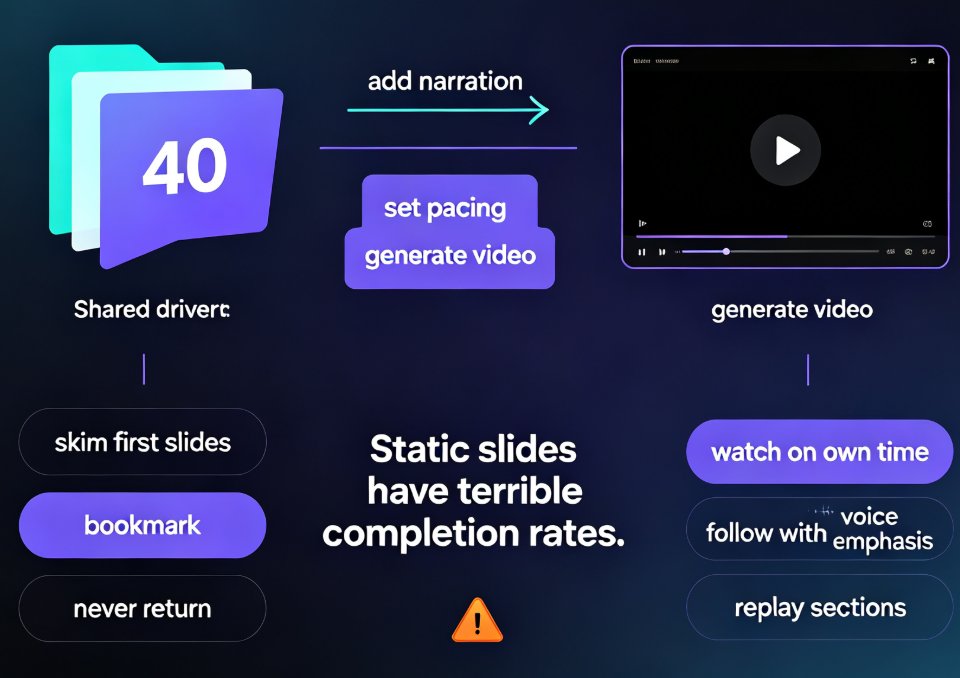
Onboarding is one of those things every company does, but almost nobody does well. You've got a slide deck from three managers ago, a video recorded in a conference room with bad lighting, and a new hire staring at a laptop wondering what to watch first.
Let's be real: most onboarding content is a mess. It's inconsistent, outdated, and expensive to produce properly. But here's the good news — you already own the raw material. That orientation PPT sitting in your shared drive? It's 80% of the video you need.
The fastest way to create consistent employee onboarding videos is to turn your existing slides into narrated video with AI voiceover — no studio, no voice talent, no video editing skills required.
In this guide, I'll walk you through the exact workflow using Zendeck's PPT-to-video feature: how to prep your deck, generate narration, add subtitles, and publish a video your new hires will actually finish watching.
I. Why narrated slide videos beat live onboarding sessions
Let's start with the problem. If you're running live orientation sessions, you know the pain points:
- Inconsistency. Every session is slightly different. The Tuesday session skips the benefits slide. The Friday session runs long. New hires get different experiences depending on when they joined.
- Cost. Every live session costs you an HR person's time, a meeting room, and the attention of people who could be doing their actual jobs.
- Scale. When you hire 50 people in a quarter, you can't run 50 personalized sessions. Something gets cut.
Recorded onboarding videos solve all three. One recording, played for every cohort, delivers the same message every single time.
A narrated video built from your existing PPT costs a fraction of studio production and delivers a more consistent experience than any live session.
And the numbers back this up. Companies that standardize onboarding content see faster time-to-productivity for new hires, and video-based training is consistently rated higher by learners than text-heavy manuals. You don't need a Hollywood budget to get there — you need a workflow that turns what you already have into something watchable.
II. The Zendeck workflow: from PPT to narrated onboarding video
Here's the step-by-step process. It takes about an hour the first time, and less than 30 minutes once you've done it once.
Step 1: Clean up your source deck
Before you import anything, spend 10 minutes on your PPT. Remove slides that are outdated, merge redundant ones, and make sure the flow matches your onboarding narrative. You want 10–20 slides max for a 10–15 minute onboarding video. Any longer and you're losing people.
Step 2: Import your outline or deck
The tool accepts Word outlines, Markdown, or TXT files. If you have a well-structured outline of your onboarding content, paste it in and let it generate a clean, consistent deck. If you already have a PPT, you can work from that directly.
Step 3: Generate slides with consistent branding
This is where Zendeck shines. Instead of fighting with inconsistent fonts and layouts, Zendeck applies a unified design system across all your slides. Your company colors, logo placement, and typography stay consistent — which matters more than you think when the video is the first impression a new hire gets of your company.
If you haven't set up a brand kit yet, it's worth doing before you generate. The brand kit tools let you define your colors, fonts, and logo once, and every slide follows the rules automatically. We've written a full guide on building a custom brand kit if you need help.
Step 4: Write your narration script
Now the fun part. You don't need a scriptwriter — you need a script that sounds like a person talking, not a manual being read aloud. We'll cover the specifics in the next section, but the short version is: write the way you talk, keep sentences short, and read it out loud before you commit.
Step 5: Generate AI voiceover
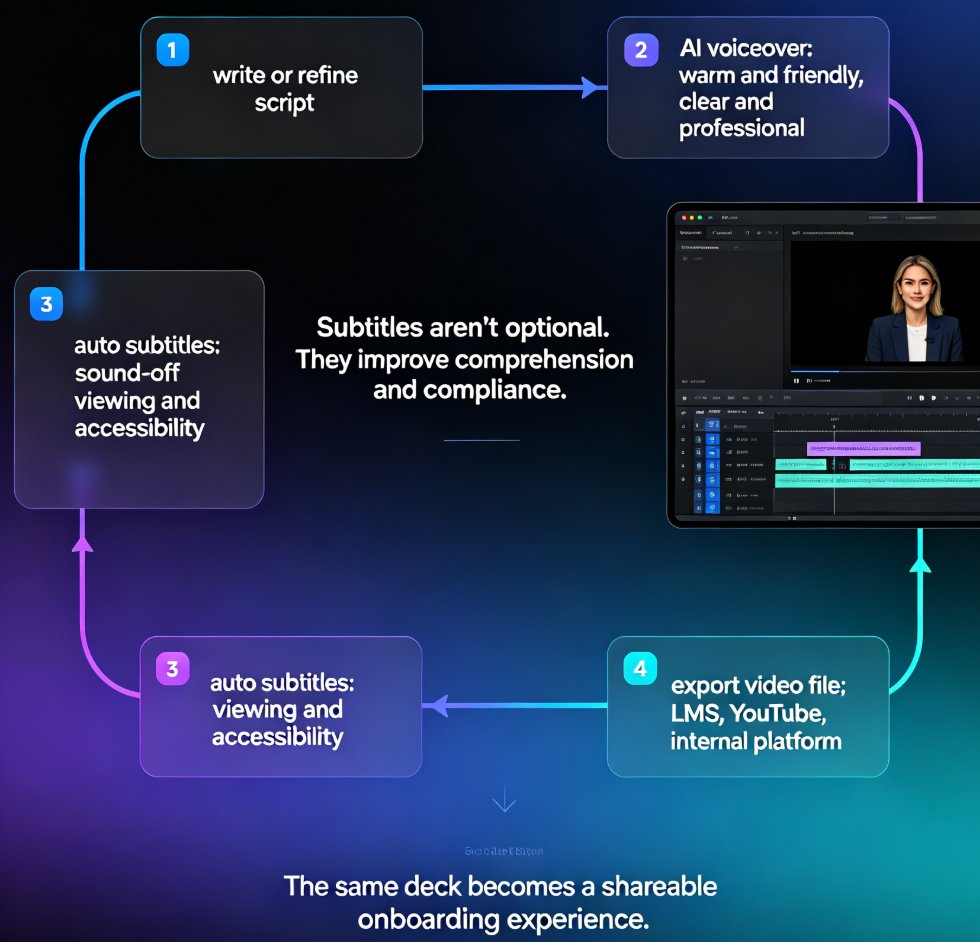
In Zendeck, you can add narration directly to your slides. Choose a voice that fits your company's tone — warm and friendly for culture slides, clear and professional for policy sections. The AI voiceover generates natural-sounding narration that syncs with your slide timing.
Step 6: Add subtitles and export
Subtitles aren't optional anymore. A significant portion of viewers watch videos with sound off — especially in open-plan offices. The AI can auto-generate subtitles for your narration, which also helps with accessibility compliance.
Then export your video. The PPT-to-video feature turns your slides into a narrated video file you can host anywhere — your LMS, YouTube, or an internal sharing platform.
III. Writing narration that doesn't put people to sleep
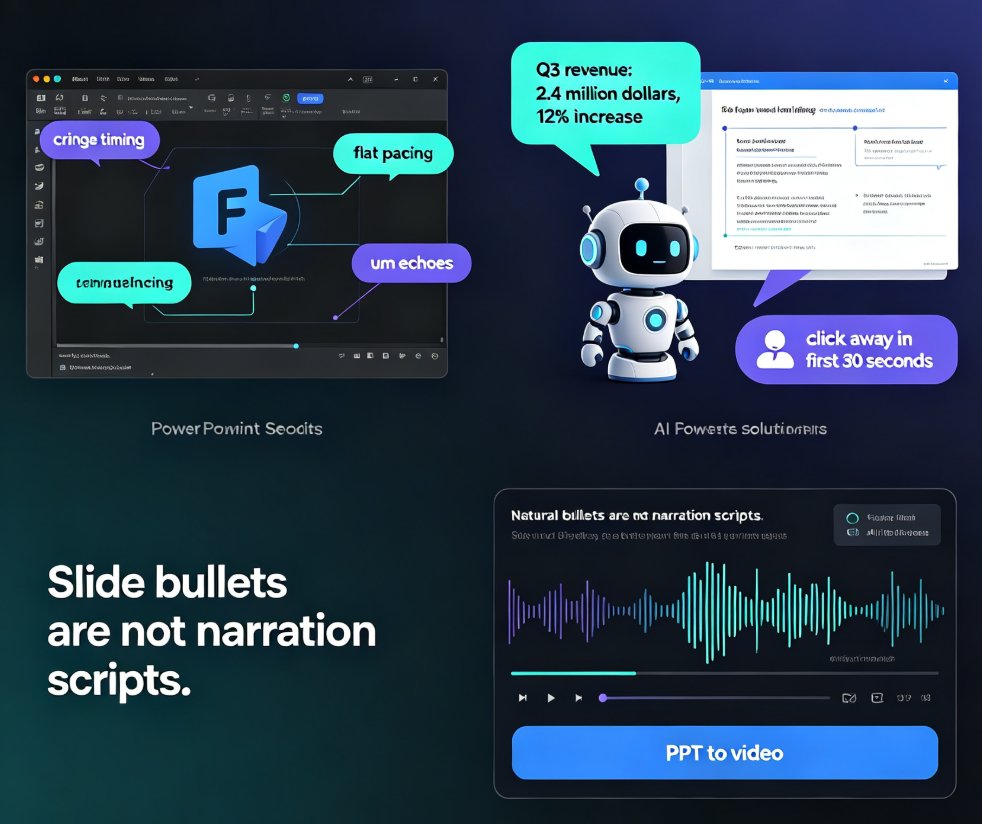
Here's the thing about onboarding videos: most of them are boring. Not because the content is boring, but because the narration is written like a legal document.
The single biggest mistake in onboarding video narration is writing for the eye instead of the ear.
When you write for reading, you use long sentences, complex clauses, and passive voice. When you write for listening, you use short sentences, active voice, and conversational rhythm.
Here's a before-and-after example:
| Writing for reading | Writing for listening |
|---|---|
| "The company's comprehensive benefits package, which includes medical, dental, and vision coverage, is available to all full-time employees following the completion of their probationary period." | "You get full benefits — medical, dental, and vision — starting after your first 90 days. Here's what that looks like." |
See the difference? The second version sounds like a person. The first sounds like a contract.
Some practical tips:
- Read every sentence out loud. If you stumble, rewrite it.
- Keep sentences under 15 words. Short sentences are easier to process when listening.
- Use "you" a lot. Onboarding is about the new hire, not the company.
- Add natural pauses. A beat of silence after a key point helps it land.
IV. Choosing the right AI voice and pacing
Zendeck offers multiple AI voices, and the one you pick matters more than you'd think.
For onboarding content, you generally want:
- Warm and conversational for culture and values sections
- Clear and neutral for policies and procedures
- Consistent across the whole video — don't switch voices mid-course unless there's a reason
Pacing is just as important as voice. If your narration is too fast, new hires will miss details. Too slow, and they'll check out. A good rule of thumb: aim for about 150 words per minute, which is the natural pace of conversational speech.
The best AI narration is the kind people forget is AI — it should sound like a colleague explaining something, not a robot reading a spec sheet.
You can adjust narration timing per slide, so you can slow down for complex topics and speed up for simple ones. This is a detail most tools get wrong — they apply one pace to everything and the result feels robotic. If you want to dig deeper into voiceover and subtitles, check out our guide on adding voiceover and subtitles to slides.
V. Accessibility: subtitles, alt text, and WCAG
This is the part most people skip, and it's the part that matters most.
Onboarding videos need to work for everyone. That means:
- Subtitles for viewers who are deaf or hard of hearing, or who watch with sound off
- Alt text for any visual content in your slides
- Clear audio with no background noise or music competing with the narration
The platform's AI can auto-generate subtitles from your narration, which saves you hours of manual captioning. And if you're building accessible courseware, it can auto-add alt text to images in your slides.
Accessibility isn't a nice-to-have in onboarding — it's a legal requirement in many jurisdictions, and it's the right thing to do for your new hires.
If you want to dig deeper into WCAG compliance for presentations, we've covered the full trend in our guide to accessible AI presentations.
VI. Keeping your onboarding videos current
Here's the dirty secret about onboarding content: it goes stale fast. Benefits change. Policies update. The org chart shifts. If your video is six months old, parts of it are probably wrong.
The beauty of building videos from slides is that updates are trivial. When a policy changes, you update the slide, regenerate the narration, and re-export. You don't need to re-record anything — the AI voiceover regenerates automatically.
The ability to update a narrated video in minutes, not days, is what makes the slide-to-video workflow sustainable for HR teams.
Compare that to traditional video production, where a single policy change means booking a studio, re-recording, and re-editing. No wonder most companies let their onboarding videos rot for years.
VII. A quick comparison: slide-to-video vs. traditional production
| Factor | Slide-to-video with AI narration | Traditional video production |
|---|---|---|
| Cost per video | Near zero (software subscription) | $2,000–$20,000+ |
| Production time | 1–2 hours | 2–6 weeks |
| Update effort | Minutes (edit slide, regenerate) | Days to weeks (re-shoot) |
| Consistency | Identical every time | Varies by session/take |
| Skill required | None beyond PPT basics | Scripting, filming, editing |
| Scalability | Unlimited cohorts | Limited by schedule |
The table says it all. For onboarding — a high-volume, repetitive content need — slide-to-video is the only workflow that makes economic sense.
VIII. Getting started today
You don't need a big budget or a production team. You need:
- Your existing onboarding PPT (or a rough outline)
- 30–60 minutes of focused time
- Zendeck's PPT-to-video and AI voiceover features
Start with one module — say, your company culture overview. Convert it to a narrated video, show it to a few new hires, and see how they respond. Once you see how easy it is, you'll want to convert your entire onboarding program.
If you're new to Zendeck, the PPT-to-video tutorial category is a good place to start. And if you want to learn more about adding narration specifically, check out our guide on adding narration to slides with Zendeck's PPT-to-video.
FAQ
Q: How long should an onboarding video be? A: Aim for 10–15 minutes per module. Break your onboarding into multiple short videos rather than one long one — attention drops sharply after 15 minutes, and shorter videos are easier to update when policies change.
Q: Can I use my existing PPT or do I need to start from scratch? A: You can work from your existing PPT, but we recommend cleaning it up first. Remove outdated slides, merge redundant ones, and make sure the flow matches your onboarding narrative. Zendeck can also generate a fresh deck from a Word outline if you prefer to start clean.
Q: What AI voices does Zendeck offer for narration? A: Zendeck offers multiple AI voices with different tones and pacing. For onboarding, we recommend a warm, conversational voice for culture sections and a clear, neutral voice for policy content. You can adjust narration timing per slide.
Q: Do I need video editing skills to use PPT-to-video? A: No. Zendeck handles the entire conversion — slide timing, narration sync, and subtitle generation. You just review and export.
Q: How do I update an onboarding video when policies change? A: Edit the relevant slide, regenerate the narration for that section, and re-export. The whole process takes minutes, not days — which is the main advantage of slide-to-video over traditional production.