PPT to Video: Turn Slides into Engaging Micro-Courses in 5 Steps
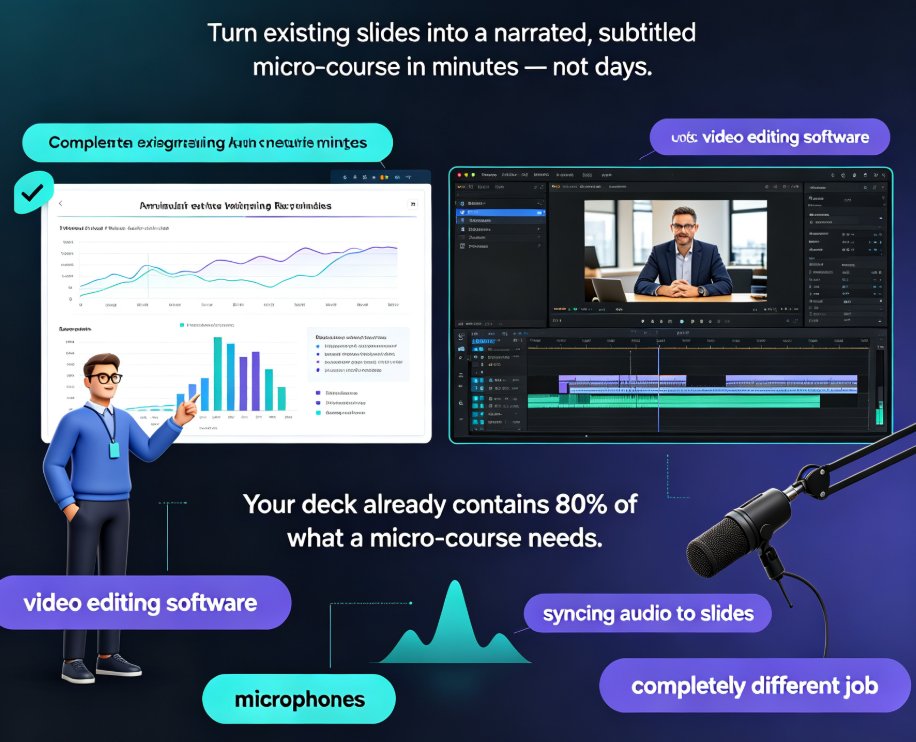
You've spent hours building a slide deck that perfectly captures your training session. Now your boss wants a video version for remote learners — and you can feel the panic rising. Video editing software, microphones, syncing audio to slides... it feels like a completely different job.
Here's the reality: you don't need to become a video editor to turn your PPT into a micro-course. With the right workflow, your existing slides can become a narrated, subtitled video in minutes — not days.
This guide walks through the exact 5-step process educators and corporate trainers use to convert static decks into engaging micro-courses with Zendeck's PPT-to-video feature. No Premiere Pro. No After Effects. Just your deck, a script, and a tool that handles the heavy lifting.
01 — Your PPTs Are Already a Content Goldmine
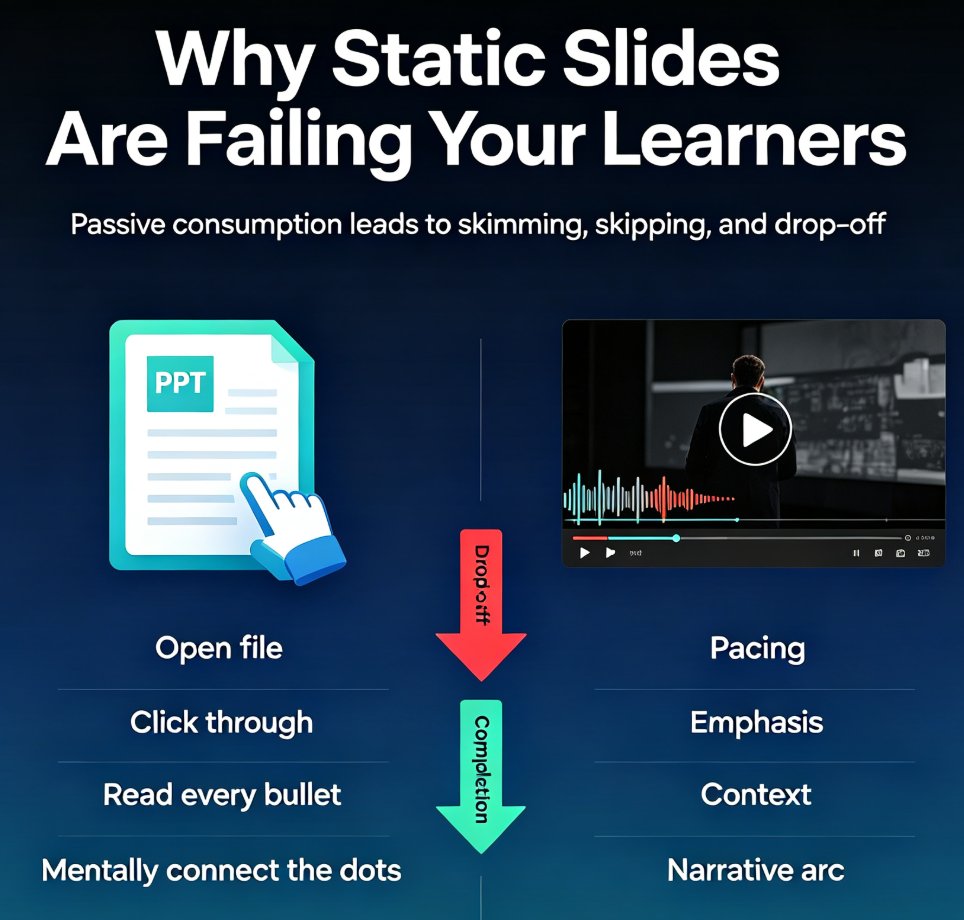
Most learning teams sit on hundreds of hours of unpublished video content — trapped in slide decks.
Think about it: every training deck you've ever built contains structured knowledge. Objectives, key concepts, examples, summaries. That's 80% of what a micro-course needs. What's missing is delivery: a voice track, pacing, and visuals that keep people watching.
The pain point is real: learners don't retain much from a self-directed PPT they have to click through alone. But converting that PPT to a video with proper narration changes the game. Spoken explanations, visual pacing, and subtitles give learners a guided experience — the kind that actually gets finished and remembered.
The solution is a simple workflow that treats your PPT as the source material, not the final product. You keep the intellectual work you've already done and add the delivery layer that turns slides into teaching.
02 — What PPT-to-Video Actually Means (and What It Doesn't)
Before we jump in, let's be clear about what "PPT to video" means in a learning context.
A micro-course video is a short (5–12 minute), focused piece of learning content with: - Clear learning objectives - Spoken narration - Visual slides that reinforce the message - Subtitles for accessibility and quiet environments - A linear flow (no clicking required)
What it doesn't mean is a screen recording of you flipping through slides while muttering into a laptop microphone. That's a "slide video," not a micro-course. The difference matters because learners can tell — and they leave.
The conversion isn't about exporting; it's about re-narrating your content for a video-first format.
When you convert a PPT to video the right way, you compress the message, add a clear audio layer, and let the visuals breathe at a watchable pace. That's what Zendeck's PPT-to-video workflow is designed to handle.
03 — The 5-Step Workflow: From Static Deck to Micro-Course
Step 1: Audit and Trim Your Deck
Start by treating your deck like a movie script. Expect to cut about a third of your slides when converting to video — a typical 40-slide training deck becomes roughly 26 slides that actually earn their screen time.
Ask three questions for every slide: 1. Does this slide move the learner toward the objective? 2. Could this be said in one sentence? 3. Does it add visual value, or is it just text?
Delete the filler. Learners watch a 12-minute video, not a 3-hour seminar condensed into slides. If your deck is dense with text, that's a signal to split it into multiple micro-courses instead of one bloated video.
Side note: trimming hurts at first, but it's the single highest-leverage step. Your learners will thank you — and so will the platform's completion-rate metric if you host on an LMS.
Step 2: Write (or Let AI Draft) a Narration Script
This is where most people get stuck — and where AI tools shine. A narration script is short, conversational, and spoken aloud (not read from bullet points).
If you're writing it yourself: aim for roughly 130–150 words per minute of narration. A 6-minute micro-course needs about 800–900 words.
If you don't want to write from scratch, you can draft a script with Zendeck's assistance and refine it. The key is that the script mirrors your slide flow, one-to-one, so the audio matches the visuals. This step is covered in more depth in our guide on adding narration to slides.
Step 3: Reskin and Unify Your Slides
Nothing kills a video faster than inconsistent design. One slide has blue headers, the next has red; fonts change; charts look like they belong to a different company. When slides become video, these inconsistencies read as sloppiness — and they distract from the learning.
Zendeck's smart layout handles the unify step for you: it standardizes fonts, colors, and spacing across the deck. If your organization has brand requirements, check out how to create a custom brand kit so your video aligns with corporate standards.
Step 4: Generate Voiceover and Sync
Here's the magic step. Instead of recording your own audio (and redoing it 10 times), you can let Zendeck generate narration and automatically sync it to each slide.
The sync matters. Each slide's narration should start exactly when the slide appears. That's what separates a professional micro-course from a student-style screen recording.
Need to tweak the pacing? You can regenerate individual slide narration without redoing the whole video. If you want a human voice on specific slides, the voiceover and subtitles workflow supports mixing sources.
Step 5: Add Subtitles, Review, and Export
Subtitles aren't optional anymore. A large portion of learning videos get watched with the sound off at least some of the time — on commutes, in open offices, in noisy environments. No subtitles means no learning for those viewers.
Auto-generated subtitles save you hours of manual captioning, and they double as accessibility support. That's a win for WCAG compliance too — see our accessible micro-courses guide for details.
Review the whole video once, export it, and publish. The entire loop — from deck to published micro-course — takes a fraction of the time of traditional video production.
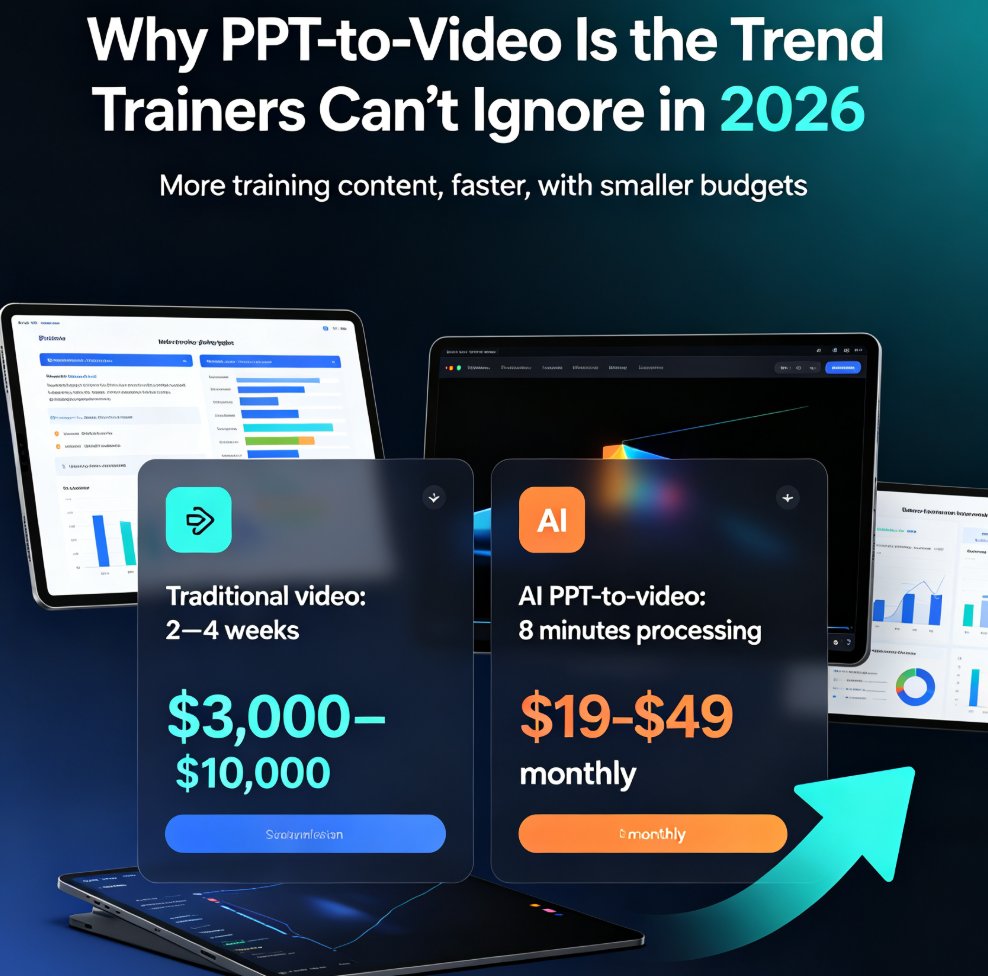
04 — Traditional Video Editing vs. Zendeck PPT-to-Video
Let's put the difference in numbers. These are representative estimates for producing a single 10-minute narrated micro-course from an existing deck:
| Work step | Traditional editing (screen record + timeline) | Zendeck PPT-to-video |
|---|---|---|
| Deck prep / trimming | 60 min | 30 min |
| Script writing | 45 min | 20 min (AI draft + refine) |
| Design consistency | 60 min (manual fix) | 5 min (auto reskin) |
| Voiceover recording | 90 min (multiple takes) | 10 min (AI narration) |
| Audio-sync per slide | 60 min | 0 min (automatic) |
| Subtitling | 60 min | 5 min (auto-generate + review) |
| Export & review | 30 min | 15 min |
| Total | ~6.5 hours | ~1.5 hours |
That's roughly 4 hours saved per video — and those hours multiply across a course library.
The chart below illustrates the time gap for a single 10-minute micro-course:
Values are representative estimates for an experienced presenter with a polished deck; your exact results will vary, but the order of magnitude holds up.
05 — Common PPT-to-Video Mistakes (and How Zendeck Fixes Them)
| Mistake | Why it kills your micro-course | How Zendeck helps |
|---|---|---|
| Cramming 50 slides into a 6-minute video | Learners bounce; completion rate tanks | Trim workflow + narration pacing guides you |
| Mismatched design across slides | Looks unprofessional, distracts from content | Smart layout auto-unifies fonts and colors |
| Manual audio-sync errors | Slides lag the voice; learners lose context | Narration is auto-synced per slide |
| No subtitles | Loses the silent-viewer audience | Auto-generated subtitles from the narration |
| Inconsistent branding | Weakens trust in the content | Brand kit enforces your visual identity |
The biggest mistake of all? Waiting for a perfect script or a free weekend before you start. The easiest way to learn is to convert one small deck this week and see how it feels. If you're deciding whether this workflow fits your team, the 2026 corporate training standard roundup makes a strong case for why video decks are becoming the default.
06 — FAQ
Q: How long should a micro-course video be? A: The sweet spot is 5–12 minutes for a single focused objective. Longer than that and completion rates drop. If your content needs more time, split it into a series of connected micro-courses — each with clear learning goals and its own narration.
Q: Do I need any video editing skills to use Zendeck's PPT-to-video feature? A: No. The workflow is upload, script, generate, review, export. Zendeck handles narration sync, subtitles, and design consistency automatically. You review the output like you'd review a document — no timeline editing required.
Q: Can I use my own voice instead of AI narration for some slides? A: Yes. You can record specific slides yourself and leave the rest to generated narration. The tool lets you mix narration sources so the final video matches your comfort level and the content's needs. See our narration guide for the details.
Q: Are the subtitles editable after auto-generation? A: Absolutely. Auto-generated subtitles are a starting point, not a final lock. You can review and edit the text before export — which is also the right moment to fix any technical terms or names that need adjustment.
Q: What output formats does PPT-to-video support? A: The exported video is a standard MP4 file you can upload to your LMS, YouTube, or internal training platform. Because it's a regular video file, you retain full control over where it lives and how it's distributed.