PPT to Video with AI Narration: Zendeck's Guide to Micro-Course Creation
PPT to Video with AI Narration: Zendeck's Guide to Micro-Course Creation
Let me be real for a second: if you've ever tried to produce a video course the "proper" way, you know the drill. Camera. Microphone. Lights. Hours of recording, then more hours in an editing timeline cutting out the "umms" and the awkward pauses. By the time you're done, you've spent a full weekend on what was supposed to be a 15-minute lesson.
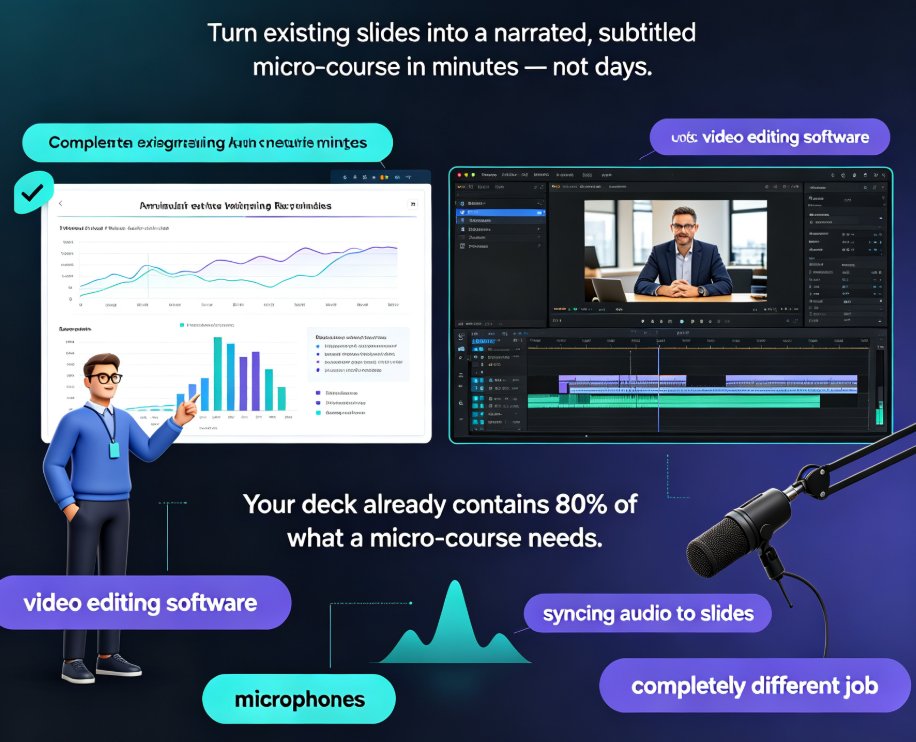
That's exactly why the fastest way to create a micro-course in 2026 isn't a camera — it's the slides you already have. Zendeck's PPT-to-video feature turns a static deck into a narrated MP4, with AI handling the script, the voice, and the timing. No studio. No editing software. No re-recording when you update a slide.
In this guide, I'll walk you through the full workflow, compare it against the traditional production pipeline, and share the practical tips I've picked up from watching educators and trainers ship courses this way.
01 Why Traditional Video Production Fails Most Educators
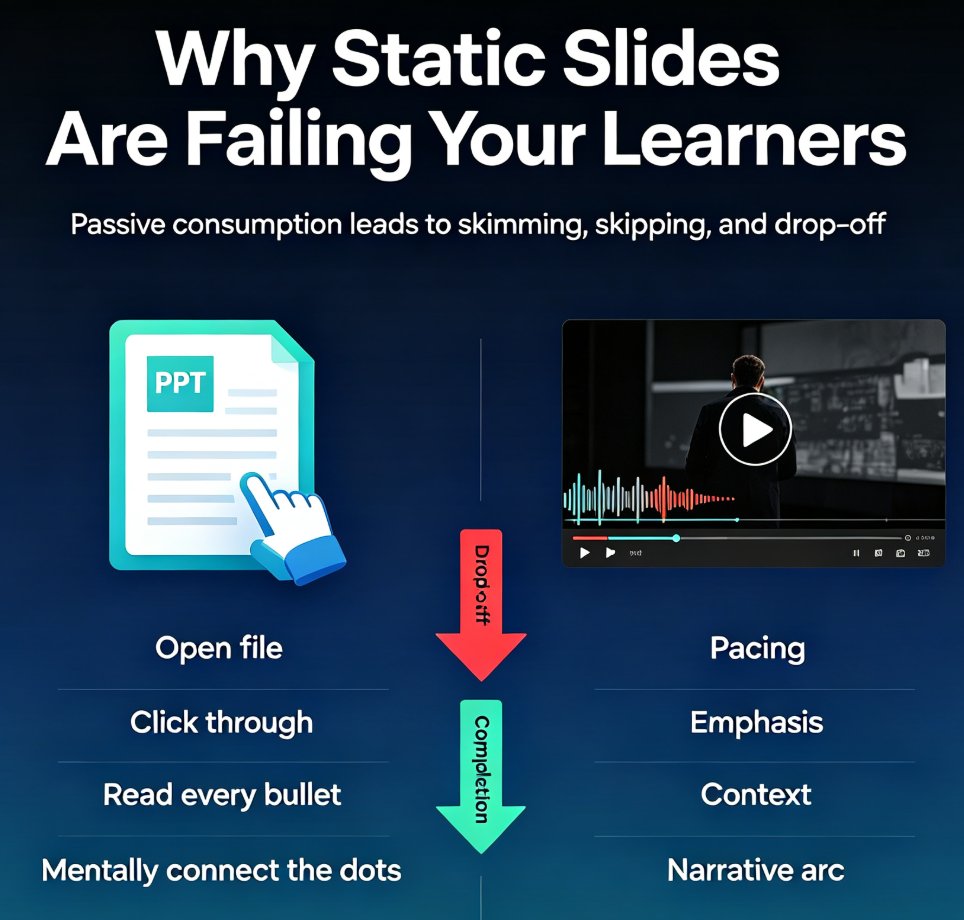
Let's talk about the real barrier. It's not creativity, and it's not content. Most educators and trainers already have the material — it's sitting in a PowerPoint file from last semester or last quarter. The barrier is production.
Traditional video production demands three things most people don't have: equipment, time, and editing skill. A decent mic, a quiet room, lighting, and a video editor that doesn't feel like a spaceship control panel. Even if you get past the gear, you still face the re-record loop: every time a fact changes or a slide needs updating, you're back in front of the camera.
I've watched a corporate trainer spend two weeks producing a 20-minute onboarding video — recording, re-recording, and editing — only to have the policy change the following month. That's not a production problem; that's a workflow problem. The content was never the bottleneck; the pipeline was.
The result? Most course content never becomes video, and the content that does is outdated by the time it ships. That's the pain point Zendeck's PPT-to-video directly addresses — it removes the production layer entirely, so your existing slides become the video.
02 What Zendeck's PPT-to-Video Actually Does
Here's the honest version, not the marketing version. Zendeck's PPT-to-video reads your slide deck — the structure, the bullet points, the charts — and generates a narration script for each slide. Then it pairs that script with a voice, times the audio to the slide transitions, and exports a synchronized MP4.
You're not rebuilding your deck. You're not designing a timeline from scratch. The slides stay exactly as they are; the AI adds the voice layer on top. If you want the deeper mechanics of how narration gets attached to slides, our walkthrough of adding narration to slides covers the details.
The workflow breaks down into four stages: upload, script, voice, export. Each one takes minutes, not hours. And because the narration is tied to the slides, updating a slide later doesn't mean re-recording the whole course — you regenerate just that segment.
03 The Step-by-Step Workflow: From Static Slides to Narrated Micro-Course
Step 1: Upload Your Deck
Start with the PowerPoint file you already have. Zendeck parses the structure — title hierarchy, bullet points, embedded charts — and prepares it for narration. One tip from experience: make sure your text is editable text, not text baked into images. The AI can't narrate what it can't read.
Step 2: Let AI Draft the Script
The AI generates a narration script for each slide based on the on-slide content. If you've kept speaker notes in your deck, those get used too — which is why it's worth keeping your notes clean. You can review the generated script, edit it manually, or ask the AI to redraft a slide that doesn't read well. If you're new to writing speaker notes, our guide on auto-generating speaker notes for AI decks is a good starting point.
Step 3: Pick a Voice and Language
This is where it gets fun. You can choose from a range of AI voices — standard, neural, and more expressive options — and preview them on your actual slides before committing. If you need the same deck in multiple languages, you can generate narration in each one without rebuilding the slides. That's a huge win for teams with multilingual audiences.
Step 4: Edit, Listen, Regenerate
Before you export, listen back to the narration. If a slide's delivery feels off, you can regenerate the audio for just that slide with a different voice prompt — no need to redo the whole deck. This is the "maintainable" part of the workflow: your narration stays editable, not frozen in a recording.
Step 5: Export and Share
Export a standard MP4 with the audio timed to each slide. Drop it into your LMS, upload it to a course platform, or share a link. The file is ready for distribution the moment it's rendered.
The entire loop — upload, script, voice, export — takes minutes, not days. That's the outcome educators care about: more courses shipped, less time lost.
04 Traditional Production vs. Zendeck's PPT-to-Video: A Side-by-Side
| Traditional Video Production | Zendeck PPT-to-Video | |
|---|---|---|
| Equipment needed | Camera, mic, lighting, quiet room | None — just your slides |
| Editing software | Yes, with a learning curve | Not required |
| Recording time | Hours per lesson | Minutes per deck |
| Re-recording when slides change | Full reshoot | Regenerate one segment |
| Multilingual versions | Re-record in each language | Switch voice, keep slides |
| Skill barrier | High (editing, audio, timing) | Low (anyone can do it) |
| Time from deck to video | Days to weeks | Minutes |
The table doesn't lie. The traditional route optimizes for production quality at the cost of speed and flexibility. Zendeck's route optimizes for speed and maintainability — and for micro-courses, that trade-off is almost always the right one.
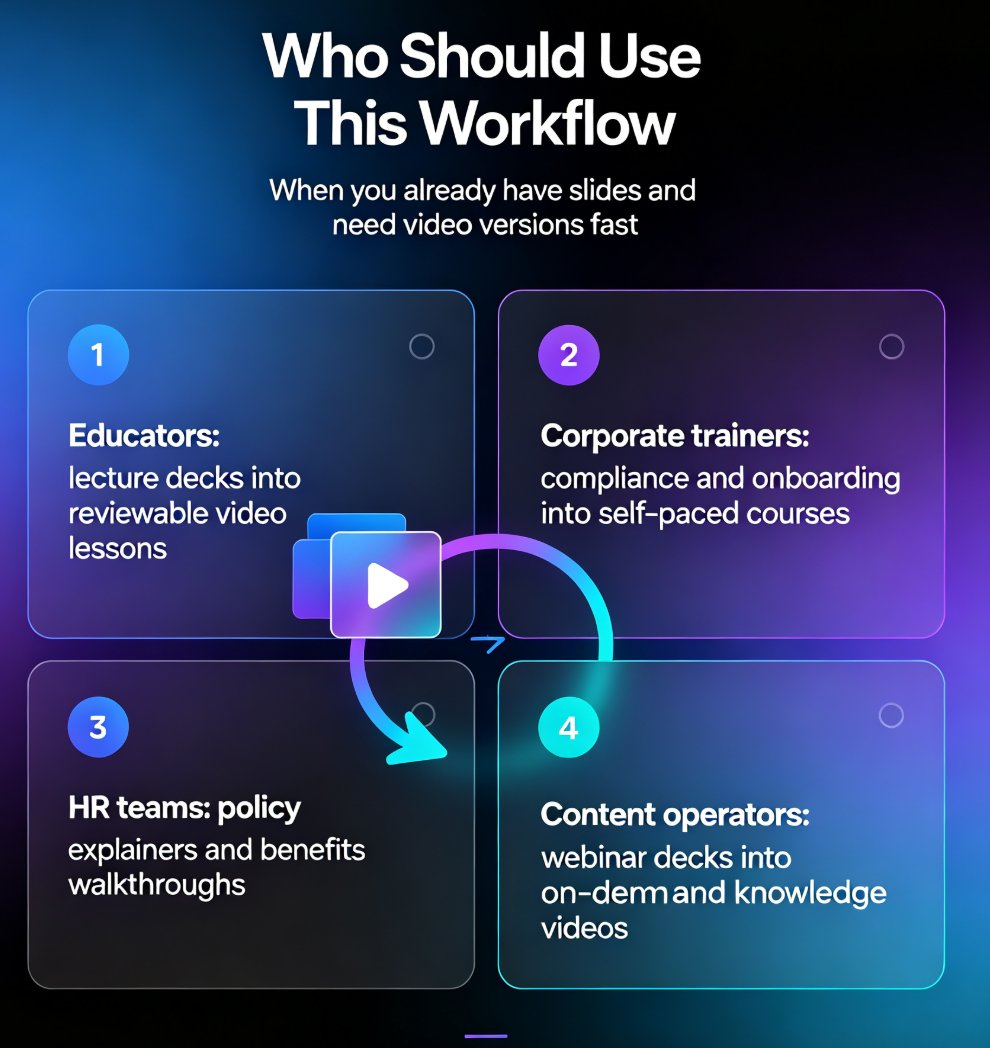
05 Who Should Use This Workflow (and When)
This isn't for everyone, and it's worth being honest about that. If you're producing a cinematic brand film with actors and a director, keep the camera. But if you're creating micro-courses — short, focused lessons on a single topic — the PPT-to-video workflow is a perfect fit.
The clearest use cases:
- Educators converting lecture decks into reviewable video lessons for students who missed class or want to revisit the material.
- Corporate trainers turning compliance manuals and onboarding decks into self-paced courses. If you're in this camp, our guide on turning a compliance manual into a video course covers the specifics.
- HR teams producing policy explainers and benefits walkthroughs without hiring a production crew.
- Content operators repurposing webinar decks into on-demand knowledge videos.
The common thread: you already have the slides, and you need video versions of them — fast, without a production budget. This is also where the broader shift toward AI-generated video decks in corporate training is heading, and the PPT-to-video workflow is the on-ramp.
06 Practical Tips for Better Micro-Courses
A few things I've learned from watching people ship courses with this workflow:
Keep slides self-explanatory. The AI narrates what's on the slide, so if your slides are dense walls of text, the narration will be dense too. Trim bullets to the essentials before you convert.
Write speaker notes even if you don't plan to present. The AI uses them to enrich the narration script. A few sentences of context per slide makes the difference between a robotic read and a natural explanation.
Preview voices on your actual slides. Don't pick a voice from a demo clip — voices behave differently on real content. Zendeck lets you preview on your deck, so use that.
Update in segments, not in full. When a fact changes, edit that slide and regenerate just its narration. You'll thank yourself later.
Add subtitles if your audience watches on mute. A lot of learners watch videos with sound off — in open offices, on commutes. Adding subtitles to your exported video makes it usable in those contexts — our guide on adding voiceover and subtitles walks through it — and it's a small step that pays off in engagement.
And one more thing: don't overthink the polish. A micro-course that ships this week is worth more than a perfect one that ships next month. The best micro-course is the one that actually gets published.
FAQ
What is Zendeck's PPT-to-video feature? Zendeck's PPT-to-video converts a static slide deck into a narrated MP4 video. The AI generates a narration script from your slides, pairs it with a voice, and exports a synchronized video — no camera, mic, or editing software required.
Do I need a microphone or recording studio? No. The narration is generated by AI voices, not recorded by you. You can choose from multiple voice options and preview them on your slides before exporting.
Can I edit the AI-generated narration? Yes. You can review and edit the script per slide, ask the AI to redraft a slide, or regenerate the audio for a single slide without redoing the whole deck.
What formats can I export? You export a standard MP4 video file with audio timed to each slide, ready to drop into an LMS, course platform, or share link.
How long does it take to convert a deck into a video? The full workflow — upload, script generation, voice selection, and export — takes minutes for a typical deck, compared to days or weeks with traditional video production.