How to Convert Your PPT into a Narrated Micro-Course with Zendeck
You spent three hours building a deck that looks great. Then you shared it, and... crickets. Learners skimmed past slide five, missed the key point on slide nine, and never opened it again. Sound familiar?
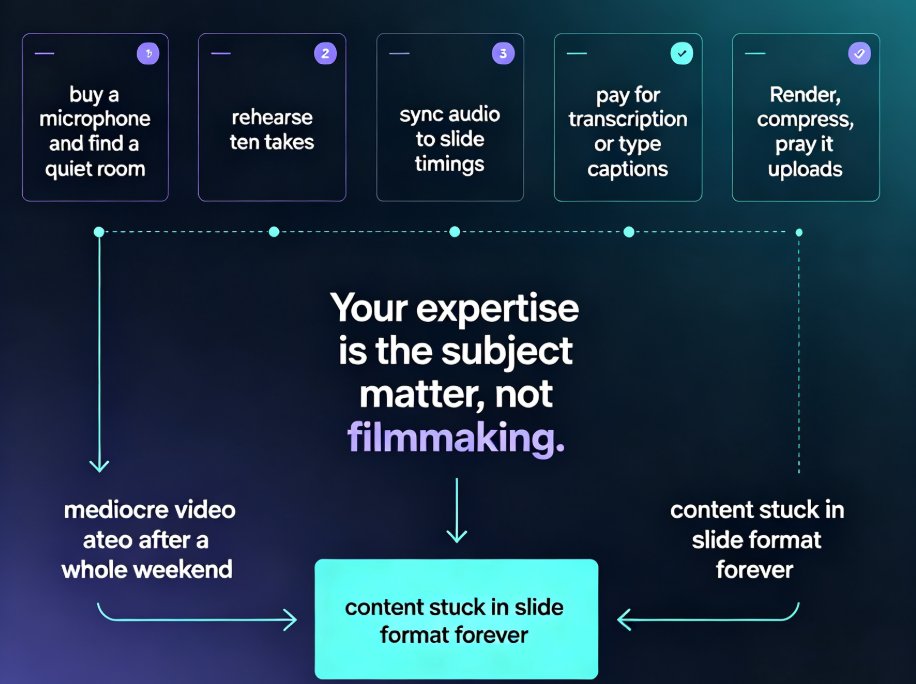
Here's the uncomfortable truth: static slides are a one-way street. They don't explain, they don't pace, and they don't hold attention. The fix isn't a better template — it's turning your deck into a narrated micro-course. And with Zendeck's PPT-to-video pipeline, you can do that in under an hour without touching a video editor.
Let's walk through the whole pipeline: from a static PPT to a finished, narrated, subtitle-ready video you can drop straight into your LMS or share with your team.
01 Why Static Slides Fail and Narrated Micro-Courses Win
Let's be real: a slide deck is a reference document. It's great for someone who already knows the material and just needs the bullet points. But for teaching, onboarding, or training, it's the weakest format you can pick.
A narrated micro-course adds the one thing slides can't: a human (or human-sounding) voice that guides the learner through the material. That voice sets the pace, emphasizes what matters, and fills the gaps between bullets. It's the difference between handing someone a map and actually walking them to the destination.
Here's how the two formats stack up in practice:
| Attribute | Static PPT | Narrated Micro-Course (Zendeck) |
|---|---|---|
| Learner engagement | Passive skimming | Active listening with visual sync |
| Pacing | Learner-controlled, often rushed | Voice-controlled, consistent rhythm |
| Context | Bullets only, easy to misinterpret | Voice explains the "why" behind each point |
| Accessibility | Poor for screen readers | Subtitles + alt text built in |
| Shareability | File attachments, version chaos | One video link, plays anywhere |
| Production time | Hours of manual design | Under an hour, mostly automated |
The outcome is simple: narrated micro-courses get watched, static decks get archived. If you're building training for a team, a course for students, or a pitch for stakeholders, the narrated format is the one that actually changes behavior.
02 The Full Pipeline: From PPT to Narrated Micro-Course in Zendeck
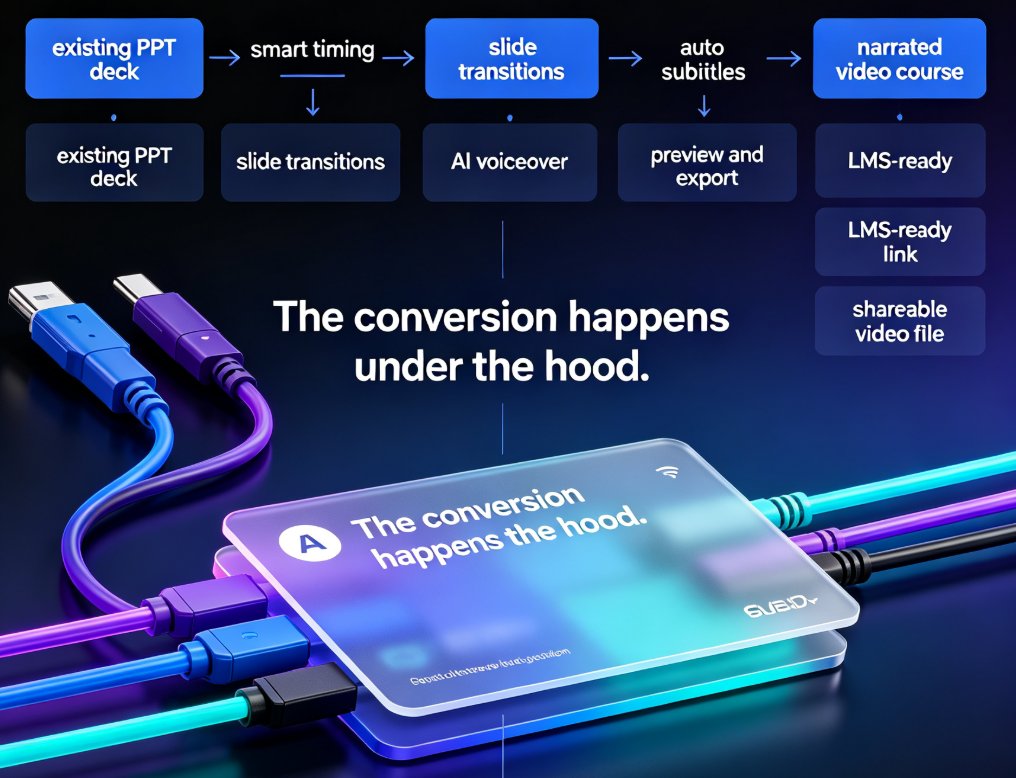
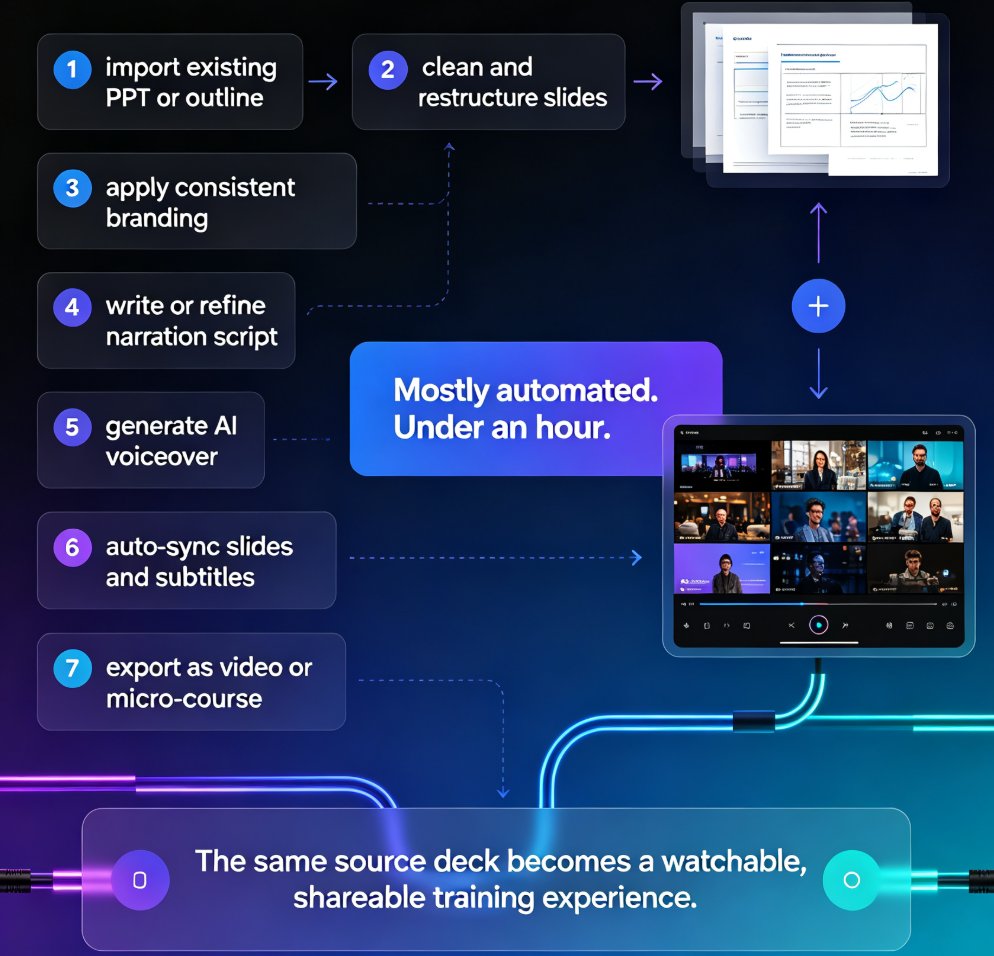
Zendeck's PPT-to-video feature is designed as a single pipeline — you don't bounce between five tools. Here's the exact flow.
Step 1: Import your content
You can start from a finished PPT, a Word outline, or even raw Markdown. Zendeck reads the structure and turns it into clean, consistent slides. If you're starting from an outline, this is where the magic happens — Zendeck handles the layout so you don't have to. For a deeper look at how this works, check out how AI agents turn an outline into a published micro-course.
Step 2: Review and polish the slides
Before you add narration, make sure the visuals are right. Zendeck's smart layouts unify fonts, colors, and spacing automatically, so you won't see the messy misalignments that plague manually-built decks. If you've ever wondered why AI-generated slides still look off, this guide on fixing messy AI slides covers the common culprits.
Step 3: Add the AI voiceover
This is the heart of the pipeline. Zendeck synthesizes natural-sounding narration for each slide, reading your speaker notes or a script you provide. You can pick a voice that fits your audience — warm and conversational for onboarding, crisp and authoritative for compliance training. If you'd rather use your own voice, you can record per slide instead. The full workflow is covered in our guide to adding narration to slides.
Step 4: Auto-generate subtitles
Zendeck automatically creates subtitles from the narration and syncs them to the slide timing. This isn't just a nice-to-have — subtitles are becoming a baseline expectation, especially for accessibility. If you're publishing to a public platform or an enterprise LMS, WCAG compliance is increasingly a requirement, and auto-generated subtitles get you most of the way there.
Step 5: Review, tweak, export
Listen through the narration once. Adjust speaking speed on any slide, regenerate a section that feels rushed, and re-sync subtitles if needed. Then choose your export settings and render.
03 Audio Clarity: The Difference Between "Watchable" and "Skip"
Here's a pro tip that took me years to learn: viewers will forgive average visuals, but they will not forgive bad audio. A hissy, uneven, or robotic-sounding narration gets the video closed within ten seconds.
So what actually makes narration sound good?
- Pick one consistent voice. Switching voices mid-course feels jarring. Stick with a single AI voice (or your own) for the whole video.
- Mind the pacing. Most people speak too fast when nervous. Zendeck lets you slow the narration slightly — a calm, deliberate pace reads as confident, not slow.
- Leave breathing room. A short pause after a key point gives learners a beat to absorb it. Don't cram every slide with a wall of narration.
- Match tone to content. A technical deep-dive needs a steady, neutral voice. A product demo can be warmer and more energetic. Choose accordingly.
If you're using your own recorded voice, keep the mic close, record in a quiet room, and don't be afraid to redo a take. For a deeper dive into voiceover and subtitle options, see our voiceover and subtitles guide.
04 Export Settings: Getting Crisp, Shareable Video
The last step is where most people trip up. You've built a great narrated course, then you export it at the wrong resolution and the text becomes unreadable mush.
Rule of thumb: export at the highest resolution your distribution channel can handle. For an LMS or YouTube, that means full HD or higher. For a quick share over Slack or email, a smaller file size is worth the resolution trade-off.
Here's what to consider before you hit render:
| Export consideration | Best practice |
|---|---|
| Resolution | Highest available for LMS/YouTube; lower for chat/email sharing |
| File format | MP4 for universal compatibility |
| Subtitles | Burn them in for social sharing; keep them separate for LMS accessibility |
| Slide timing | Match narration pace — don't rush slides past the voiceover |
| Aspect ratio | Keep 16:9 unless your platform requires otherwise |
One more thing: if your micro-course is part of a broader training library, consistency matters. The same visual style, voice, and subtitle format across all your videos makes your content feel like a cohesive program rather than a pile of one-offs. That's exactly why AI PPT-to-video is becoming the 2026 corporate training standard.
05 Publishing and Sharing Your Micro-Course
Once your video is exported, the distribution options are wide open. Upload it to your LMS, embed it in a course page, post it to YouTube, or share a link directly with your team.
A few practical notes from the trenches:
- Keep videos short. A micro-course should be 3–7 minutes. If your deck runs longer, split it into a series — learners retain more from three short videos than one long one.
- Add a call to action. End with a clear next step: take a quiz, complete an exercise, or book a follow-up session.
- Track engagement. If your platform supports it, watch where viewers drop off. That tells you which slides need tighter narration or better visuals.
If you're building a whole library of micro-courses, the micro-course production category has more resources on structuring and scaling your content.
FAQ
How long does it take to convert a PPT into a narrated micro-course with Zendeck?
Most users go from a finished deck to a published narrated video in under an hour. Zendeck handles slide structuring, AI voiceover, and subtitle generation automatically, so your only manual work is reviewing the narration, adjusting pacing, and picking export settings.
Can I use my own voice instead of Zendeck's AI voiceover?
Yes. Zendeck supports both AI voice synthesis and recording your own narration. If you prefer a human voice, you can record per slide or upload an audio file, and Zendeck will still auto-sync it with the slide timing and generate subtitles.
Does Zendeck auto-generate subtitles for the narrated video?
Yes. Zendeck automatically generates subtitles from the narration track and syncs them to the slide timing. You can review and edit the subtitle text before export, which is especially useful for accessibility and WCAG compliance.
What export resolutions does Zendeck support for video?
Zendeck lets you export in standard HD resolutions suitable for LMS platforms, YouTube, and internal training libraries. For crisp text and chart readability, choose the highest available resolution; for quick sharing over chat or email, a lower resolution keeps file size manageable.
Can I edit the AI voiceover after it's generated?
Yes. You can regenerate individual slides, change the voice, adjust speaking speed, and re-sync subtitles without rebuilding the whole course. This makes last-minute script tweaks painless.
Bottom line: if you're still sharing static decks and hoping people read them, you're leaving most of your message on the table. Zendeck's PPT-to-video pipeline turns your existing slides into a narrated micro-course with AI voiceover, auto-subtitles, and clean export — no video editing skills required. Import your deck, review the narration, pick your resolution, and publish. That's the whole job, done in under an hour.