How to Convert PPT to a Narrated Video with Zendeck: Step-by-Step
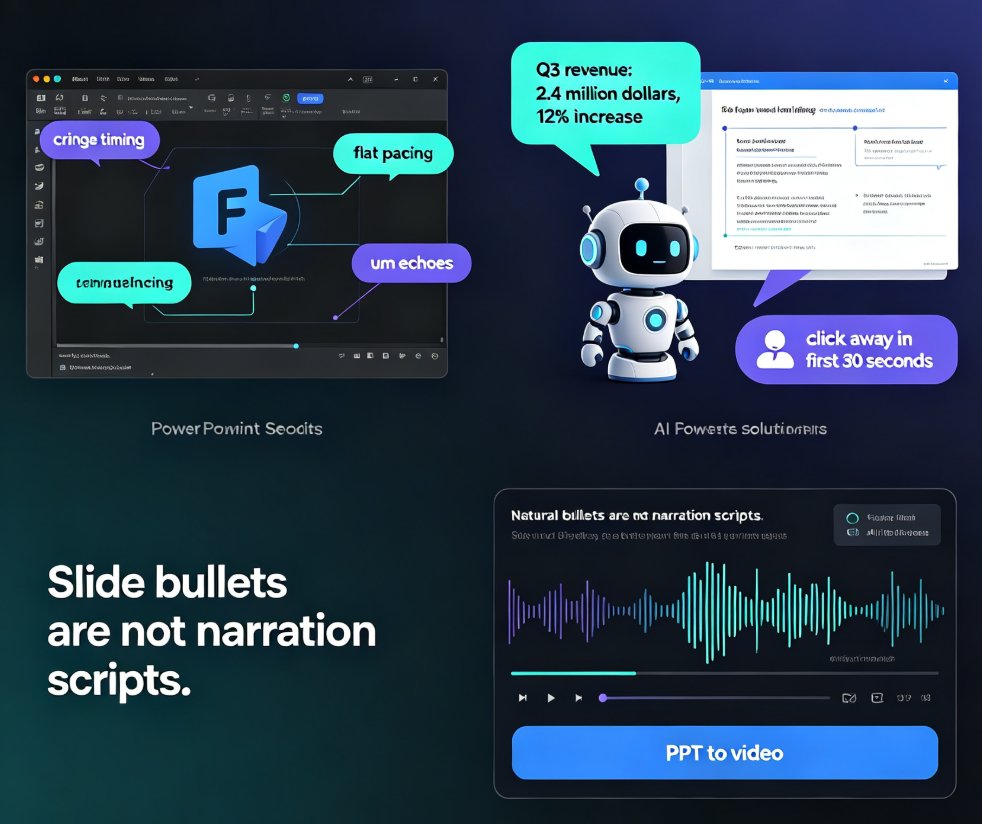
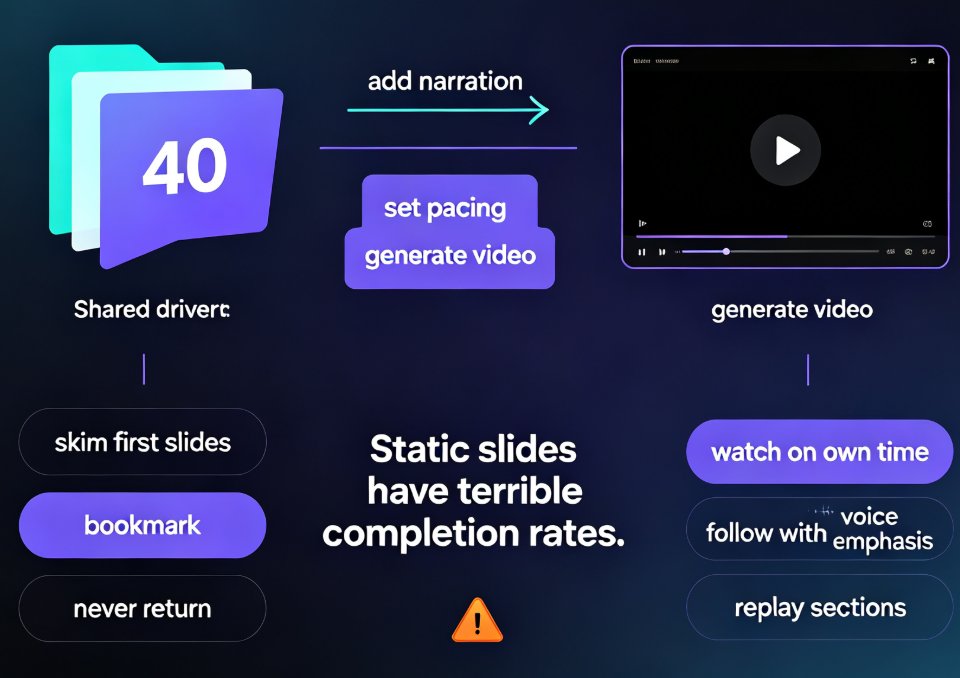
Let's be honest: nobody gets excited about a 40-slide deck sitting in a shared drive. You built it, you presented it once, and now it's just... there. If you're a trainer, educator, or L&D lead, you've probably felt the same itch — the content is solid, but it only comes alive when you're in the room. That's exactly why converting PPT to a narrated video has become such a popular workflow. It turns your static slides into something people can watch on their own time, at their own pace, and actually finish.
The good news? You don't need a recording studio, a professional microphone, or a video editor. With Zendeck's PPT-to-video feature, the whole process takes minutes, not days. Here's the exact workflow, step by step.
01 Why Bother Turning Slides into Narrated Video?
Let's start with the "why," because if you're going to invest time in a new workflow, you should know what you're getting back.
The core problem: static slides have terrible completion rates. When you send a deck to your team or students, most people skim the first few slides, bookmark it, and never return. There's no pacing, no emphasis, no voice telling them what matters. It's a document, not a lesson.
Narrated video fixes that in three ways:
- It adds a human layer. Even a synthetic voice gives your content rhythm and emphasis. Viewers follow along instead of skimming.
- It's on-demand. People can watch during a commute, a lunch break, or a quiet afternoon. No scheduling, no live session required.
- It scales. One narrated video can reach 10 people or 1,000 people with the same quality. You record once, and it works forever.
A narrated video turns your slide deck from a document people skim into a lesson people actually finish.
This is why AI PPT-to-video is becoming the 2026 corporate training standard — not because video is trendy, but because it actually moves the needle on completion and retention. When learners can replay a section, slow down the pacing, or watch on their own schedule, they engage differently. And engagement is the first step toward retention.
02 Step 1: Start with an Outline, Not a Finished Deck
Here's a common mistake: people try to convert a finished, heavily-designed PPT and expect magic. That works, but it's not the smoothest path. The smoothest path starts earlier — with your outline.
Zendeck accepts a Word outline, Markdown, or plain TXT file. You paste or upload your content, and the AI builds the visual structure for you. This is a huge time-saver because you're not fighting existing layouts, inconsistent fonts, or mismatched colors that crept in over months of edits.
If you're already working in Word or Google Docs, this integration is seamless — you can learn more about how AI presentation tools integrate with Word and Google Docs. The key insight is that you don't need to reformat anything before importing. Just clean up your headings and bullet structure, and the AI handles the rest.
The outline-first approach means you focus on what to say, not how it looks. Design comes later, automatically.
03 Step 2: Let AI Generate the Visual Structure
Once your outline is in, Zendeck generates a structured deck with consistent layouts, fonts, and colors. You don't need to touch a single text box.
What you get:
- Smart layouts that adapt to your content type — bullet lists, comparisons, timelines, data tables
- A template library with premium options you can apply in one click
- One-click reskin to unify fonts and colors across all slides
If you want to understand how the template selection works under the hood, this guide on how Zendeck picks the right template for you is worth a read. The short version: the AI reads your content type and context, then suggests layouts that fit — not just pretty backgrounds.
At this stage, you're reviewing and tweaking — not building from scratch. Most people spend 5–10 minutes here, adjusting wording or swapping a visual. If you have brand guidelines, you can also apply a custom brand kit so the deck matches your organization's colors and fonts before you even think about video.
04 Step 3: Add Voiceover Without a Mic
This is where the magic happens. Zendeck's PPT-to-video feature generates narration directly from your slide content using AI voice synthesis.
Here's the workflow:
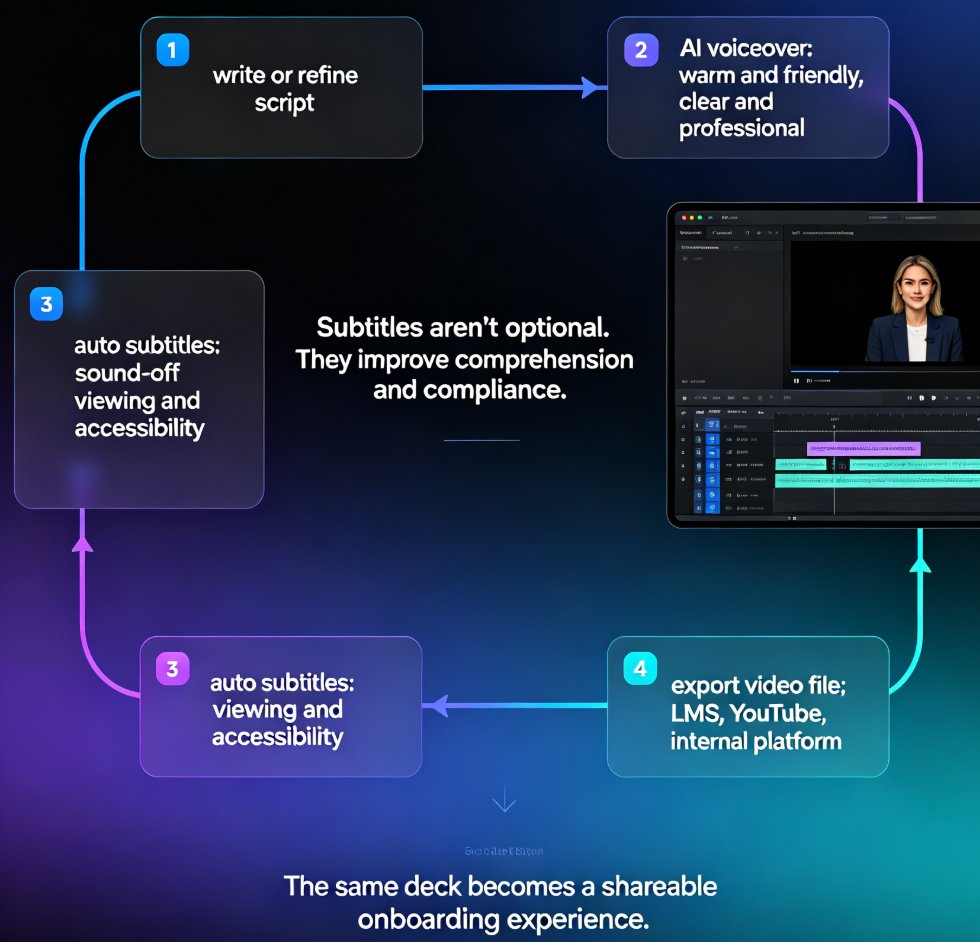
- Open the PPT-to-video tool from your generated deck.
- Choose a voice — Zendeck offers multiple AI voices with different tones and pacing.
- Review the auto-generated narration script for each slide. Edit the text if you want to change emphasis or wording.
- Adjust pacing — speed up or slow down per slide.
- Generate the video.
No microphone. No recording booth. No "take 14 because you stumbled on slide 6."
The biggest time-saver isn't the video export — it's the AI voiceover that removes the entire recording session from your workflow.
If you want to go deeper on the narration options, check out this walkthrough on adding narration to your slides with Zendeck's PPT-to-video. And if you're curious about pairing voiceover with subtitles, this guide on adding voiceover and subtitles with Zendeck's AI covers both in detail.
05 Step 4: Export, Share, and Track
Once your video is generated, you have a few options. Here's a quick comparison to help you choose:
| Export option | Best for | Time to set up | Notes |
|---|---|---|---|
| MP4 download | LMS upload, email, offline viewing | Instant | Highest compatibility |
| Shareable link | Internal training, quick distribution | Instant | No download needed |
| Embedded player | Intranet, course platforms | Minutes | Keeps viewers in your ecosystem |
| Slide + video bundle | Hybrid learning (slides + recording) | Minutes | Best of both worlds |
For most trainers, MP4 download is the default because it works everywhere — your LMS, YouTube, Vimeo, or a simple shared drive. If you're building a full course, you might also want to explore the micro-course production category for related workflows and best practices.
One tip from experience: don't overthink the export format. Start with MP4, get feedback from a small group, then adjust. You can always re-export if you need a different format later.
06 Five Habits That Make Narrated Micro-Courses Actually Work
Converting PPT to video is easy. Making the video good takes a little discipline. Here are five habits I've picked up from watching trainers and educators do this well:
1. Script before you generate. Even though AI writes the narration from your slides, you'll get better results if your slide text is already concise and spoken-friendly. Short sentences. Active voice. No walls of text.
2. Keep slides visual. If a slide has more than 20 words, it's a document, not a slide. Move the detail to the narration and let the slide carry one key idea.
3. Add subtitles for accessibility. A surprising number of viewers watch with sound off — in open offices, on public transit, or with sleeping kids nearby. Zendeck can auto-generate subtitles, and this guide on accessible micro-courses with auto-subtitles shows you exactly how to set it up.
4. Keep each video under 10 minutes. Attention drops sharply after that. If your content is longer, split it into a series of micro-courses. Your learners will thank you — and your completion rates will show it.
5. Review the AI voiceover before exporting. The AI does a great job, but it can mispronounce names or acronyms. A 30-second review saves you from re-exporting later.
The difference between a narrated video people watch and one they abandon is almost always pacing — keep it tight, keep it visual, keep it under ten minutes.
FAQ
Q: What file formats can I import into Zendeck to create a narrated video? A: You can import a Word outline, Markdown, or plain TXT file. Zendeck converts your content into structured slides, and then you apply the PPT-to-video feature to generate narration and export as video. You can also start from an existing deck if you prefer.
Q: Do I need a microphone to add narration? A: No. Zendeck uses AI voice synthesis to generate narration directly from your slide content. You can choose from multiple voices, adjust pacing, and edit the script before exporting. Recording your own voiceover is optional, not required.
Q: Can I edit the AI voiceover after it's generated? A: Yes. Before exporting, you can review and edit the narration script for each slide, change the voice, and adjust the pacing per slide. A quick 30-second review helps catch mispronounced names or acronyms before you finalize.
Q: What export formats are available? A: Zendeck offers MP4 download, shareable links, and an embedded player option. MP4 is the most versatile and works with most LMS platforms, video hosting sites, and shared drives. Shareable links are great for quick internal distribution.
Q: Can I add subtitles to my narrated video? A: Yes. Zendeck can auto-generate subtitles from the narration, which improves accessibility and helps viewers who watch with sound off. This is especially useful for corporate training and open-office environments.