How to Create a Training Deck from Scratch: 6 Steps with Zendeck's AI
Let's be honest: if you're a trainer, an L&D manager, or a subject-matter expert, PowerPoint's design tools were never your friend. You have the knowledge. You have the content in your head. But the moment you open a blank deck, you're staring at a white void, wondering which font pairs with which color and why your bullet points look like a ransom note.
Here's the good news: you don't need to become a designer to produce professional-grade training courseware. With Zendeck's AI deck generator, the entire flow — from a messy outline to a polished, on-brand deck — takes about six steps and roughly ten minutes. This tutorial walks you through each one, the way I'd walk a colleague through it over coffee.
01 Define the Training Goal and Audience First
Before you type a single word into any AI tool, answer two questions:
What should learners be able to do after this session? and Who is actually in the room?
These two answers shape everything downstream. If you're training new hires on your company's compliance policy, the deck should be dense, procedural, and full of "what happens if you don't" scenarios. If you're onboarding customers to a new product feature, the deck should be lighter, benefit-driven, and packed with real-world examples.
Write your goal in one sentence. For example: "By the end of this 30-minute session, new hires will be able to identify three types of phishing emails and report them using our internal ticketing system." That single sentence tells the AI what tone to use, how deep to go, and what to emphasize.
A clear goal is the difference between a deck that teaches and a deck that merely decorates. Skip this step and your AI-generated slides will be generic — technically correct, but useless in practice. I've seen dozens of training decks fail because they tried to cover everything and ended up teaching nothing. A focused goal keeps both you and the AI on track.
02 Brain-Dump Your Outline (Messy Is Fine)
Now open a blank document — or grab a napkin, honestly — and dump everything you know about the topic. Don't organize. Don't polish. Just get the raw material out of your head.
This is where most people freeze. They think they need a perfect outline before they can use an AI tool. They don't. Zendeck's AI is designed to take rough, unstructured input and turn it into a structured presentation. The only thing you need is enough content to give the AI context.
If you're stuck, use this simple prompt template:
Turn this into a slide deck. Use short headers and bullet points. One idea per slide.
[Paste your raw notes here]
That's it. The AI will handle the structuring, the sequencing, and the slide-by-slide breakdown. You can even paste in an existing Word document or Markdown file directly — Zendeck supports both. Got an old training manual sitting in a shared drive? That's a perfect starting point.
The messier your brain dump, the better the AI's structuring job — because it has more raw material to work with. A thin outline produces a thin deck. If you're not sure how to structure your raw thoughts, this guide on turning a brain dump into a structured presentation will help.
03 Paste Your Outline into Zendeck's AI Generator
Now the fun part. Log into Zendeck, create a new presentation, and choose the AI generation option. You'll see three paths:
- Prompt-based generation — describe your topic and let the AI build from scratch.
- File-based generation — upload a Word outline or Markdown file.
- Slide-by-slide generation — build one slide at a time, useful for highly custom decks.
For a training deck, file-based generation is usually the sweet spot. You've already done the brain dump in step 02, so paste it in and let Zendeck's AI do the heavy lifting.
The AI will produce a complete deck structure: title slide, learning objectives, content sections, examples, and a summary. It'll also suggest visuals, charts, and layout options based on your content type. If your training covers a process, it'll suggest a flowchart. If it covers data, it'll suggest a chart.
Zendeck's AI doesn't just generate slides — it generates the right kind of slides for your content. That's the difference between a tool that fills templates and one that actually thinks about structure. The output isn't a random pile of slides; it's a logical progression that mirrors how people actually learn.
04 Pick a Template and Let AI Handle the Layout
Once the AI has generated your content, it's time to choose a visual direction. Zendeck's template library covers everything from corporate minimalism to bold, education-friendly designs. And here's the kicker: the AI will recommend templates based on your content type and audience.
If you're building a compliance training deck, it'll steer you toward clean, authoritative layouts. If you're building a product onboarding deck, it'll suggest warmer, more illustrative designs. The AI's template selection logic considers factors like slide density, content type, and your audience's familiarity with the topic. You can read more about how Zendeck picks the right template for you.
One thing worth doing here: if your organization has brand guidelines, set up a brand kit in Zendeck before you generate. That way, every slide automatically uses your company's fonts, colors, and logo placement. No more manually adjusting hex codes on forty slides. You can learn more about setting up brand kits for consistent presentations.
The template is not the final product — it's the starting point. Zendeck's one-click reskin feature lets you swap the entire visual theme in seconds, so you can try three different looks before committing to one. That flexibility is a lifesaver when stakeholders can't agree on a direction.
05 Refine Content and Visuals (Yes, You Can Edit)
Here's a common misconception: AI-generated decks are locked. They're not. Zendeck gives you full manual editing control. You can:
- Rewrite any text block
- Swap images and icons from the asset library
- Reorder slides
- Adjust charts and data visualizations
- Change layouts on individual slides
The workflow that works best: let the AI generate, then do one focused pass of refinement. Read every slide out loud. Does it sound like you? Does it match the training goal you defined in step 01? Cut anything that doesn't serve that goal. This is also the moment to check for consistency — are your examples relevant to your specific audience, or are they generic filler?
The best AI-assisted decks are the ones where the human does the final edit. The AI gets you to 80% in minutes; your expertise takes it the rest of the way. If you're wondering about the extent of manual editing, the answer is yes — you can edit everything.
If you're presenting live, this is also the moment to generate speaker notes. Zendeck can auto-generate speaker notes for every slide, giving you a script to work from without having to write one from scratch. That alone saves another 30-45 minutes per deck.
06 Export, Share, and Turn It into a Video
Your deck is polished. Now what?
Zendeck makes the final mile painless. You can:
- Export as PDF for a shareable link or print version
- Export as PowerPoint if your organization still lives in the Microsoft ecosystem
- Share via link for real-time collaboration with stakeholders
- Convert to video using Zendeck's PPT-to-video feature, which adds narration and turns your slides into a micro-course
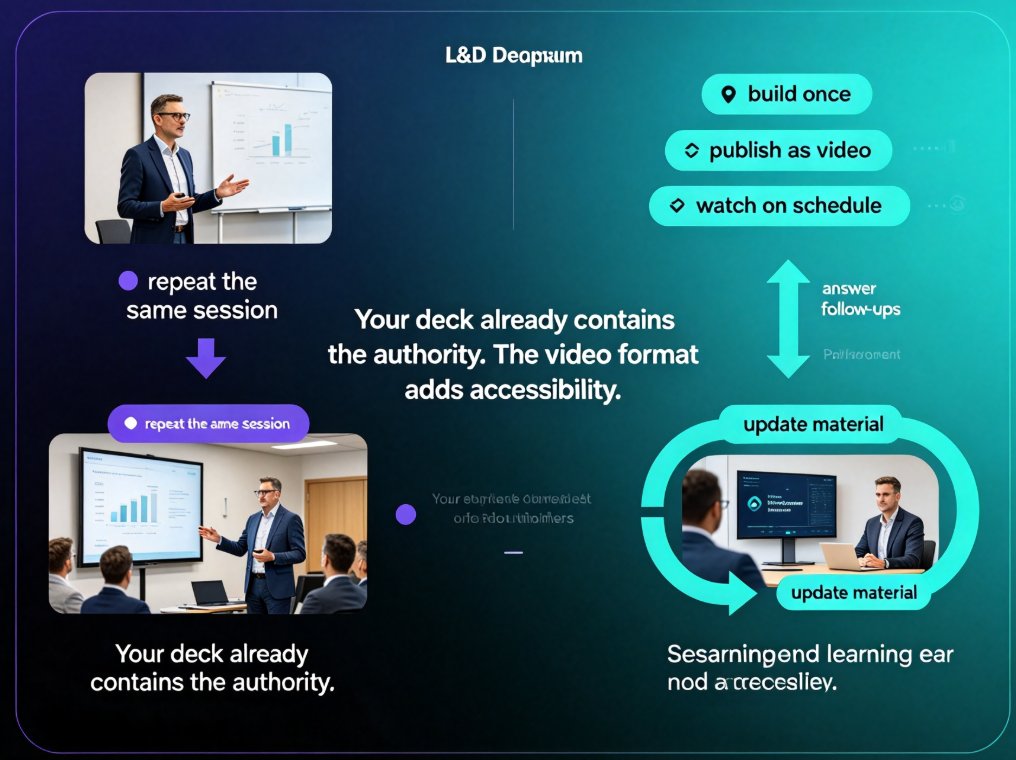
That last option is a game-changer for training teams. Instead of running the same live session five times, record it once, convert it to video, and let learners go through it at their own pace. You can even add narration directly in Zendeck, so the video feels like a real instructor-led session.
A training deck that lives only as a PDF is a training deck that gets forgotten. Converting it to video extends its life and reach. If you're building a full training program, you can even create a micro-course from scratch using Zendeck's AI and templates.
Traditional vs. AI-Assisted Training Deck Creation
| Step | Traditional Workflow | Zendeck AI Workflow |
|---|---|---|
| Outline | Manual structuring, hours of staring at a blank page | Brain dump → AI structures it in seconds |
| Design | Pick fonts, colors, layouts manually | AI recommends templates and applies brand kit |
| Slide creation | One slide at a time, copy-pasting content | Full deck generated in one pass |
| Visuals | Source images, create charts manually | AI suggests visuals; asset library provides them |
| Editing | Manual tweaks on every slide | AI-generated base + focused manual refinement |
| Distribution | Export PPT, email it around | Share link, export PDF/PPT, or convert to video |
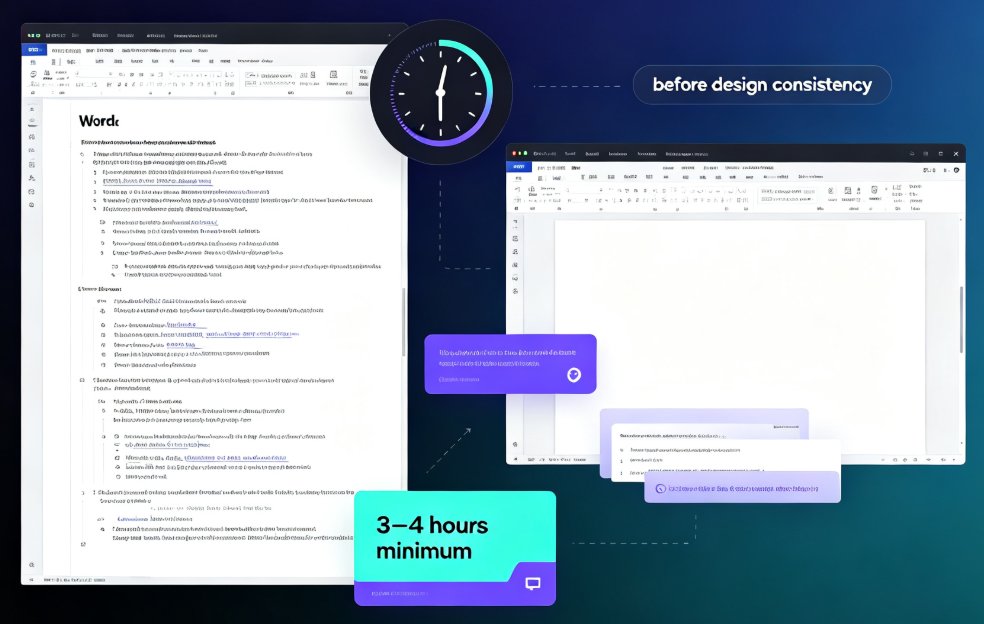
| Time to complete | 4-8 hours for a 20-slide deck | 10-20 minutes for the same deck |
The time savings aren't incremental — they're an order of magnitude. A task that used to consume an entire afternoon now fits into a coffee break. And the quality bar doesn't drop; it actually rises, because the AI handles the mechanical design work while you focus on the content that matters.
For more tips on avoiding common pitfalls when working with AI-generated decks, check out this guide on AI presentation mistakes to avoid. And if you're building courseware specifically, the courseware design category has more resources.
FAQ
Q: Do I need design skills to use Zendeck's AI deck generator? A: No. Zendeck handles layout, typography, and visual consistency automatically. Your job is to provide the content and review the output. If you can write a bullet-point list, you can create a professional training deck.
Q: Can I edit the slides after the AI generates them? A: Absolutely. Zendeck gives you full manual editing control. You can rewrite text, swap images, reorder slides, and adjust layouts. The AI gets you to 80% — you provide the final polish.
Q: What file formats can I import into Zendeck? A: Zendeck supports Word documents and Markdown files for AI generation. You can also paste raw text directly. This makes it easy to repurpose existing training materials into slide decks.
Q: Can I turn my training deck into a video? A: Yes. Zendeck's PPT-to-video feature converts your slides into a narrated micro-course. You can add voiceover directly in Zendeck, making it perfect for self-paced training.
Q: How long does it take to create a training deck with Zendeck? A: For a typical 20-slide training deck, expect 10-20 minutes from outline to polished presentation. Most of that time is spent on your review and refinement, not on the mechanical work of building slides.