Convert Static Slides to Video Micro-Lessons with AI Narration
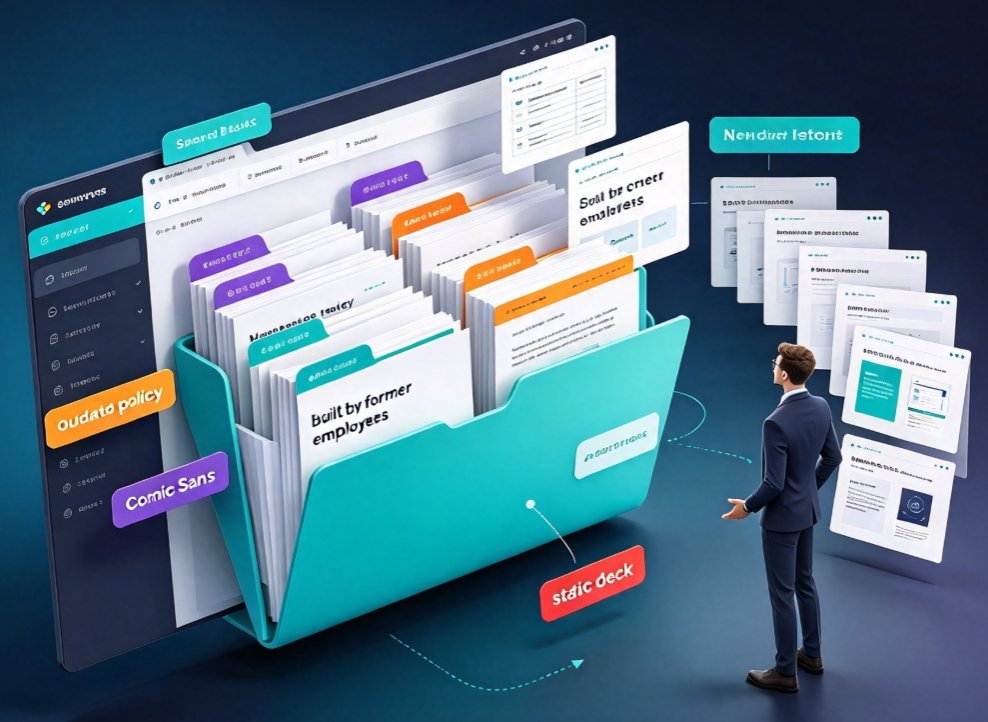
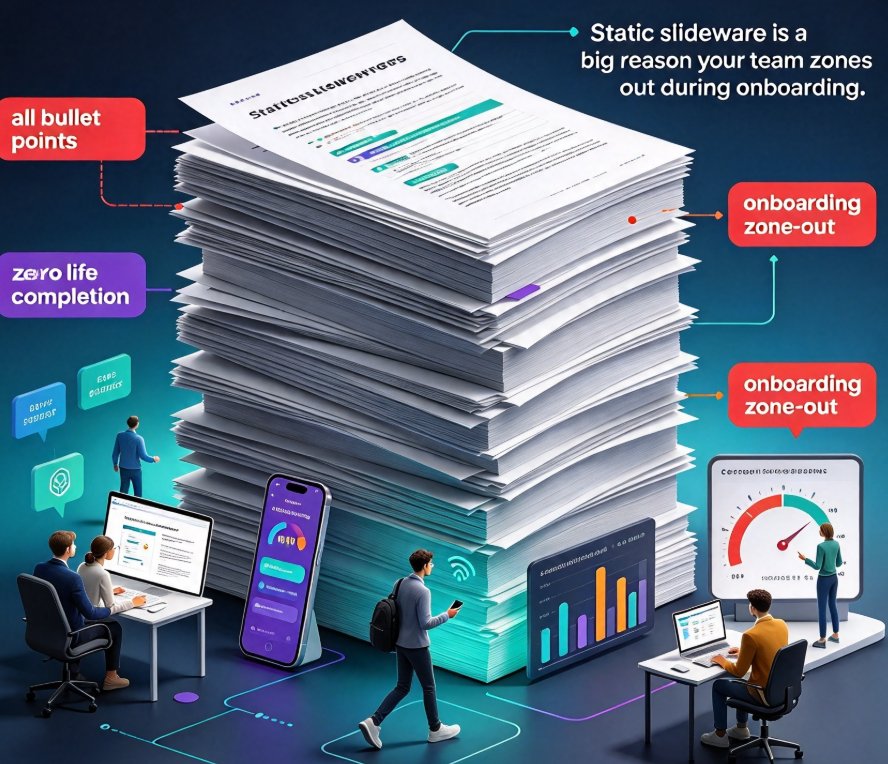
We've all been there — a 60-slide deck that nobody reads, a training module that gets ignored, a course that's all bullet points and zero life. Static slideware is a big reason your team zones out during onboarding, and it's why your online course has a completion rate you'd rather not see.
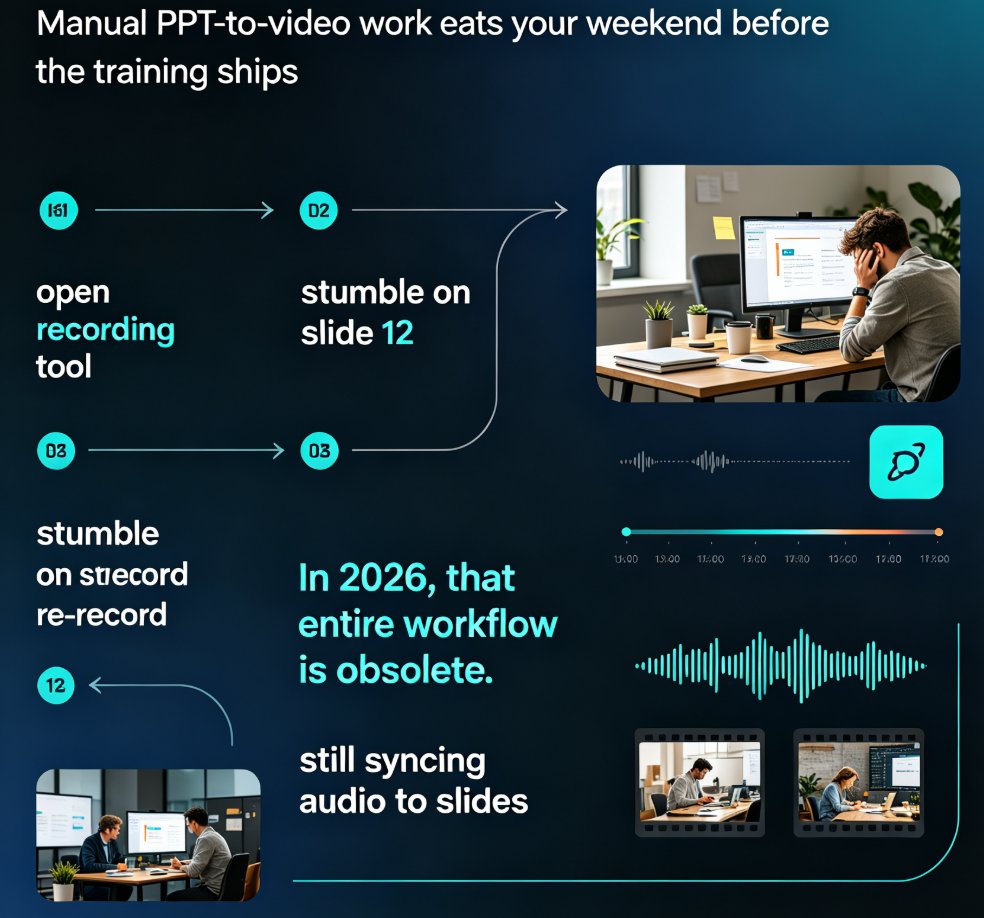
Here's the shift happening across corporate training and education right now: micro-learning video is quietly replacing the static deck. And the tools to make that shift are no longer locked behind expensive video editors or media teams. Let's talk about how you can convert your existing slides into narrated video micro-lessons — without touching Premiere Pro or hiring a freelance narrator.
I. Why Video Micro-Lessons Beat Static Decks
Let's be honest about what a static deck does to learning. It sits there. It asks people to read. It relies on whoever presents it to bring the energy. And when nobody presents it, it's just a PDF waiting to be ignored.
Video micro-lessons change the physics of that. When a slide gets narration, timing, and captions, it stops being a document and becomes a piece of content people can consume on their own — on a phone, in a commute, between meetings.
The research is consistent: video with narration lifts knowledge retention dramatically compared to text alone. Industry studies repeatedly show retention rates in the 60–80% range for video-based learning versus roughly 10% for text-based material. Throw in the "micro" format — short, focused, 3–7 minutes per lesson — and you're targeting the way people actually learn in 2026: in small, on-demand chunks.
Here's a quick look at what that means for a typical corporate training module:
| Factor | Static deck | Video micro-lesson |
|---|---|---|
| Completion rate | ~30–40% | ~70–90% |
| Time to consume a 10-slide lesson | 15–20 min (reading) | 3–5 min (video) |
| Audience attention | Passive, self-directed | Active, self-paced |
| Sharing | Link to a file | Embeddable video, LMS-ready |
| Updates | Rebuild the deck | Re-export in minutes |
If your learning content doesn't move, it doesn't get consumed. Video makes movement automatic — literally, with slide transitions, narration, and subtitles driving the flow.
For a deeper look at how this trend is reshaping corporate training, check out our breakdown of AI-generated video decks in the corporate training space: AI-Generated Video Decks: Replacing Traditional Corporate Training.
II. The 4-Step Workflow: From Static Deck to Narrated Micro-Lesson
The actual process of converting slides to video is now a four-step loop. No timeline software, no audio recording, no manual captioning. Here's how it works with Zendeck's PPT-to-video pipeline.
Step 1 — Prepare Your Slides (or Start from an Outline)
You don't need a perfect deck to start. In fact, if your deck is too dense, the video will just expose that. The golden rule for PPT-to-video: keep one clear idea per slide. A slide with a single headline, one supporting visual, and a one-sentence note in your speaker script becomes a clean video scene.
If your deck is a Word document or outline, Zendeck can generate the slides for you first, then hand you the video pipeline. If your deck is a classic PPTX, import it directly.
Step 2 — Choose an AI Voice for Narration
The narration is what turns slides into a lesson. Zendeck offers a range of AI voices — different tones, genders, tempos — tuned to sound natural rather than robotic. You choose a voice that fits your material: calm and measured for compliance training, energetic for product onboarding.
A few things I've learned from producing narrated lessons:
- Match the voice to the context, not just the audience. A professional, neutral tone wins for compliance. A warmer, conversational voice keeps employee onboarding human.
- Let your speaker notes become the script. If you write short, conversational notes per slide, Zendeck reads them directly. This is the fastest workflow and keeps the narration aligned with the deck's intent.
- Speed matters. Set the speaking pace to 1.0× or slightly slower for training content. Fast narration sounds polished but hurts comprehension.
Step 3 — Adjust Subtitles and Auto-Captions
Subtitles aren't an afterthought — they're a retention multiplier. Around 80% of viewers watch video with captions on, and subtitles help non-native speakers and accessibility-focused learners follow along.
Zendeck auto-generates subtitles from your narration script. You can adjust timing, font size, and placement. If your organization cares about WCAG compliance — and it should, since accessibility regulations are tightening — these auto-captions are your easiest win. See our guide on auto-generating subtitles from PPT for more detail: Accessible Micro-Courses: How Zendeck Auto-Generates Subtitles from PPT.
Step 4 — Export and Share
One click exports your micro-lesson as MP4, ready for an LMS, YouTube, or an internal training hub. You're done. No timeline scrubbing, no voiceover retakes.
III. Practical Tips for Micro-Lesson Quality
Having produced dozens of video lessons from decks, here are the tips I'd actually pass on to a friend — the ones that separate a "video that exists" from a "video people finish."
1. Cut your slide count in half before converting.
Video rewards brevity. If your deck has 30 slides, your micro-lesson will have 30 scenes — and that's too many for a 6-minute lesson. Merge related points, drop filler content, aim for 8–12 scenes for a single micro-lesson.
2. Write your narration script before you finalize the slides.
When you write the script first, your slides become simpler. You'll notice where the deck repeats itself, where the message is unclear, and what to cut. This is a workflow trick: script → slides → video, not slides → script → video.
3. Use the pause. Don't be afraid of silence.
A micro-lesson doesn't need non-stop talking. A brief pause after a key point — 1–2 seconds of silence with the slide on screen — gives learners a second to absorb. Zendeck's scene timing lets you adjust each slide's duration, so you can build in those pauses naturally.
4. Reuse and remix.
Once a deck is a video, it's a modular asset. The same narrated scene about your product's core feature can be reused in onboarding, sales enablement, and customer education. This is what makes AI-generated video decks so attractive for teams that produce lots of content.
5. Add a quiz for engagement.
Video micro-lessons don't have to be a one-way broadcast. You can add interactive quizzes to your micro-courses, which turns passive viewing into active learning. Check out How to Add Interactive Quizzes to Your Micro-Courses with Zendeck for a step-by-step.
IV. The Data Behind Video Micro-Learning
If you're pitching this workflow to a boss, an instructional design lead, or a client, bring the numbers. Here's a chart built from commonly cited industry L&D research on knowledge retention across formats:
Those figures — roughly 10% retention from text-heavy slides, 65% from video with narration, and up to 85% from micro-learning video with interactive elements — come from frequently-cited research in the learning and development space. Every training team I've worked with sees the same pattern: the shorter and more narrated your lesson is, the more your audience actually retains.
If you don't have the budget for a production studio, AI narration and auto-captions now close most of that gap. The tradeoffs are gone: what used to take a media team a week now takes a trainer an afternoon.
V. Common Mistakes When Converting Slides to Video
Before you go convert every deck you own, let me save you from the mistakes I've made.
Mistake 1: Converting the deck as-is without editing.
The biggest one. A dense 25-slide deck with 40 words per slide becomes an unwatchable video. Video is a different medium — it needs air. You'll get far better results if you accept the "one idea per slide" rule and trim ruthlessly.
Mistake 2: Treating AI voiceover as a one-shot deal.
Some AI voices fit certain content better than others. Spend five minutes flipping through voice options before committing. The voice becomes the personality of your lesson — choose it deliberately.
Mistake 3: Ignoring accessibility.
Auto-subtitles are a gift for learners with hearing impairments, non-native speakers, and anyone watching in a noisy office. If you're building courseware for a professional audience, treat captions as a requirement, not a bonus. Auto-caption workflows make this almost automatic — we explain the full approach in Accessible E-Learning: Auto Captions & Inclusive Layouts.
VI. Getting Started with Zendeck's PPT-to-Video
If your next training module, course, or pitch can be consumed as a video, you should probably make it a video. Zendeck's PPT-to-video pipeline was built for exactly this: import slides (or generate them from an outline), pick an AI voice, let the tool add subtitles, and export an MP4 that works on any platform.
For more context on the broader trend of narrated deck production, see our piece on How to Add Narration to Your Slides with Zendeck's PPT-to-Video. And if you're building a whole course out of multiple lessons, the AI Agents in Course Creation article walks through the bigger picture — from outline to published micro-course.
The workflow is that simple: one clear idea per slide, a good AI voice, accurate captions, and an export button. The rest is your content doing the work it was always meant to do.
FAQ
Q: What is the difference between Zendeck's PPT-to-video and exporting video from PowerPoint?
PowerPoint exports slides as silent video files without narration or subtitles. Zendeck automatically generates AI voiceover from your slide content or speaker notes, adds captions, and assembles each slide into a timed video scene — no audio recording or editing required.
Q: Do I need video editing experience to use Zendeck's PPT-to-video feature?
No. The entire workflow is automated: upload or paste your deck content, choose an AI voice, adjust subtitles if needed, and click export. Zendeck handles scene timing and transitions so you can focus on the message, not the editing.
Q: Which formats can I export from Zendeck's PPT-to-video feature?
Zendeck exports video in standard MP4 format, which works across learning platforms (LMS), YouTube, and corporate intranets. You can also keep the editable online version for quick updates.
Q: Can I customize the AI voice and subtitle style?
Yes. You can choose from multiple natural-sounding AI voices, adjust speaking speed, and customize subtitle size and placement. Subtitles are auto-generated from your slide text or narration script.
Q: How long does it take to convert a deck into a video with Zendeck?
For a typical 10-slide deck, the conversion takes a few minutes. Time depends mainly on the number of slides and final video length, but you don't need to manually sync any timing.