Interactive Micro-Lessons: Turn PowerPoint into Video with Quizzes
You have 200+ PowerPoints sitting on your drive, each one a diamond of content that nobody ever watches. Sound familiar? You poured hours into those slides—research, design, speaker notes—and then you delivered them once, maybe twice, and they vanished into a corporate archive. The learners who missed the live session? They get a link to a 60-slide deck and a "please read this" email. Let's be real: nobody reads it.
The fix isn't more slides. It's interactive micro-lessons—short, narrated videos pulled from your existing PPTs, with quizzes built right into the flow. In this guide, I'll show you exactly how to turn your stale decks into engaging learning experiences using Zendeck's PPT-to-video and quiz features. No design skills, no video editing, just a smarter workflow.
01. Why Static Slides Fail Your Learners
Think about the last time you watched a recorded training deck. You probably scrolled through, skimmed the bullet points, and closed it after three minutes. That's because a static PPT is a one-way street: the learner just consumes, and consumption without interaction fades fast.
Research on the forgetting curve shows that people lose about 50% of new information within an hour, and up to 90% within a week—unless they actively engage with it. Quizzes, on the other hand, force retrieval, which cements memory. That's the core idea behind interactive micro-lessons.
But let's not get bogged down in theory. The practical problem is: you have the content, but you don't have the time or tools to rebuild everything from scratch. You need a way to repurpose what already exists.
02. Meet the Interactive Micro-Lesson
An interactive micro-lesson takes a short segment of your PowerPoint (usually 3–10 minutes) and turns it into a video with AI narration, then sprinkles in quizzes at strategic points. The learner watches a slide, answers a question, gets instant feedback, and moves on. The result is active learning, not passive viewership.
This format is exploding in corporate training and online education because it fits modern attention spans and mobile-first consumption. Learners can finish a lesson during a coffee break, and you get data on who actually understood the material.
Let's compare the three formats:
| Feature | Static PPT | PPT Video (no interaction) | Interactive Micro-Lesson (Zendeck) |
|---|---|---|---|
| Learner engagement | Low—skimming | Medium—watch and forget | High—quizzes force active recall |
| Completion rates | ~30% (typical webinar reruns) | ~60% | 80–90% (common with interactivity) |
| Feedback to learner | None | None | Instant answer verification |
| Analytics for trainer | None | Basic view counts | Quiz scores, time spent, drop-off points |
| Production effort | Low | Medium (needs narration + sync) | Low (Zendeck automates narration + quiz insertion) |
| Content repurposing | Hard | Moderate | Easy—update quiz, re-export, done |
Note: The specific percentages are illustrative based on typical eLearning industry benchmarks; your numbers may vary.
The column on the right is where you want to be. And you don't need to start from a blank canvas.
03. Step-by-Step: Turn Your PPT into an Interactive Micro-Lesson
Here's a four-step workflow that works with any PPT, PPTX, or PDF. I'll use Zendeck as the tool because it handles all the heavy lifting in one place—but the principles apply to any good PPT-to-video platform.
Step 1: Upload and clean your slides
Before you convert, give your deck a quick audit. Remove slides that are just agenda pages or redundant bullet lists; your micro-lesson should have a single clear objective. Zendeck accepts PPT, PPTX, and PDF, and it reads every slide, including embedded audio recordings, speaker notes, and even existing animations. That last part is a lifesaver—it means you don't have to strip out transitions; the tool respects them.
While you're at it, export your speaker notes to a text file, or keep them in the deck. Zendeck will use them to generate the voiceover script.
Step 2: Convert to video with AI narration
Upload your file and choose a voice. Zendeck offers a range of natural-sounding AI voices in multiple languages. You can also tweak the tone per slide—calm for explanations, energetic for a call-to-action.
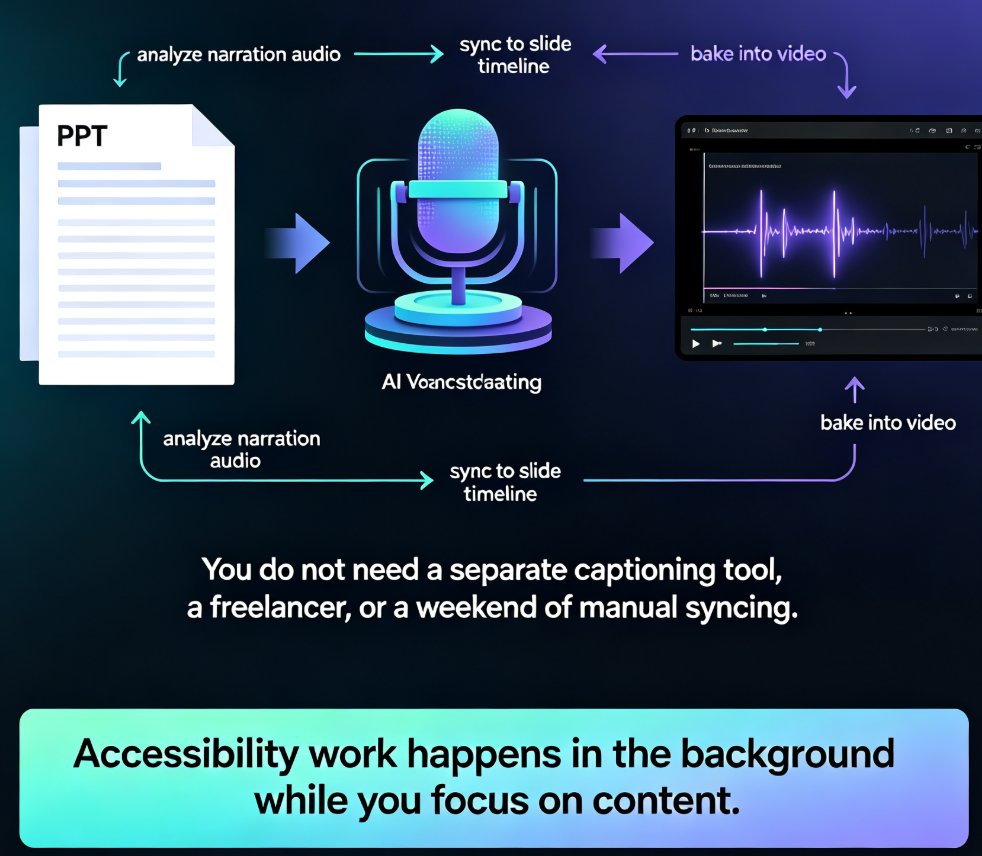
This step is where the magic happens: the tool analyzes your slides and notes, generates the narration, and syncs it to the visuals. You don't have to record a single sentence. If you want to add your own voice, Zendeck lets you import audio notes as an alternative—a nice option for personalized training.
Need more detail on narration? Check out this guide on adding narration to slides with Zendeck for a deep dive.
Step 3: Add interactive quizzes at the right moments
This is the game-changer. After your video preview renders, you can insert quizzes at specific timestamps. Don't dump all questions at the end—place one after you explain a key concept, so the learner tests understanding while it's fresh.
Zendeck lets you choose from multiple-choice, true/false, and even short-answer questions. You set the correct answer and a brief explanation that appears after the learner responds. This instant feedback loop reinforces learning and keeps attention high.
Here's a tip from someone who's done this a hundred times: keep each quiz to 2–3 questions, and avoid making them too hard—the goal is reinforcement, not a test.
The full quiz workflow is covered in this detailed guide on adding interactive quizzes, but the short version is: choose a timestamp, type your question, pick the answer, and you're done.
Step 4: Publish, share, and track
Once your quizzes are in, you can export the micro-lesson as a video file or share it via a link. Zendeck includes analytics so you can see who completed the lesson, which questions caused the most trouble, and where learners dropped off. That data is gold for improving your training materials.
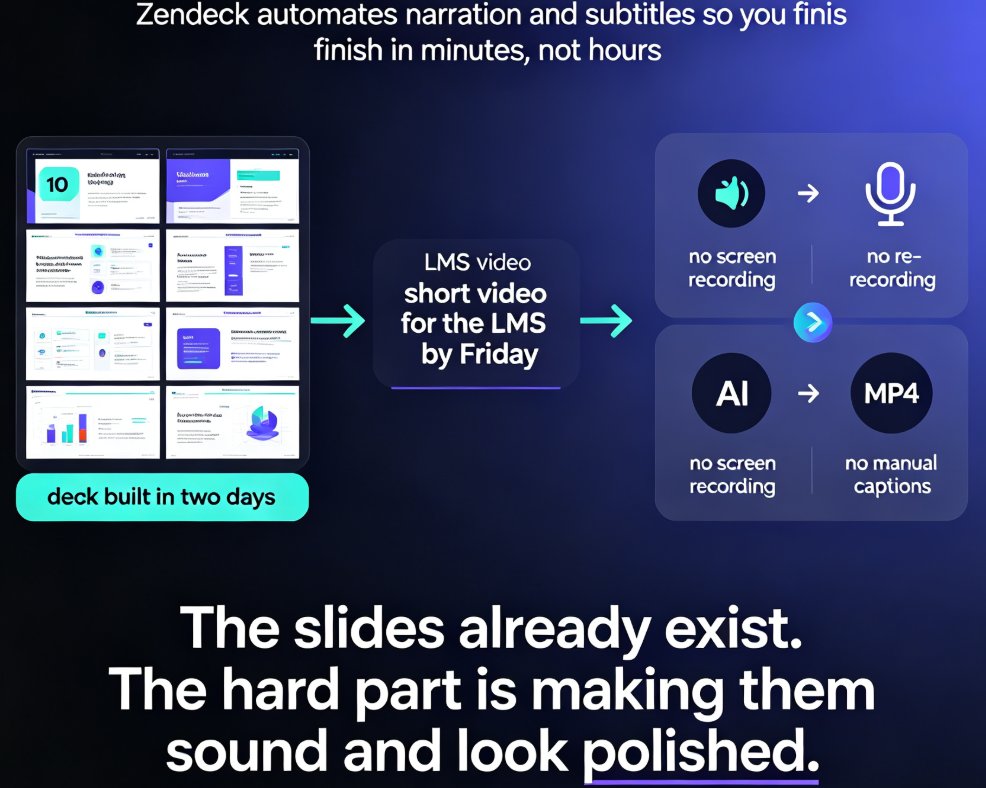
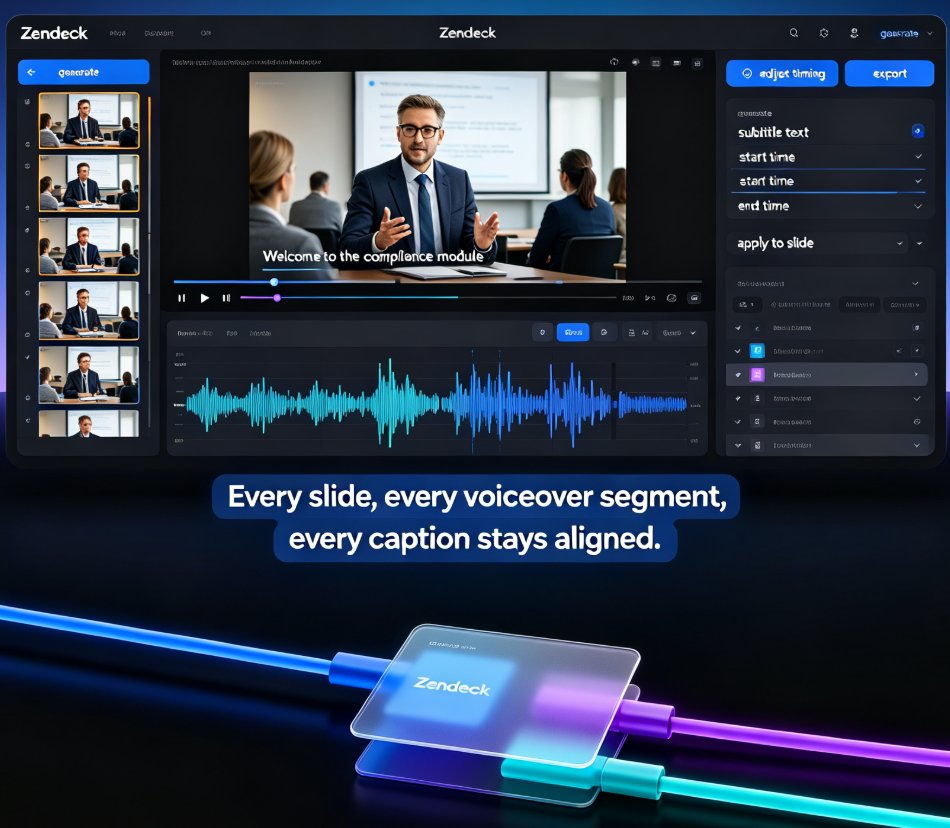
If you're building a whole curriculum, you can chain multiple micro-lessons into a course. The platform also supports subtitles and accessibility features, so you can reach every learner. For more on that, see how Zendeck auto-generates subtitles from PPT.
04. Designing for Interaction: Best Practices
Interactive micro-lessons work because they respect the learner's time. Here are five rules I've picked up from years of creating training content:
- One lesson = one objective. Don't try to cover three chapters in a five-minute video. Split your deck into logical chunks.
- Put quizzes where they matter. After a complex slide, not before a natural break. The quiz should confirm understanding before you move on.
- Use video when you need explanation, not just bullet points. Bring in real-world examples, screen recordings, or short animations.
- Add a progress bar or checkpoint. Learners want to know how much is left. Zendeck shows this automatically, but you can also design your lesson to end with a summary slide.
- Mind the mobile experience. Most learners will watch on their phones. Keep text large, avoid tiny fonts, and design for vertical or square aspect ratios.
The most effective micro-lessons feel like a conversation, not a lecture. That's why the combination of a friendly AI voice and timely questions works so well.
If you're using predefined templates, you'll want to see how Zendeck picks the right template for you to maintain visual consistency.
05. What Not to Do (I Learned These the Hard Way)
Every tool has a learning curve, and PPT-to-video is no exception. Here are the mistakes I see most often in workshops:
- Skipping the slide cleanup. Converting a messy deck with 10 empty slides and conflicting colors will produce a chaotic video. Spend 10 minutes pruning.
- Putting all quizzes at the end. That just turns your micro-lesson into a mini-exam. Spread them out.
- Using a robotic voice. Even with AI, you can adjust pace and inflection. Choose a voice that matches your audience—a friendly tone works better than a monotone.
- Ignoring accessibility. No subtitles, no alt text on images—this alienates learners with disabilities and sometimes violates compliance standards. Zendeck can auto-generate captions; use them.
A quiz without feedback is a dead end. Always provide an explanation for the correct answer, even if it's a single sentence. That's where learning actually happens.
If you want a broader list of AI presentation pitfalls, check out this guide on mistakes to avoid in 2026.
06. Why This Matters for Your Team (and Your Sanity)
Let's face it: none of us got into training because we love making videos. We have subject matter expertise, and we want to share it. The old way—recording a webinar, transcribing it, praying someone watches—is broken.
Interactive micro-lessons flip the script: you reuse the best content you already built, amplify it with AI narration, and add quizzes that prove learning happened. The analytics give you a feedback loop that static slides never could.
And you don't need to be a designer or a video editor. Zendeck's whole point is to empower people without visual skills. You upload a deck, pick a template, set the voice, drop in quizzes, and publish. That's it.
I've seen L&D teams repurpose 50 old sales decks into a library of interactive micro-lessons in a weekend. The ROI is immediate: learners pay attention, managers see completion data, and you stop wasting hours creating separate eLearning modules from scratch.
If you're skeptical, try it with one deck. Convert a five-slide training module, add three quizzes, and share it with your team. The difference in engagement will surprise you.
Still curious about the broader trend? Read why AI PPT-to-video is becoming the 2026 corporate training standard or explore more PPT-to-video resources in our library.
FAQ
Q: What is an interactive micro-lesson? A: An interactive micro-lesson is a short, focused learning unit (typically 3–10 minutes) that combines video narration with interactive elements like quizzes, polls, or clickable hotspots. Instead of passively watching a slide deck, learners actively answer questions and receive immediate feedback, which improves retention and engagement.
Q: How does Zendeck convert PPT to video with quizzes? A: Zendeck accepts PPT, PPTX, and PDF files. It reads every slide, including speaker notes and embedded audio, then generates a narrated video with AI voiceover. You can insert interactive quizzes at specific timestamps, choose from multiple question types, and publish the result as a shareable micro-course with built-in analytics.
Q: Do I need design or video editing skills to create interactive micro-lessons? A: No. Zendeck automates layout, applies consistent branding, and handles narration and quiz insertion with a simple point-and-click interface. You focus on the content, not the technical setup. The entire process typically takes under 30 minutes for a 5-slide deck.
Q: What are the best practices for adding quizzes in a micro-lesson? A: Place quizzes after a key concept is explained, not at the end of the video. Keep each quiz to 2–3 questions, and provide immediate feedback with a brief explanation. Use a mix of multiple-choice and true/false questions to maintain variety. Also, ensure quizzes are accessible with clear labels and alternative text.
Q: Can I track learner performance on the quizzes? A: Yes. Zendeck includes learner analytics that show completion rates, quiz scores, and time spent on each section. This data helps you identify knowledge gaps and improve your training materials.
Now go dig out that old PowerPoint. Your future interactive micro-lesson is waiting.