Convert a Word Outline into a Polished PPT Using Zendeck in 5 Steps
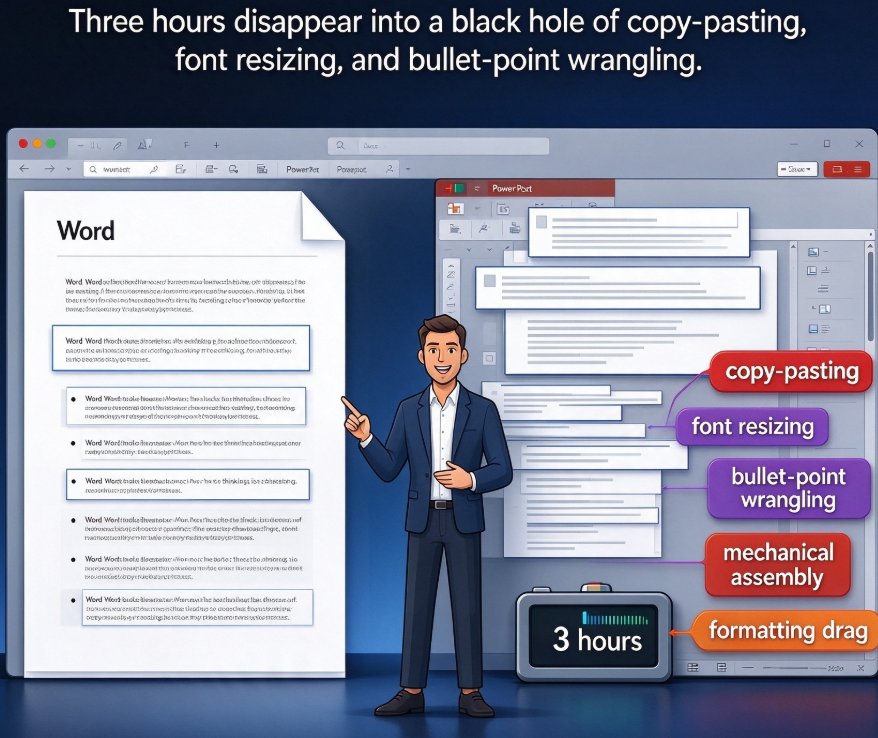
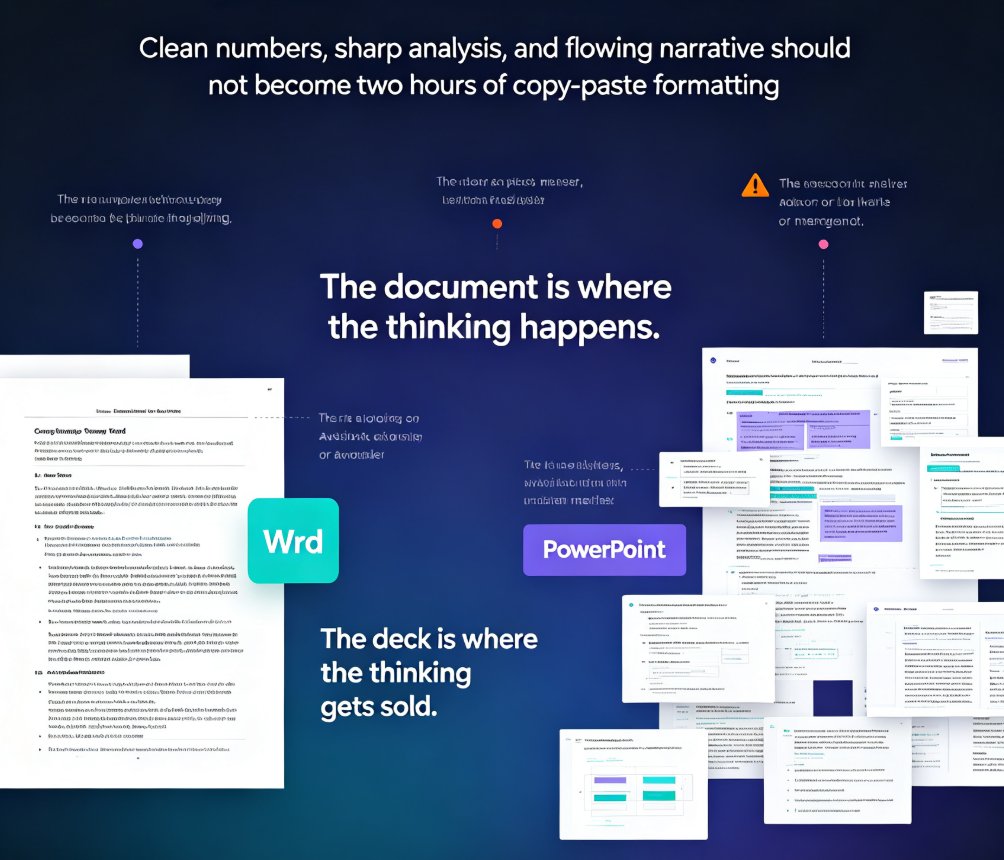
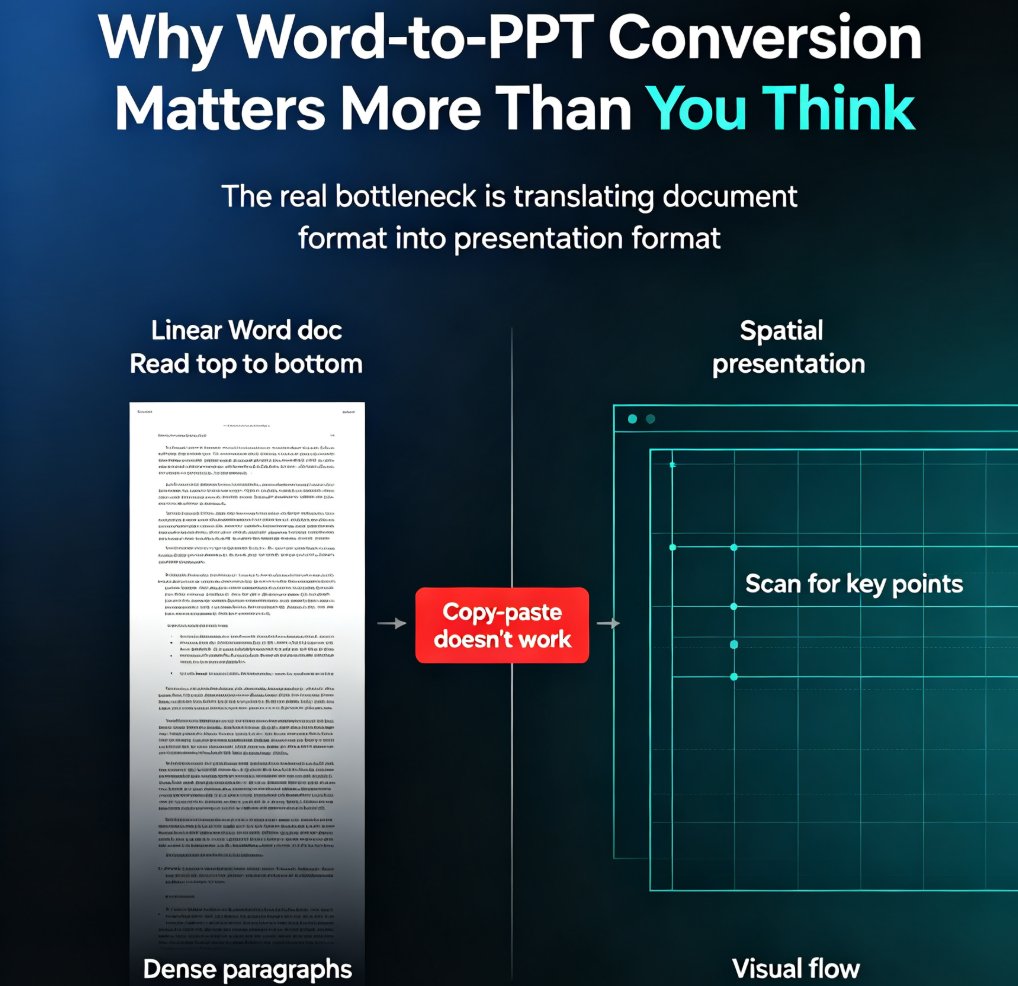
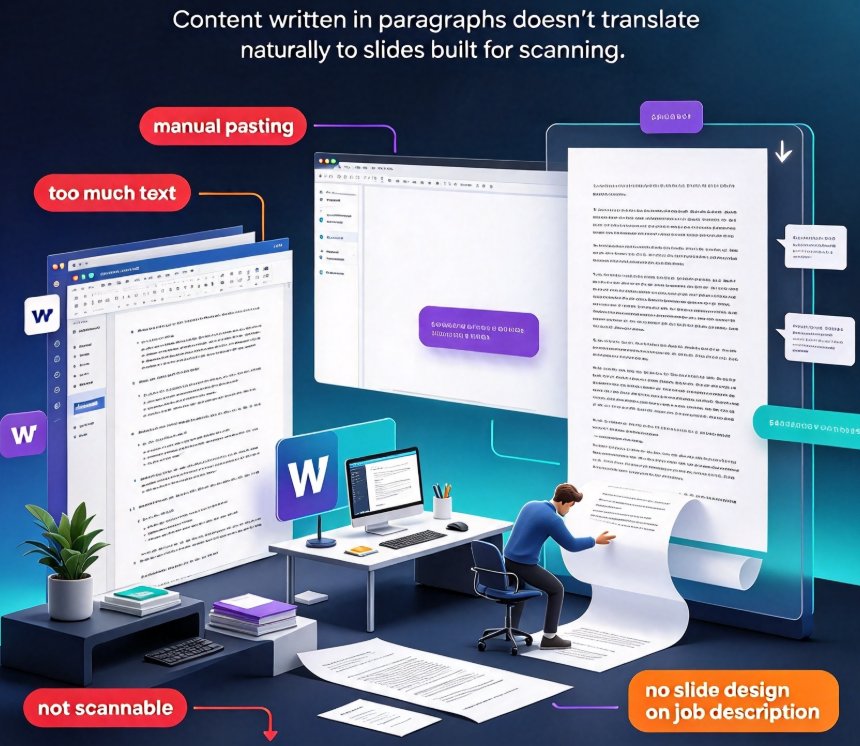
If you've ever been asked to "turn that Word doc into a PowerPoint," you know the exact feeling: blank slide, blinking cursor, two hours gone. It's not that you lack the content — you have plenty. The problem is that content written in complete paragraphs doesn't translate naturally to slides built for scanning. And if you're an educator, a trainer, or an HR manager, you probably don't have "slide design" on your job description.
This is the gap Zendeck closes. Instead of opening PowerPoint and manually pasting text into text boxes, you feed Zendeck your Word outline and let it handle the structure, the visuals, and the pacing. You end up with a polished deck in minutes, not hours. Here's the five-step process I've used again and again, with teachers prepping courseware and with teams turning training manuals into client-facing decks.
01. Prepare Your Word Outline with Structure in Mind
Before you import anything, resist the urge to just dump the whole document in. The single biggest mistake people make when converting Word to PPT is treating the document like a slide deck. A Word file flows in paragraphs and sections; a slide deck needs concise, scannable fragments. The AI can restructure your content only as well as the source material allows, so a little pre-work pays off in a much better deck.
Here's what I tell everyone before they hit import:
- Use heading levels consistently. Mark your top-level topics as Heading 1 and the sub-points as Heading 2 or 3. Zendeck uses that hierarchy to decide what belongs on each slide and what becomes a supporting bullet.
- Keep each section focused on one main idea. If a section covers three unrelated topics, split it into three sections before importing. It takes two minutes and saves you a messy draft.
- Write short phrases, not long sentences, for anything you'd expect to see on a slide. Leave the full explanation in your document — the deck only needs the headline and the key supporting points.
That's really it. You don't need to format anything, create a template, or match fonts. Just clean structure and clear section boundaries.
02. Import the Outline into Zendeck
Now the actual conversion. Zendeck gives you two ways in: you can upload a Word document (DOCX) directly, or you can paste the text — from a Word file, a notes app, or anywhere else — straight into the editor. No special formatting is required; the tool reads your section headings and content structure automatically.
Once your content is in, Zendeck's AI analyzes the document: it groups related points, identifies the logical flow, and maps everything to a slide-by-slide structure. This is the step where the magic happens — you go from a linear Word file to a presentation that actually has a narrative arc.
One thing I'd flag here: don't obsess over getting every detail perfect before importing. The generated deck is a working draft, not a final output. You're going to refine it in step five anyway, so treat the import as the quick start, not the finished product.
03. Pick the Right Template for Your Audience
Here's where the design starts to take shape. After the content is parsed, Zendeck asks you to choose a theme. This is more than a cosmetic choice — the right template sets the tone for your entire presentation, whether you're building courseware for a university lecture, a training deck for new employees, or a pitch for a client.
You can pick from Zendeck's template library, and honestly, for most people the easiest path is to let the AI suggest a theme based on your content. It reads things like your audience type, your tone, and the kind of material you're presenting, then recommends a layout that fits. If you've used Zendeck before, you can also pull in your saved brand kit so the deck matches your organization's fonts, colors, and logo automatically. It's the same kind of consistency you'd get from a dedicated design team, minus the back-and-forth.
For the details on how Zendeck narrows down that theme choice, read this walkthrough of AI deck template selection.
04. Generate the Deck and Review the AI Draft
Hit generate, and you're usually a minute or two away from a full deck. Zendeck creates each slide based on your outline: each major section becomes a slide (or several), with your sub-points converted into concise bullets. The layout, spacing, and visual hierarchy are handled automatically, so you don't see any of the misaligned text boxes that plague manual builds.
This is the moment where most people have the same reaction: "Wait, that took two minutes?" And yes, the heavy lifting really does happen that fast. The generated deck has a coherent storyline — related points appear in the same section, transitions between topics feel smooth, and the visual style stays consistent from slide one to slide thirty.
Now, a quick reality check: don't assume the deck is perfect. Read it out loud, slide by slide. Look for spots where the AI either repeated a point or missed a nuance that only you know about. Treat the draft as your collaborator, not your replacement. You'll be surprised how much is usable right away, but the polish is where your expertise matters.
05. Refine, Brand, and Export
The final step is where you take the generated draft and make it yours. Zendeck lets you edit anything directly in the browser — swap a bullet, reorder a slide, adjust a chart, replace an image, or change the wording on a slide the AI didn't get right.
A few things worth doing at this stage:
- Apply your brand colors consistently. If you haven't set up a brand kit yet, it's worth the 10 minutes; you'll never worry about clashing colors again. Here's how to create a reusable brand kit so every deck you build looks like it belongs to the same family.
- Add visuals. Zendeck's asset library has icons, charts, and illustrations you can drop in without hunting for stock images. This is also where you can add interactive charts or quizzes to make the deck more engaging.
- Generate speaker notes. If you're presenting live, let Zendeck draft speaker notes for each slide. It's a nice shortcut that leaves you more time to practice your delivery.
- Export in the format you need. Zendeck exports to PowerPoint (PPT) so you can continue editing offline, or to PDF for sharing. If you're building a training video or a micro-course, you can also convert the deck into a narrated video directly — no extra tools needed.
The end result: a Word document becomes a complete, visually consistent, presentation-ready deck — and you've invested maybe 20 minutes of your own judgment, not hours of clicking.
Why This Beats Building It Manually (or Using a Generic Converter)
Let's be fair about the alternatives. Yes, you can do this in PowerPoint by hand, and yes, there are other AI tools that convert Word to PPT. But the differences matter when you're doing this every week:
| Feature | Zendeck | Manual PowerPoint | Generic AI PPT tools |
|---|---|---|---|
| Time for a 20-slide deck | ~5 minutes | 3–6 hours | 10–30 minutes |
| Design consistency | Automatic (Smart Layout) | Depends on your design skill | Varies, often inconsistent |
| Brand/theme control | Strong, reusable brand kits | Full but manual | Weak, rigid templates |
| Editing flexibility | Full browser editing | Full | Limited after generation |
| Export formats | PPT, PDF, MP4 video | PPT, PDF | PPT, PDF |
| Learning curve | Minimal | High | Low |
The time comparison isn't hyperbole. Most people spend three to six hours on a 20-slide deck when they're doing it by hand, mostly on layout tweaks and formatting. Zendeck collapses that into minutes, and the Smart Layout feature keeps things aligned even when you edit the content later.
A Few Things I've Learned the Hard Way
Since I've done this workflow with more teams than I can count, let me pass along a few hard-earned tips:
- Keep your outline file as a companion, not a source of truth. After you generate the deck, close the Word file. If you keep checking your document against the slides, you'll end up with slides that are way too text-heavy. Let the slides be the slides.
- Don't edit the outline, regenerate, and then wonder why you lost your changes. If you need to tweak content, edit the generated deck directly in Zendeck, not the source document. Regenerating from the outline will recreate the deck from scratch.
- If your document is a mess, clean it first. The AI does a genuinely impressive job of structuring content, but it can't fix a 200-page document that has no headings at all. Spend five minutes adding headers, and your output will improve dramatically.
And if you're new to this whole AI-presentation workflow, start small. Take a three-page outline and generate a 10-slide deck just to see how the tool handles it. Once you've seen how clean the output is, you'll trust it with the big stuff — and you'll wonder why you ever spent a Friday afternoon rebuilding slides by hand.
For a deeper look at how agentic AI is changing the way we build presentations, check out this overview of agentic AI in presentation tools. And if you want to jump around the broader topic of AI-generated courseware, the AI courseware section has plenty of related guides.
FAQ
Q: What file formats can I import into Zendeck?
A: You can upload Word documents (DOCX) directly, or paste plain text and Markdown outlines into the editor. Zendeck reads the structure automatically, so you don't need to format anything for the import to work.
Q: How does Zendeck decide which content goes on which slide?
A: Zendeck analyzes heading levels, paragraph structure, and thematic groupings in your outline. It clusters related points into logical slide sections and sets up a natural narrative flow, so the deck reads like a story instead of a text dump.
Q: Do I need design skills to convert a Word outline into a PPT with Zendeck?
A: No. Once the outline is imported, Zendeck handles layout, fonts, colors, and spacing automatically, and you can override any element if you want. Even the template recommendation is handled with AI; you just confirm the choice.
Q: Can I edit the slides after Zendeck generates the deck?
A: Yes. The generated presentation is fully editable in the browser. You can revise text, swap templates, add charts and icons, adjust visuals, and then export to PPT, PDF, or convert the deck into a narrated video.
Q: How long does the whole conversion take?
A: For a typical 30-to-40-page Word outline, Zendeck generates a complete slide deck in a couple of minutes. Most of your time will go into reviewing and polishing the draft, not starting from scratch — expect a finished deck within 20 to 30 minutes, depending on how much you customize.