Zendeck Smart Layout: One-Click Uniform Fonts, Colors, and Alignment [2026 Guide]
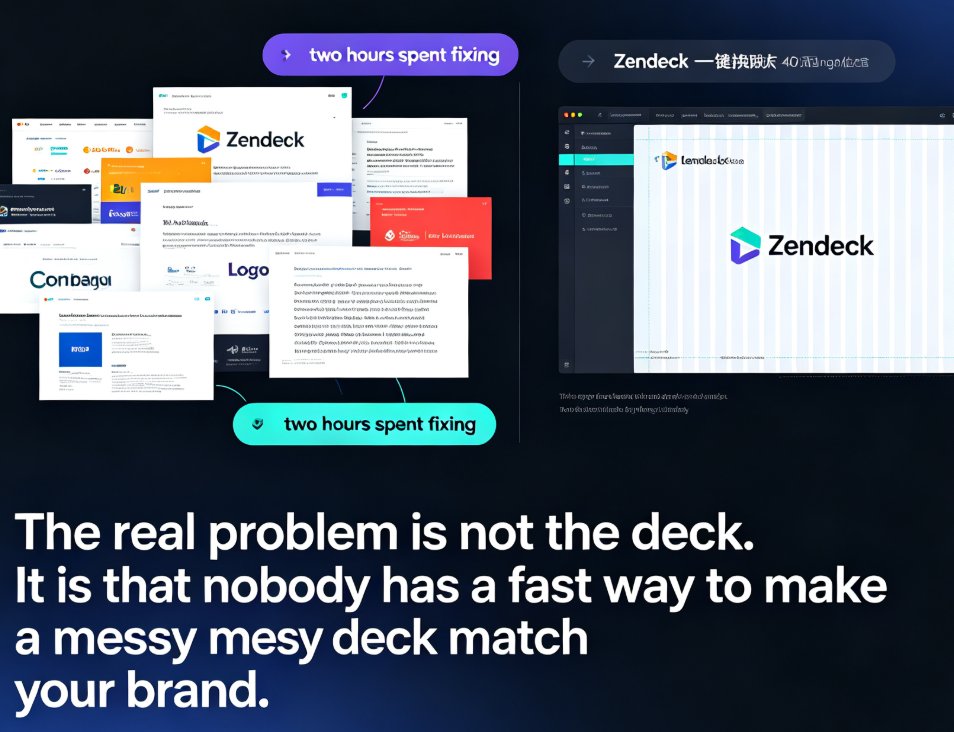
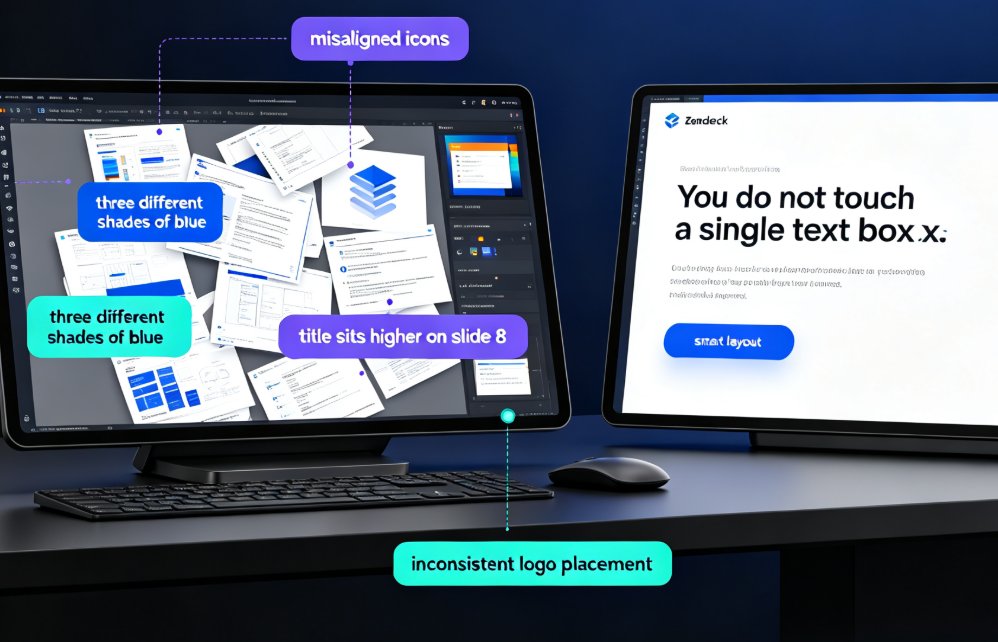
Let's be honest: the hour before a big presentation is never spent on ideas. It's spent fighting misaligned icons, three different shades of blue, and a title that sits slightly higher on slide 8 than it does on slide 3. If that sounds familiar, Zendeck's smart layout is the feature you've probably been ignoring.
Smart layout is a one-click reskin command that unifies typography, color palettes, and object alignment across your entire deck. You don't touch a single text box. You don't eyeball alignment guides. You click once, and the messy deck you've been avoiding becomes a clean, consistent, on-brand presentation.
This guide walks you through what the feature actually does, how to use it step by step, and when you should — and shouldn't — trust the one-click button.
01 What Smart Layout Actually Fixes (And What It Leaves Alone)
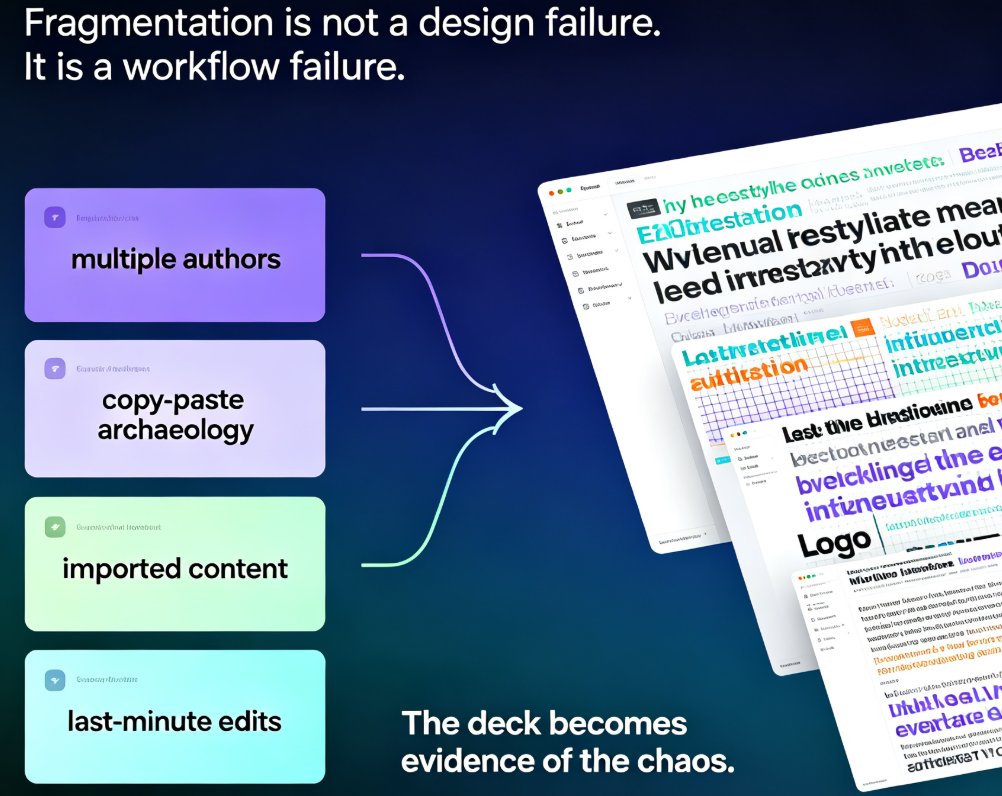
If you've ever opened a deck that your teammate assembled at 11 PM, you know the symptoms. Fonts switch from Helvetica to Times New Roman between headlines. Body text is 14 pt on one slide and 18 pt on the next. Your company logo sits at different distances from the corner on every page.
Smart layout treats all three of these as one problem: visual noise.
It works by scanning your slides and normalizing three dimensions in parallel:
- Typography scale: headings, subheadings, and body copy snap to a consistent type hierarchy.
- Color mapping: every accent, fill, and background is remapped to a unified palette.
- Alignment & spacing: objects, text boxes, and images snap to a shared grid with even margins.
Here's the key thing most people miss: smart layout never touches your content. The wording, the data, and the narrative stay 100% intact. It's a purely visual operation. That means you can run it on a deck you've been editing for months without worrying about losing your carefully crafted copy.
02 Step-by-Step: Reskin a Messy Deck in One Click
The workflow is deliberately short, because the tool was built for people who don't want a design degree to ship a presentation.
◉ Step 1: Open your deck in Zendeck
Upload a PowerPoint file, paste a Markdown outline, or import a Word document. Smart layout runs on whatever you already have — it doesn't require you to start from a template.
◉ Step 2: Locate the Smart Layout command
Look for the dedicated smart layout button in the editor toolbar (it's usually grouped with the reskin and theme actions). If you've already set up a brand kit, Zendeck uses those settings as the base; if not, it suggests a sensible default palette from your content.
◉ Step 3: Preview before you commit
Zendeck shows you a thumbnail preview of the first few slides with the new styling applied. This is your chance to catch anything that looks off — like an accent color that clashes — before it touches the whole deck. The preview step is what separates a smart tool from a destructive one.
◉ Step 4: Apply to the whole deck or a selection
Click "Apply to all" if you want full deck consistency. Or select specific slides if you're only cleaning up a problematic section. This is especially handy when a colleague sends you a partial deck and you only want to fix their slides, not the whole set.
◉ Step 5: Fine-tune with manual overrides (optional)
After the one-click pass, you can still nudge individual elements. Smart layout gives you a clean canvas — it doesn't lock you out. Most people only need to tweak one or two slides after running it.
The result: a deck that looks like one designer built it, in under two minutes. And that's the whole point. You spend your time on the story, not on the styling.
03 What the Engine Does Under the Hood
Smart layout isn't a fancy find-and-replace for colors. It works more like a design system for your slides.
The engine does three things in sequence:
- Reads the visual hierarchy — it identifies which text is a title, which is a body, and which is a label based on position, size, and style.
- Applies a normalized style scale — everything maps to a consistent type ramp (for example, H1 at 36 pt, H2 at 28 pt, body at 16 pt) rather than inheriting whatever random sizes the original deck had.
- Re-aligns objects to a grid — icons, images, and text boxes snap to even margins and spacing, which is what makes the whole deck feel calm.
If you're already using a brand kit, smart layout is the tool that enforces it check for internal links: ai-governed-brand-consistency-smart-templates.html and 5-ways-create-custom-brand-kit-zendeck-consistent-decks.html. If you don't have a brand kit yet, now's a good moment to read 5 Ways to Create a Custom Brand Kit in Zendeck for Consistent Decks — it slots right into this workflow.
The Toyota Principle: Don't reinvent, just harmonize
The analogy I always use in team workshops is the car factory. Your deck is the chassis, smart layout is the assembly line, and you're the quality inspector. You don't rebuild the car; you just make sure every bolt is torqued the same way.
That mental model explains why smart layout works so well on inherited and imported decks — the messy ones that have been passed between five people and two agencies.
04 Manual vs. Smart: A Reality Check
If you're a non-designer, the manual route usually looks like this: you copy the font size from one slide, paste it into another, then spend ten minutes adjusting alignment by eye, only to realize slide 12 is still off.
Here's a scenario-based comparison to make it concrete:
| Work step | Manual process (typical) | Zendeck smart layout | Time saved |
|---|---|---|---|
| Fix inconsistent heading sizes | Click every text box, adjust font size one by one | One click across all slides | ~8-10 min per 20 slides |
| Unify color palette | Note each accent hex code, edit individually | Auto-remap to brand palette | ~5-7 minutes |
| Align objects and margins | Drag, nudge, zoom in, repeat | Grid-based auto-alignment | ~10 minutes |
| Check for leftovers | Read every slide slowly, spot-check | Preview diff before applying | Eliminates the pass |
| Preserve custom charts | Manual repositioning for each chart | Keeps content; aligns containers | Saves the risk |
The honest take: manual editing gives you fine control, but it scales terribly. For a 40-slide deck, manual alignment alone can eat an hour. Smart layout is the difference between fiddling with slides and actually reviewing your narrative.
05 When You Should NOT Hit "One Click"
Let's be real: smart layout is not a universal hammer. There are three situations where you might want to skip it.
1. Decks that are intentionally chaotic. If you're doing a creative pitch where visual disruption is the message, uniform alignment can kill the energy. Keep the mess on purpose.
2. Slides with heavy custom animation. If you've built complex motion paths, a reskin that changes object sizes might break your animation timing. In that case, apply smart layout to a duplicate deck and compare.
3. Single-slide "hero" design. Some speakers like one oversized visual slide with broken grid as a stylistic breather. That's fine — smart layout can miss that nuance, so exclude it from the selection.
For everything else, the one-click path wins. And if you want to avoid this manual judgment call entirely, you can pair smart layout with the template library check: AI Deck Template Selection: How Zendeck Picks the Right Look for You shows you how to start clean so you need fewer fixes later.
06 Real Scenarios: Who Saves the Most Time
The people who get the most out of smart layout aren't designers. They're the ones who wear five hats and can't afford to obsess over a font.
Academic lecturers, for example, are still fixing the formatting of a single slide at 1:47 AM before a 9 AM lecture. Run smart layout, review the preview, and the deck looks intentional instead of rushed. It's the difference between "I threw this together" and "I designed this for you" — without the extra hours.
HR and onboarding leads inherit decks from five different managers, each with their own template habits. One click turns that collage into something a new hire can actually follow.
Fractional content operators juggle decks for multiple clients. Smart layout means you can take a client's old PPT, reskin it to their current brand, and hand it back within the hour instead of "by tomorrow."
If your team shares decks often, also check 5 Hidden Features of AI Presentation Tools That Boost Team Productivity — smart layout is the one feature people discover last and kick themselves for not using sooner.
07 Final Verdict and a Small Challenge
The boring truth is that consistency is 90% of perceived polish. Viewers can't name your font, but they can feel misalignment instantly. Smart layout turns that invisible judgment from a liability into an asset — and it does it without requiring you to learn design principles.
Here's my challenge for you: find the messiest 10-slide deck on your computer. Not your portfolio masterpiece — the one you're embarrassed to share. Run Zendeck's smart layout on it and see what comes out. You'll probably discover that the deck was better than you thought; it was just visually noisy.
That's the quiet superpower of smart layout. It doesn't make you a designer. It makes your work look like you cared — which, honestly, is most of the game. And for the deeper workflow, start with your topic goals in the PPT Tutorial hub.
FAQ
Does Zendeck's smart layout change the meaning or content of my slides?
No. Smart layout only restructures the visual layer — typography scale, color mapping, spacing, and object alignment. Your text, data, and images stay exactly where they semantically belong. It's a design operation, not a content operation.
Can I apply smart layout to only a few slides instead of the whole deck?
Yes. In Zendeck, you can select a range of slides (for example, slides 3 to 8) and run the one-click reskin on that selection only. This is useful when a client or colleague sends you a partial deck that needs a quick visual cleanup without touching the rest.
Will smart layout override my company's brand kit settings?
It respects your saved brand kit first. If you've already configured your brand colors and fonts, smart layout maps to those values and only fixes inconsistencies inside the deck. It's the first layer of your governance; the manual tweaks layer comes after.
I imported a Word outline from my team. Will smart layout fix the messy formatting?
Yes, that's one of the best cases to use it. Word imports often carry inconsistent heading styles and random bullet indents. Running smart layout re-establishes a clear hierarchy so your assistant or your manager can read the story, not the formatting noise.
What if I have a slide with charts or icons already placed manually?
Smart layout aligns objects to a grid and normalizes spacing, but it won't regenerate your charts. If you want interactive charts on top, you can combine smart layout with Zendeck's asset library afterward — they work in sequence, not against each other.