How to Unify Fonts, Colors, and Layout in One Click with Zendeck
How to Unify Fonts, Colors, and Layout in One Click with Zendeck
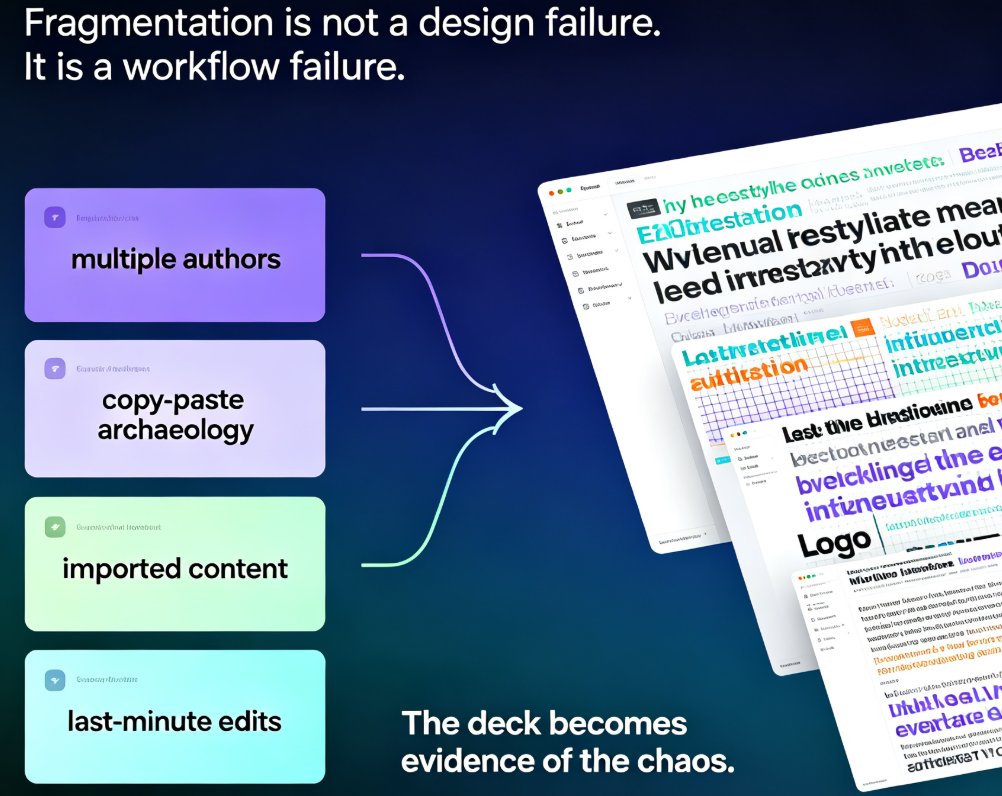
Let's be honest — how many times have you opened a deck and seen three different font families, a color palette that looks like a crayon explosion, and layouts that shift from slide to slide like they were designed by different people? Because they were.
This is the dirty secret of most presentations: they're assembled, not designed. You copy slides from an old deck, a teammate drops in their section, you paste a chart from a report — and suddenly your "brand" is whatever fonts and colors happened to survive the copy-paste. The result? A deck that reads as sloppy, even when the content is solid.
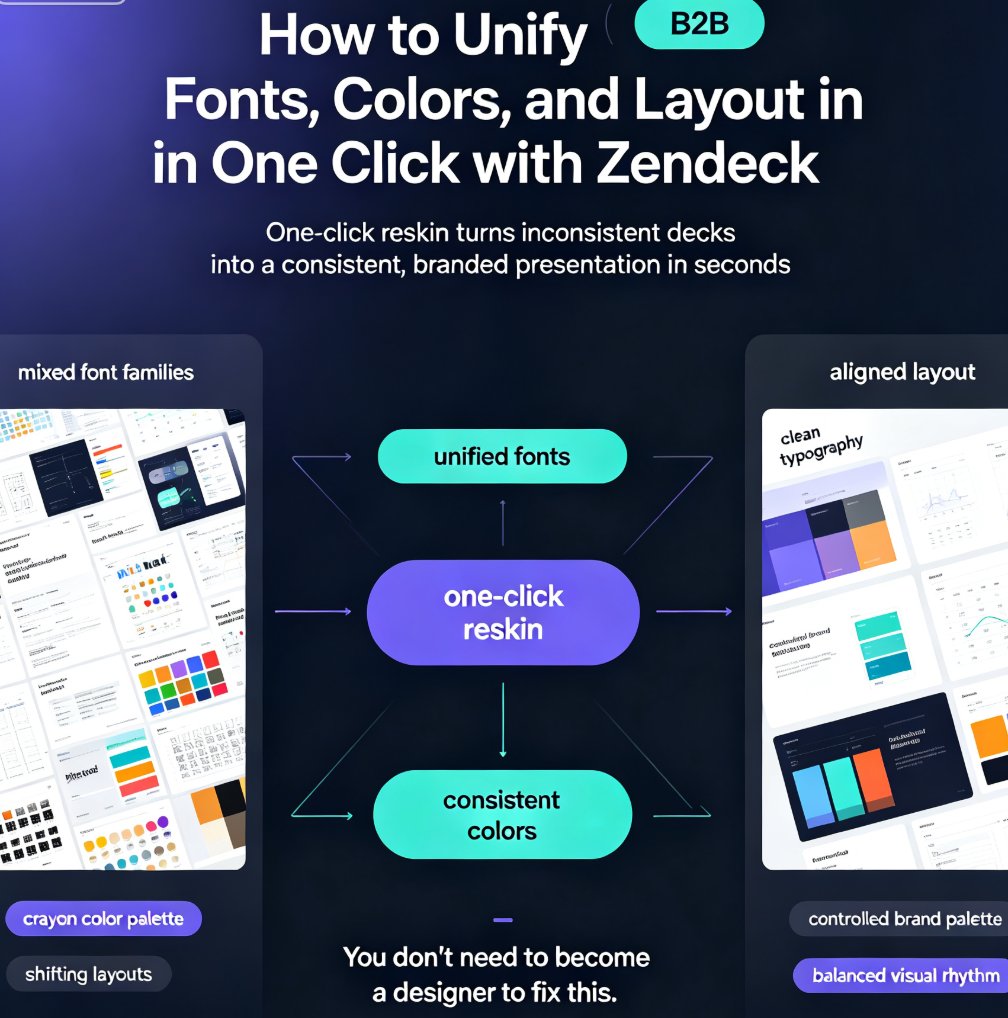
Here's the good news: you don't need to become a designer to fix this. Zendeck's one-click reskin unifies fonts, colors, and layout across your entire deck in seconds — no design tools, no manual tweaking, no tears.
In this guide, I'll walk you through exactly how reskin works, when to use it, and the pro tips that separate a decent reskin from a flawless one. Whether you're building courseware for a training session or a pitch deck for a client, this is the workflow you'll want on repeat.
01 — Why Your Decks Look Messy (And It's Not Your Fault)
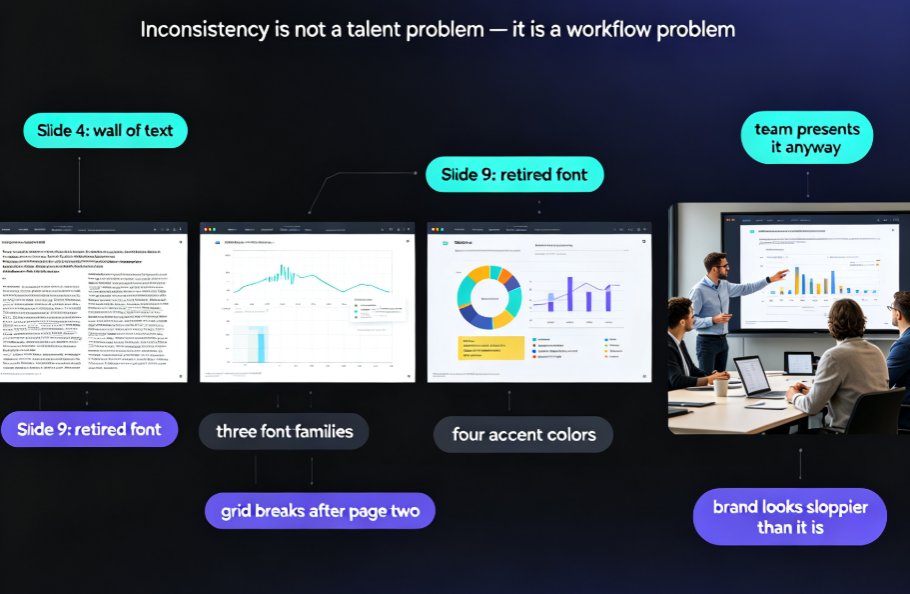
Let's be real: inconsistent decks aren't a skill problem, they're a process problem.
Here's what typically happens. You start with a template — maybe a nice one. Then you need to add a slide, so you copy one from an older deck. That older deck used a different font. Then a colleague shares their section, and their slides have a completely different color scheme. Before you know it, you're looking at a deck where slide 3 has serif headings, slide 7 uses a blue you've never seen, and slide 12's layout is just... floating.
The pain points are predictable:
- Font chaos — headings in one family, body text in another, and a random slide where someone pasted text that refuses to match.
- Color clashes — your brand blue next to a neon green that no one approved.
- Layout drift — titles at different positions, inconsistent spacing, images that sit at odd angles.
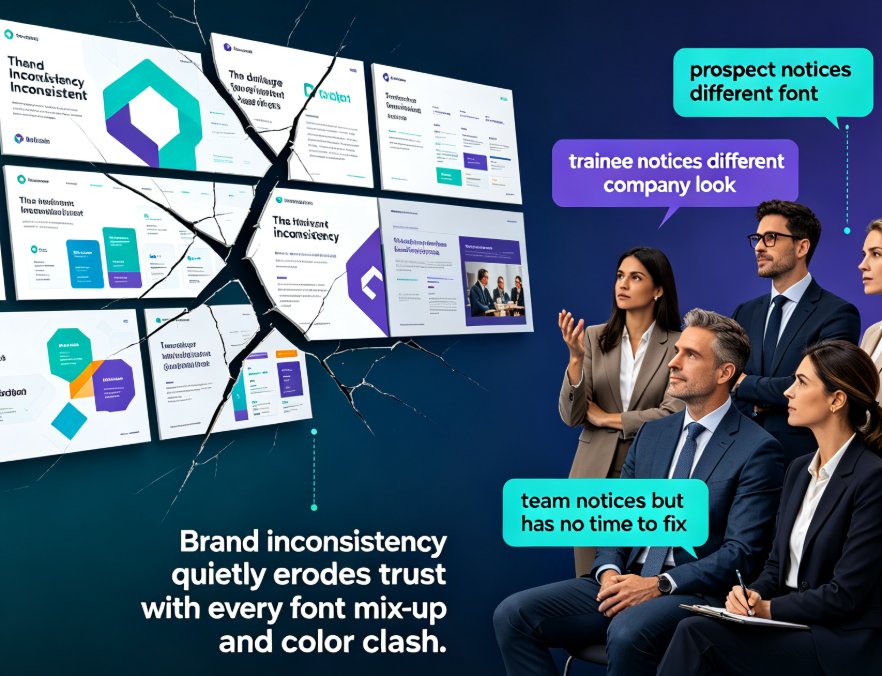
And here's the kicker: audiences notice. A deck with inconsistent styling reads as unpolished, even if the content is excellent. In a training context, it can even undermine your credibility — learners pick up on the messiness before they absorb a single point.
The fix isn't more discipline. It's a tool that does the harmonizing for you.
02 — What "One-Click Reskin" Actually Does
Reskin isn't just a fancy "change the theme" button. It's a systematic re-styling of your entire deck, applied in one action. Here's what it touches:
Fonts. Every heading, subheading, and body text block gets mapped to a consistent type system. No more orphaned serif headings in a sans-serif deck.
Colors. Your color palette is unified across all slides — backgrounds, text, accents, chart fills. If you've defined a brand palette, reskin applies it everywhere.
Layout. This is the part that surprises people. Reskin doesn't just recolor — it rebalances. Titles get aligned to consistent positions, spacing is normalized, and elements are repositioned so every slide follows the same visual logic.
Here's a quick comparison of what changes:
| Aspect | Before reskin | After one-click reskin |
|---|---|---|
| Fonts | 3+ families mixed | One unified type system |
| Colors | Clashing, unapproved shades | Consistent brand palette |
| Layout | Titles drift, spacing uneven | Aligned, normalized grid |
| Charts & icons | Inconsistent styles | Matched to deck style |
| Time to fix | 2–3 hours manual | Under a minute |
| Design skills needed | Yes | None |
The key insight: reskin is a harmonization engine, not a paint job. It's about making every slide feel like it belongs to the same deck — which is exactly what your audience subconsciously expects.
03 — The Step-by-Step: Reskin in One Click
Here's the actual workflow. It takes about a minute once your deck is generated.
Step 1: Get your content into Zendeck. Upload a Word outline or paste Markdown/TXT. Zendeck's AI generates a structured, visually consistent deck from your content — this is your starting point.
Step 2: Generate your slides. The AI handles the initial layout, so you're not starting from a blank canvas. If you want to see how template selection works under the hood, check out how Zendeck picks the right look for you.
Step 3: Click reskin. This is the magic moment. Choose your target style — a brand palette, a teaching style, a premium template — and Zendeck applies it across every slide in one click.
Step 4: Review and refine. Skim through the deck. Because reskin rebalances layouts, you might want to nudge a few elements. But in most cases, the result is ready to share.
That's it. No design tools, no manual font swaps, no color-picker roulette.
04 — The Smart Layout Engine: Why It's Not Just a Paint Job
Here's where reskin differs from what you might expect from a "theme" feature.
A traditional template change just swaps colors and fonts — it doesn't fix layout problems. If your title is misaligned on slide 8, a theme change won't fix it. Zendeck's smart layout engine goes further: it analyzes each slide's content and rebalances the layout to match the chosen style.
What does that mean in practice?
- A slide with too much text gets its spacing normalized so it doesn't feel cramped.
- A slide with a single image gets repositioned so it follows the same grid as the rest of the deck.
- Charts and icons are restyled to match the new palette — no orphaned colors.
This is the difference between a deck that's "recolored" and a deck that's truly cohesive. The smart layout engine is what makes one-click reskin feel like a designer did the work — because it's doing the layout thinking for you.
If you've ever struggled with AI-generated slides that still look messy, this is the feature that closes that gap. Here's a deeper look at why AI slides look messy and how Zendeck fixes it.
05 — When Reskin Saves You (Real Scenarios)
Reskin isn't a one-trick pony. Here are the three scenarios where it earns its keep:
Courseware for training. You've built a five-module course from a Word outline. Each module has its own slides, but you want them all to feel like one course. One click, and every module shares the same teaching style — fonts, colors, layout. Learners get a consistent experience, and you look like you hired a design team.
Client pitch decks. You've assembled slides from past proposals, case studies, and a new section you just wrote. Reskin unifies everything into your firm's brand. The client sees one cohesive story, not a Frankenstein deck.
Internal brand decks. Quarterly reviews, team updates, onboarding materials — anything that should reflect your brand. Reskin enforces consistency without you becoming the font police.
In each case, the outcome is the same: a professional, cohesive deck that took minutes instead of hours — and zero design skills.
06 — Pro Tips for a Flawless Reskin
A few things I've learned from watching people use reskin (and from my own mistakes):
Start with clean content. Reskin handles styling, not typos. Get your text right first, then reskin. You'll avoid re-doing work.
Define your brand palette once. If you're a team, set up a custom brand kit so reskin always pulls from the right colors. It's a one-time setup that pays off every single deck. Here's how to create a custom brand kit in Zendeck.
Don't over-reskin. If you've already got a deck that's mostly consistent, reskin is still useful — but you might only need it once. Applying it repeatedly can flatten the visual variety that makes some slides pop.
Check the charts. Reskin restyles chart fills to match your palette, but if you've got a chart with specific data colors, give it a quick look after reskinning. It's a 10-second check that avoids a confusing visual.
Use it as a teaching moment. If you're a team lead, reskin is a great way to show your team what "consistent" looks like. Once they see the before-and-after, they'll stop fighting the template.
FAQ
What does one-click reskin actually change in my deck?
Reskin unifies three things across your entire deck: fonts (headings and body text mapped to a consistent type system), colors (a unified palette applied to backgrounds, text, accents, and charts), and layout (titles aligned, spacing normalized, elements repositioned to follow the same visual grid). It's a full harmonization, not just a color swap.
Do I need design skills to use Zendeck's reskin feature?
No. That's the whole point. Reskin is designed for non-designers — educators, trainers, HR, and content operators — who want a professional, cohesive look without touching design tools. You click the button, choose a style, and Zendeck's smart layout engine does the rest.
Can I reskin a deck I imported from Word or another tool?
Yes. If you upload a Word outline or paste Markdown/TXT into Zendeck, the AI generates a structured deck from your content, and then you can apply reskin to that generated deck. The workflow is: import content, generate slides, then one-click reskin.
Will reskin change my content or just the styling?
Reskin only touches styling — fonts, colors, and layout. Your text, data, and structure stay exactly as they are. It's a styling layer, not a content editor. You can, of course, edit content separately in Zendeck whenever you need to.
How is reskin different from just picking a new template?
A template change swaps the visual theme but doesn't fix layout problems — if your title is misaligned on slide 8, a new template won't fix it. Reskin goes further: Zendeck's smart layout engine analyzes each slide's content and rebalances the layout to match the chosen style, so the whole deck feels cohesive, not just recolored.