PPT to Video: How Zendeck Turns Slides into Narrated Micro-Courses
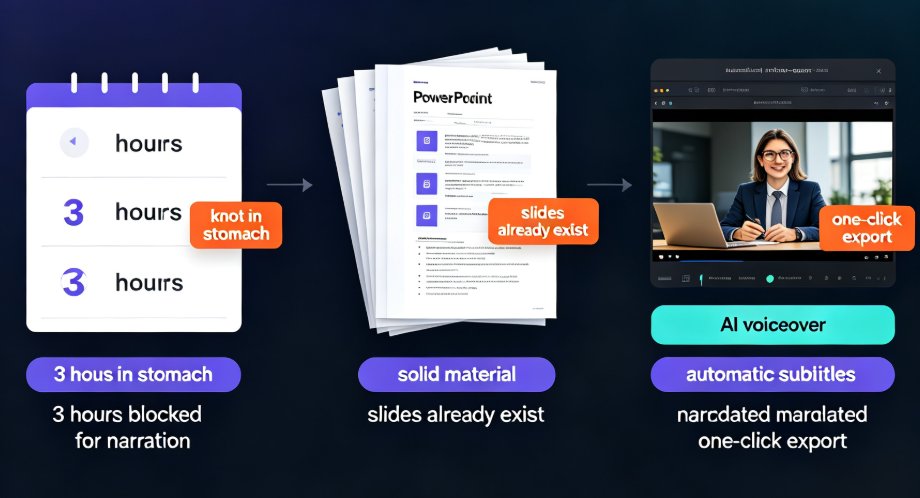
It's Thursday afternoon. You've got a stack of PowerPoint decks from last semester, a training session next week, and someone just asked if you could "make it into a video." You open your calendar, block out three hours for recording narration, and feel that familiar knot in your stomach.
Let's be real: that's the exact moment most great content dies. The material is solid, the slides already exist, but the voiceover, the timing, the subtitles—everything takes forever. So the deck stays static, and the learners get another boring PDF-style presentation.
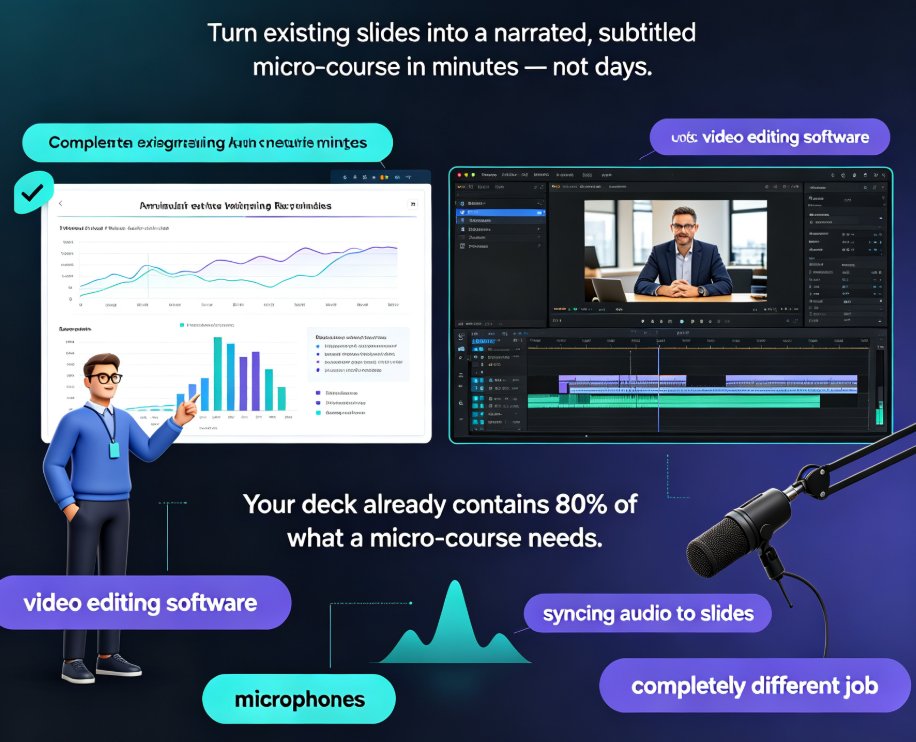
You don't need more time. You need a faster way to turn the slides you already have into video lessons.
That's where Zendeck's PPT-to-video feature comes in. Built for educators, trainers, and content operators who want to stop spending their weekends recording, it converts static slides into narrated micro-courses with AI-generated voiceover, automatic subtitles, and one-click export. No redesign. No re-recording. Just a finished video you can publish.
This guide walks through how the whole workflow fits together, where you'll save the most time, and the exact settings that matter when you're producing course content, not just marketing videos.
01 Why Static Slides Fail Your Learners
Here's a pattern every teacher knows: you present a slide deck in class, and students take photos of the screen. They intend to review it later. Most never do. Why? Because a static slide deck doesn't carry the context, pacing, or explanation that makes content stick.
Videos change that. A narrated video forces a linear path through the material, adds vocal emphasis where it matters, and gives learners something they can rewatch at their own speed. Studies on multimedia learning consistently show that combining visual and auditory channels improves retention compared to text or slides alone.
The gap isn't in the content—it's in the delivery. And delivery is exactly what PPT-to-video fixes.
For trainers in corporate environments, the stakes are even higher. A compliance officer or onboarding lead doesn't have the luxury of adjusting "the way we've always done it" when a new hire needs context. They need a lesson that explains itself. This is why AI-generated video decks are quickly becoming the 2026 standard for corporate training, especially when legacy material already exists.
You have the slides. You have the expertise. The only missing piece is the production step that normally eats your afternoon.
02 What Zendeck's PPT-to-Video Actually Does
Let's clear up what "PPT to video" means in the Zendeck pipeline, because it's not just recording your screen. The feature reads your existing slides—including charts, graphs, captions, and layout—and rebuilds them into a scene-based video project. Each slide becomes a scene with its own timing, motion, and optional narration.
The workflow looks like this:
- Upload your deck — import your PPT file or paste a Word outline if you're starting fresh.
- Choose a template and layout — Zendeck's AI unifies fonts, colors, and spacing so the deck looks consistent without manual design work.
- Generate narration — either type a script, upload an existing one, or let Zendeck draft it from your slide content.
- Auto-generate subtitles — captions are created from the narration and synced to each scene.
- Review and export — make any final tweaks, then export as MP4 and publish.
Because the AI handles design, voice, and captions, your job shrinks from 'film editor' back to 'subject-matter expert.'
One thing worth knowing: your original visuals carry over intact. Charts, graphs, photos, and labels from the source deck are placed into the right scenes automatically, and captions from your slides become on-screen text. Nothing gets left behind. If you want to fine-tune anything later, the scene-based editor keeps every element adjustable.
03 Auto-Narration: The Twelve-Minute Voiceover
Recording voiceover is the single most time-consuming part of traditional video course production. You write a script (45 minutes), set up a microphone, rehearse (another 30 minutes), record a few takes, and pray your kids don't burst in during take four. It's soul-draining, and honestly, many educators just skip narration entirely—which hurts the final product.
Zendeck replaces that whole ritual with AI-generated narration. You provide the script or approve the one Zendeck drafts from your slide text, pick a voice, and generate. The voice reads your content with plausible pacing and emphasis, synced to the slides automatically.
A 20-slide lesson that would typically take 90–120 minutes to record manually is narrated in about 12 minutes, including review time.
If you're curious about the details, the process for adding narration works through the same scene editor—you can tweak pacing per slide, swap voices, or regenerate sections without restarting the whole project. For tips on getting the voice just right, take a look at the guide on adding narration to slides.
04 Subtitles That Do Double Duty
Here's a subtle thing about video courses: learners aren't always in a position to have the sound on. They're on a train, in a shared office, or—let's be honest—watching in bed while their partner sleeps. Research on video retention consistently shows that captions improve comprehension, especially for non-native speakers and learners with hearing impairments.
Zendeck auto-generates subtitles from the narration and syncs them to each scene. You don't have to transcribe anything or manually match text to timestamps. The captions are also editable, so you can fix a typo, rephrase a sentence for clarity, or localize the text for a different audience.
Auto-subtitles aren't a nice-to-have anymore; they're an accessibility requirement and a retention booster in one.
Beyond the obvious benefits for learners, subtitles make your courses more searchable. Platforms like YouTube and many LMS platforms index caption text, which means learners can find your lesson based on its spoken content. That's free discovery you wouldn't get from a static slide deck. If accessibility is a priority for your program, Zendeck's approach to auto-generating subtitles from PPT content is worth a closer look.
05 Export Options: From MP4 to Published Micro-Course
When the narration and subtitles are locked in, the last step is getting the video out into the world. Zendeck exports to standard MP4, which covers just about every destination you'd need: your university's LMS, YouTube, Vimeo, internal knowledge bases, or a corporate training portal.
You also get control over playback settings that matter for learning contexts:
| Setting | What it controls | When it matters |
|---|---|---|
| Seconds per slide | Defaults to 5 seconds per scene; can be adjusted per slide | Dense slides with lots of text need more time; simple slides need less |
| Video resolution | Standard MP4 output | Works across LMS platforms and social channels |
| Aspect ratio | Set per project or per variant | 16:9 for courses, 9:16 for short-form social clips |
| Voice selection | Choose or regenerate narration voice | Match tone to audience—formal for compliance, warm for onboarding |
| Subtitle on/off | Show or hide closed captions | Learners watching without sound, or accessibility requirements |
One feature that surprises people: you can generate multiple video versions from a single deck. Duplicate the project or run a new generation with a different voice, length, or aspect ratio. That's how you end up with one full-length course for your LMS, a 60-second teaser for LinkedIn, and a vertical recap for TikTok—all produced from the same source slides.
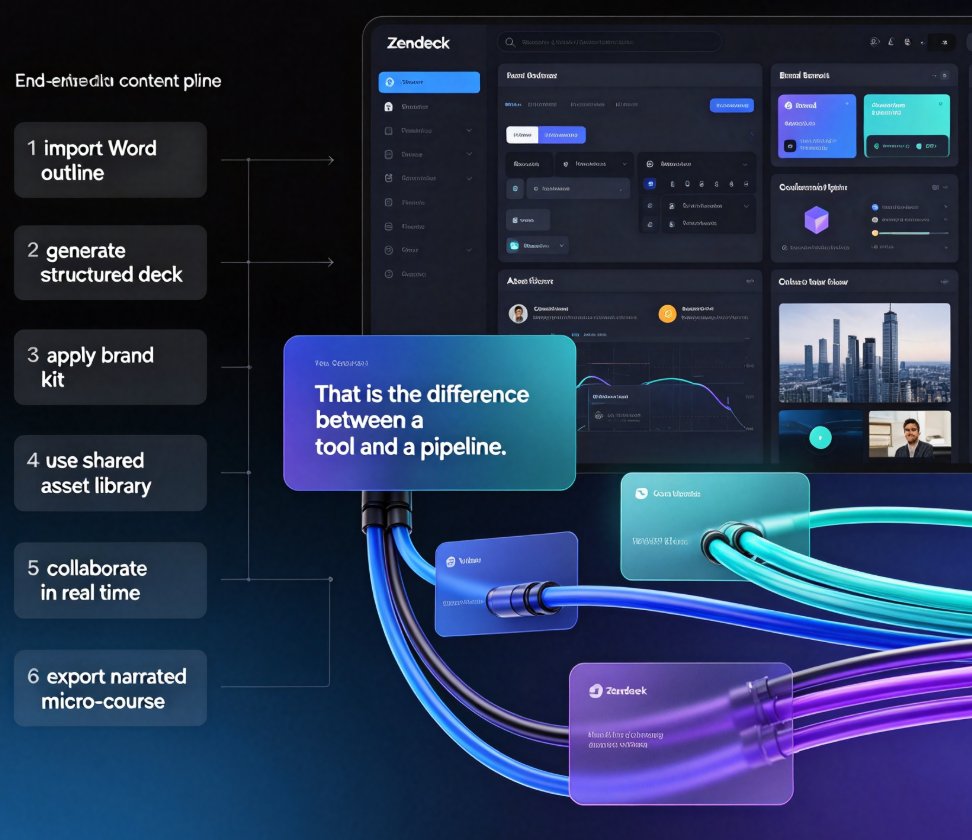
If you're building a full curriculum rather than a single lesson, the same pipeline extends naturally from outline to published micro-course. Start with a Word outline instead of an existing deck, and Zendeck generates the slides, narration, and subtitles in one pass.
06 The Time Math: Manual vs Automated
Let's put some numbers on this. Suppose you need to produce a 10-minute narrated micro-course from an existing slide deck. Here's what the two paths look like:
Manual workflow: Write/refine the script (45 min), set up and test the microphone (10 min), record multiple takes (40 min), edit out mistakes (20 min), generate and sync subtitles (15 min), render and upload (15 min). Total: about 145 minutes.
Zendeck workflow: Upload deck (3 min), review AI-generated narration (8 min), review subtitles (5 min), export MP4 (3 min). Total: roughly 19 minutes.
That's about 7.6x faster using Zendeck's automated pipeline. For a teacher producing one course per semester, it saves roughly two hours per lesson. For a training team shipping twelve lessons a quarter, that's a full day of saved production time every single month.
Time isn't the only saving, either. Consistency improves when the design, narration, and captions all come from one pipeline instead of five different tools and settings. That consistency is what makes a collection of lessons feel like a proper course instead of a patchwork of experiments.
07 Practical Tips for Teachers and Trainers
If you're ready to try Zendeck's PPT-to-video on your own deck, here are a few things that will make the output visibly better—learned from watching a lot of people go through this the first time.
Keep your slides lean before you convert. The AI preserves whatever is on your slides, so a slide with four dense paragraphs stays dense. Trim them to short bullets or a clear visual before uploading, and the narration will sound much more natural.
Review the narration script before generating. Let Zendeck draft the script, but read it out loud once in your head (or literally, if you're alone). The AI is good, but you know your audience's vocabulary and sensitivities. A 60-second tweak here fixes a lot downstream.
Set slide timings deliberately. The default is five seconds per slide, but a detailed chart needs ten, and a transition slide might do fine with three. Adjusting timing per scene takes seconds and changes the feel of the whole video.
Publish a shorter version first. Take one lesson, show it to a colleague or a couple of learners, and ask what felt slow or confusing. Then adjust the pacing, subtitle text, or even the voice before you mass-convert your whole curriculum. Small feedback early beats big rework later.
Also, a completely practical note: if your slides are part of a required compliance or safety training, keep the original file backed up. You'll want it for future edits—and some regulated programs require the source document to stay unchanged. Zendeck works with a copy, so your original stays safe.
For teams standardizing on a brand look across all courseware, pairing PPT-to-video with a custom brand kit keeps decks and video outputs visually aligned.
08 When This Changes Your Workflow
There are two situations where PPT-to-video genuinely transforms how you work, and it's worth knowing which one you're in.
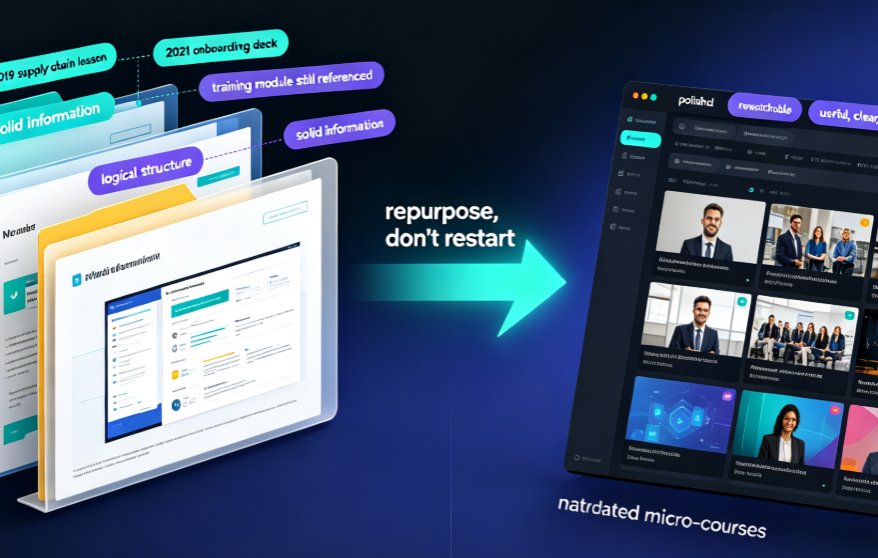
Situation one: you're repurposing legacy decks. You have years of PowerPoint material sitting in folders, evidence of knowledge that learners have never seen in a compelling format. The conversion cost used to be the blocker—recording narration for hundreds of slides was unthinkable. Now the blocker is gone, and the value is just sitting there waiting to be unlocked.
Situation two: you're standardizing a course library. Whether it's onboarding, compliance, or a continuing education program, consistency matters. Video lessons produced from the same templates and pipelines feel like a cohesive curriculum rather than an assortment of files.
The real win isn't speed. It's that speed makes consistent content creation actually sustainable.
That's the shift worth noticing. It's not that you'll make one video in twelve minutes. It's that you'll keep making them, week after week, without burning out—and that's what turns a one-off experiment into a library your learners depend on.
FAQ
How long does it take to convert a PPT into a narrated micro-course with Zendeck?
For a typical 15–20 slide deck, most users finish the entire pipeline—upload, narration generation, subtitle review, and export—in about 10 to 15 minutes. The AI handles voiceover and captioning automatically, so the only real time you spend is reviewing and tweaking. A manual recording of the same lesson usually takes 90 minutes or more.
Can I edit the AI narration or subtitles after Zendeck generates them?
Yes. Zendeck keeps every element editable after conversion. You can swap the narration voice, adjust pacing, correct subtitle text, or fix timings in the scene-based editor before exporting. Nothing is locked into place, so you retain full control over the final video.
Do images, charts, and captions from my original slides survive the conversion?
They do. Zendeck preserves your slide order and automatically places charts, graphs, photos, and other visuals into the correct scenes. On-screen captions and labels become subtitle text, so nothing from the original deck gets dropped during the conversion.
What export formats and resolutions does Zendeck support for micro-courses?
Zendeck exports to standard MP4 video suitable for LMS platforms, YouTube, and social channels. You can also generate multiple variants from one deck by adjusting length, voice, or aspect ratio—useful for publishing the same lesson across different platforms.
Can I create multiple video versions from a single deck?
Yes. Duplicate the project or run a new generation with a different voice, duration, or aspect ratio to create tailored versions. This works well when you need one lesson for a corporate LMS, a shorter version for social media, and another with localized subtitles.