Word Outline to Polished Presentation: Zendeck AI in Minutes
It's 2 PM on a Thursday. You have a 12-page Word document — a training outline, a course syllabus, a quarterly report — and your manager wants a presentation version by 4 PM. Not a rough draft. A polished, professional deck with clean layouts, consistent fonts, and visuals that don't embarrass you in front of the room.
If you've done this before, you know exactly what's coming: an afternoon of copy-pasting bullet points, wrestling with text boxes, and praying the font sizes line up. It's the most tedious task in modern office life, and it eats hours you'll never get back.
Here's the good news: that workflow is now obsolete. Zendeck's AI turns a Word outline into a fully designed presentation in minutes — not hours. No copy-paste. No formatting battles. No design skills required.
I. The 4-Hour Problem Nobody Talks About
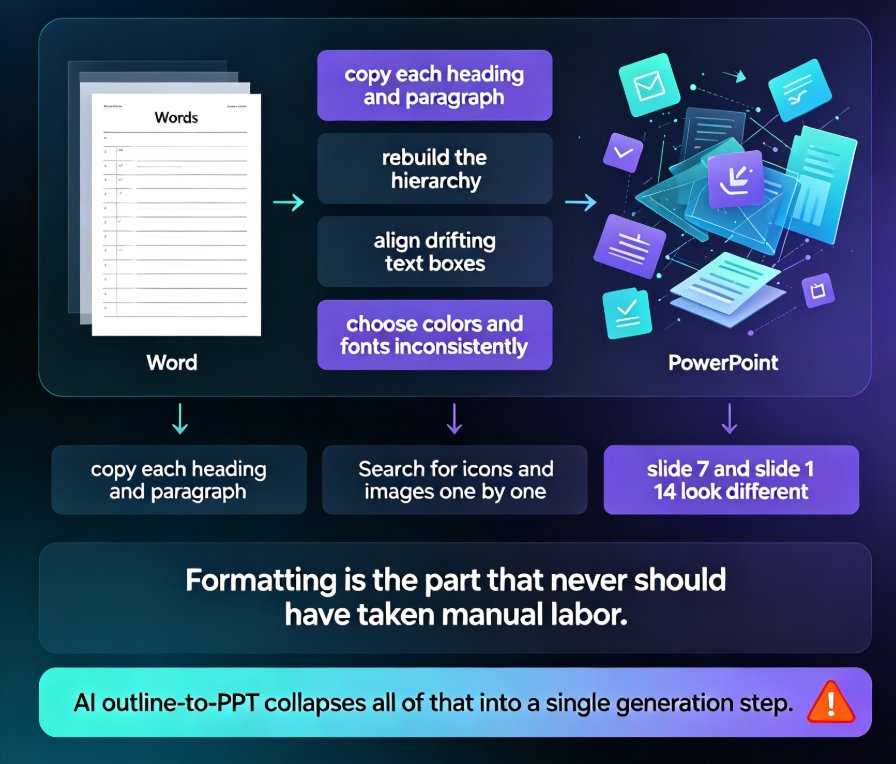
Let's be honest about what manual Word-to-PPT conversion actually involves. It's not just "copy the text and move on." It's:
- Reformatting every heading so it fits on a slide
- Deciding which bullet points deserve slide space and which get cut
- Manually adjusting font sizes because the text overflowed the box
- Picking colors and layouts that don't clash
- Rebuilding the whole thing when someone says "actually, can we use the blue template?"
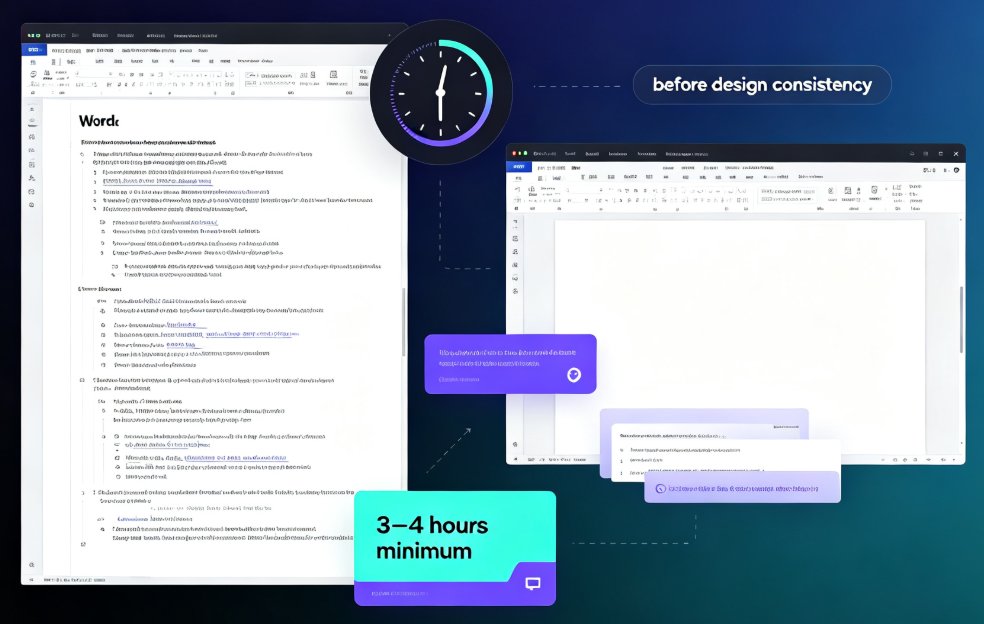
A 12-page document with clear headings can easily take three to four hours to convert manually. And the result is usually... fine. Not great. Just fine. The slides work, but they look like someone spent an afternoon fighting PowerPoint — because they did.
The core problem isn't your document. It's that presentation tools were built for manual assembly, not intelligent conversion. You're doing the work of a designer, a layout artist, and a copy editor all at once, with none of the training.
The solution isn't to get faster at manual conversion. It's to remove the manual step entirely.
II. How Zendeck Maps Your Outline to Slides
Here's where Zendeck changes the game. Instead of treating your Word document as raw text to be pasted, Zendeck reads the structure of your document and maps it intelligently to slide layouts.
The logic is simple but powerful:
- Headings (H1) become slide titles. Your main sections become the skeleton of the deck.
- Subheadings (H2/H3) become section headers or content blocks. They tell Zendeck how to group related ideas.
- Paragraphs and bullet lists become slide content. Zendeck condenses long paragraphs into scannable bullets and key points.
- The document's flow becomes the deck's narrative. Your outline's natural progression carries through to the slides.
This is what we call outline-to-slide mapping, and it's the difference between a tool that "imports" your document and a tool that actually understands it. Zendeck doesn't just dump your text onto slides — it reorganizes, condenses, and structures the content so the deck reads like a presentation, not a document with slide breaks.
III. Step-by-Step: From Word Document to Finished Deck
Let's walk through the actual workflow. It takes about ten minutes, and most of that is you reviewing the output.
Step 1: Prepare your Word outline
Before you upload anything, spend two minutes making sure your document has clear heading structure. Use Word's built-in Heading 1, Heading 2, and Heading 3 styles. This isn't just good practice — it's the single biggest factor in how well Zendeck maps your content. A document with proper headings converts beautifully. A wall of plain text converts... less beautifully.
Step 2: Upload or paste your document
In Zendeck, you can upload a Word file directly or paste Markdown/TXT content. The platform reads the structure and prepares a slide plan. You'll see a preview of how many slides will be generated and how your content maps to each one.
Step 3: Choose your template
Zendeck's template library offers a range of styles — from corporate clean to education-friendly to bold and creative. Pick one that matches your audience, or let Zendeck suggest one based on your content. If you have a brand kit set up, Zendeck automatically applies your brand colors, fonts, and logo. (More on that in our guide to custom brand kits.)
Step 4: Review and refine
Here's where you earn your keep. Zendeck generates the deck, but you're still the editor. Scroll through the slides, adjust any awkward phrasing, swap out visuals, and make sure the narrative flows the way you want. This is the "polish" part of "polished presentation," and it's where your expertise matters.
Step 5: Export, share, or go further
Once you're happy, export to PowerPoint, share a link for online collaboration, or — if you're building a training course — convert the deck to a narrated video. That last option is a game-changer for educators and L&D teams. (See how PPT-to-video works.)
IV. Structuring Your Word Outline for Best Results
Your Word document's structure determines your deck's quality. Here are the habits that produce the best conversions:
Use real heading styles. Don't just bold text and call it a heading. Use Heading 1 for main sections, Heading 2 for subsections. Zendeck reads these styles to understand hierarchy.
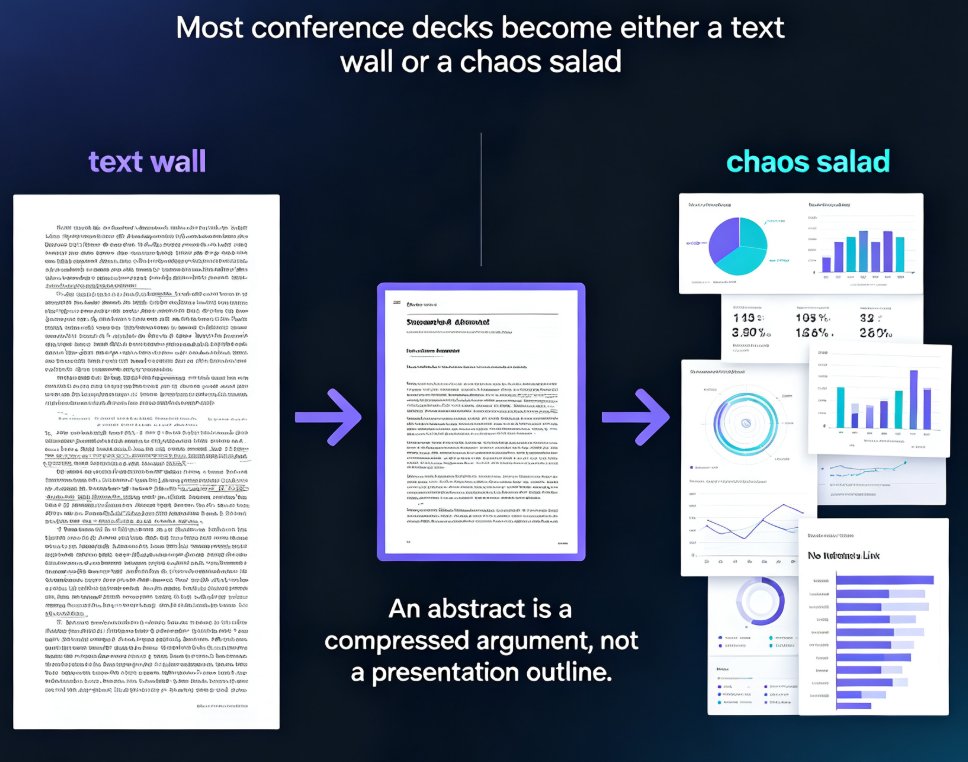
Keep paragraphs short. A 200-word paragraph becomes a cluttered slide. Aim for 2-3 sentences per paragraph, or better yet, use bullet lists. Slides are for scanning, not reading.
One idea per section. If a section covers three unrelated topics, split it into three sections. Zendeck maps sections to slides, so cleaner sections mean cleaner slides.
Include your key data points. If your document has numbers, stats, or quotes, keep them prominent. Zendeck will surface them as highlight content on the slide.
Don't worry about formatting. You don't need to style your document, add colors, or insert images. Zendeck handles all of that. Your job is structure and content; Zendeck's job is design.
A quick tip from someone who's converted a lot of documents: if your Word doc is a mess, the deck will be a mess. Spend the two minutes cleaning up headings before you upload. It saves ten minutes of editing later.
V. Manual vs AI: The Real Numbers
Let's put some numbers on this. We tracked a typical conversion task — turning a 12-page training document into a 12-slide deck — done both manually and with Zendeck.
The breakdown is even more telling when you look at where the time goes:
| Task | Manual (minutes) | Zendeck AI (minutes) | Time Saved |
|---|---|---|---|
| Formatting text | 60 | 2 | 58 |
| Layout & alignment | 45 | 3 | 42 |
| Design & visuals | 75 | 3 | 72 |
| Review & edits | 30 | 2 | 28 |
| Total | 210 | 10 | 200 |
That's an 18x speedup, and the quality is arguably better because Zendeck applies consistent design principles across every slide. No more "slide 4 looks different from slide 9" problems.
For a team producing 10 decks a month, that's over 33 hours saved — nearly a full work week, every month, just on presentation conversion.
VI. When Word Import Beats Prompting from Scratch
You might be thinking: "Why not just prompt an AI to create the deck from scratch?" Fair question. Both approaches work, but they serve different situations.
Word import wins when you already have the content. If you've written a report, a syllabus, a training manual, or a proposal, the content is already there. Word import preserves your structure, your wording, and your logic. You're not asking the AI to invent content — you're asking it to present content you've already created.
Prompting wins when you're starting from nothing. If you have a topic but no content, prompting Zendeck to generate a deck from scratch is faster. (Check out our prompt-to-deck guide for that workflow.)
The real insight: your Word documents are a goldmine of existing content, and most of them never become presentations because conversion is too tedious. Word import removes that barrier. That quarterly report you wrote? That training manual from last year? That course syllabus? They're all one upload away from being polished decks.
This is especially valuable for educators and trainers who maintain detailed course materials. Your Word-based curriculum can become slide decks, micro-courses, and video lessons without rebuilding content from scratch. For more on this, see how AI presentation tools integrate with Word and Google Docs.
VII. FAQ
Q: What Word formats does Zendeck support for import? A: Zendeck accepts Word documents (.docx), Markdown, and plain text files. The key requirement is clear heading structure — documents using Word's built-in Heading 1/2/3 styles convert best.
Q: Can I edit the generated slides after conversion? A: Absolutely. Zendeck generates a fully editable deck. You can change text, swap templates, adjust layouts, and add visuals from the asset library after conversion. The AI does the heavy lifting; you do the final polish.
Q: How long does a typical Word-to-PPT conversion take? A: Most documents convert in under a minute. The full workflow — upload, template selection, review, and export — takes about 10 minutes for a 10-15 slide deck. Compare that to 3-4 hours of manual work.
Q: Will my brand colors and fonts be applied automatically? A: If you've set up a custom brand kit in Zendeck, yes. The platform automatically applies your brand colors, fonts, and logo to the generated deck. Without a brand kit, you can choose from Zendeck's template library.
Q: Can I convert the resulting deck into a video course? A: Yes. Zendeck's PPT-to-video feature turns your slides into a narrated micro-course, complete with subtitles. This is especially useful for educators and L&D teams who want to repurpose training materials into video content.