How to Create a Webinar Deck with Zendeck's AI and Export to Video
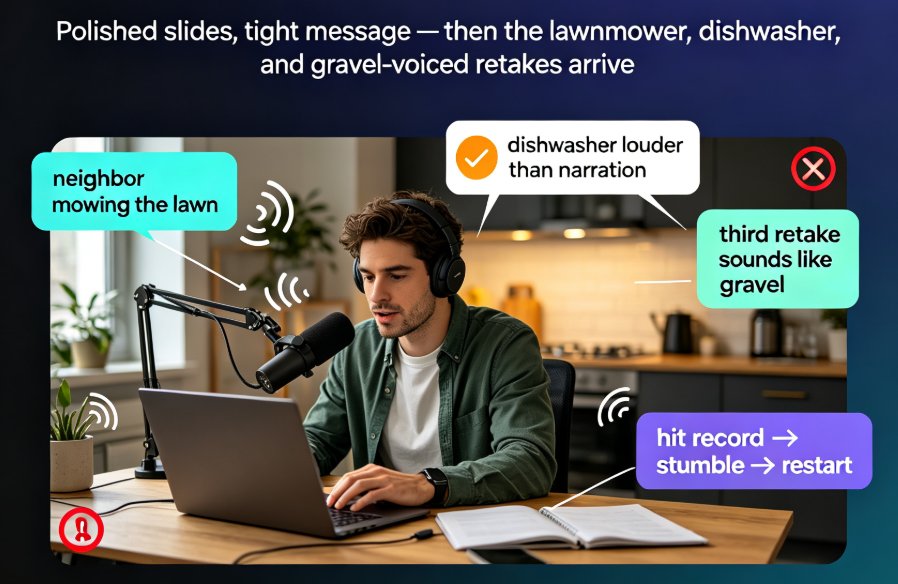
You've got a webinar to deliver next week. The topic is solid, the audience is registered, but your slides are still a mess of bullet points and mismatched fonts. You've been there. The manual grind of building a deck from scratch—choosing layouts, aligning shapes, hunting for icons—eats up hours you don't have. And then there's the video replay. Do you really have to record yourself narrating every slide and pray you don't stumble?
Let's be real: there's a better way. With Zendeck's AI, you can turn a rough outline into a polished webinar deck in minutes, then export it as a narrated video without ever opening a video editor. Here's how to do it, step by step.
I. Why Your Webinar Needs a Deck That Works Harder
A webinar deck isn't just a visual aid—it's the backbone of your entire session. It needs to keep viewers engaged, reinforce your message, and leave a lasting impression. But creating one manually is a time sink. You juggle design, content, and consistency, often with no design background. The result? Slides that look amateurish and take forever to update.
The pain point is real: 70% of professionals say they spend over 5 hours on a single presentation. That's time you could spend rehearsing, refining your message, or actually connecting with your audience.
The solution is AI-powered design. Tools like Zendeck automate the heavy lifting—layout, typography, color schemes—so you can focus on content. You paste your outline, and the AI generates a structured, visually consistent deck in seconds. No more wrestling with alignment or hunting for the perfect icon.
The outcome? A professional-looking webinar deck that's ready to present, share, or repurpose. And because Zendeck uses smart templates and brand kits, your slides stay on-brand without you lifting a finger.
II. The Zendeck Workflow: From Outline to Webinar Deck
Here's the beauty of Zendeck: you don't need to start from a blank slide. You can import an existing document—a Word outline, a Markdown file, a PDF report, or even a Google Doc—and let the AI do the rest. This is a game-changer for webinar prep.
Step 1: Import your content.
Zendeck accepts a variety of formats. If you have a rough outline in Word, just upload it. The AI parses your structure and turns it into slide-ready content. Prefer Markdown? No problem—developers and technical folks love this option. You can even import a PDF report and have Zendeck extract the key points into slides.
For example, if you're building a webinar on market trends, you can import your research report and let Zendeck generate an executive summary deck. Check out how to import a Google Doc or import Markdown to speed things up.
Step 2: Let the AI generate your slides.
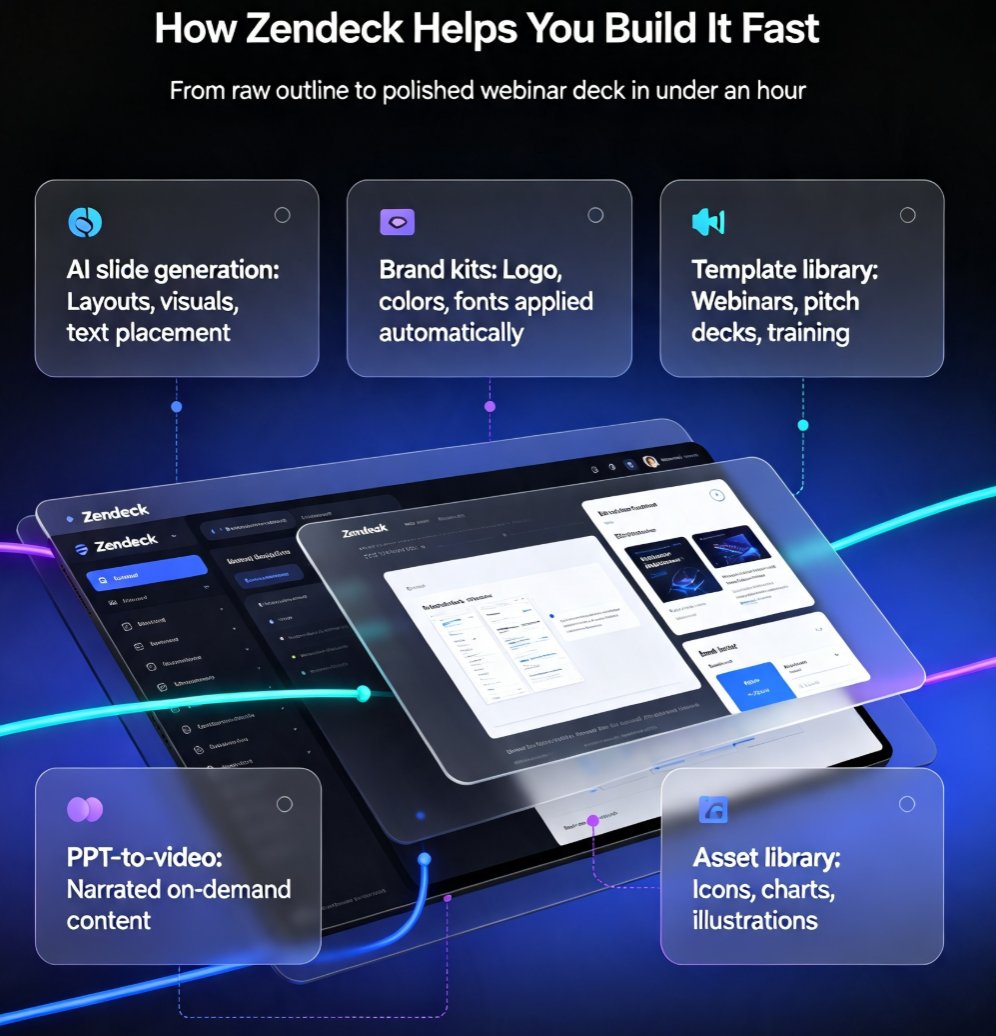
Once your content is in, Zendeck's AI creates a structured deck with logical flow. It suggests layouts, inserts placeholders for images and charts, and even drafts speaker notes. You're not starting from zero—you're refining a solid first draft.
Step 3: Customize with templates and brand kits.
Your webinar should reflect your brand. Zendeck's template library offers premium designs, but you can also apply your own brand kit—colors, fonts, logos—with one click. This ensures every slide is consistent, from the title slide to the closing CTA. If you haven't set up your brand kit yet, here's a quick guide to get started.
Step 4: Polish with smart layout tools.
Zendeck's one-click reskin feature unifies fonts, colors, and spacing across all slides. You can also use the asset library to drop in icons, charts, and illustrations that match your message. No more hunting for free stock images that look off-brand.
III. Designing for Engagement: Tips for Webinar Slides
A webinar is a performance. Your slides need to support your narrative, not distract from it. Here are a few tips that work whether you're using AI or not—but they're way easier to implement with Zendeck's design suggestions.
Keep it visual.
Avoid walls of text. Use one key idea per slide, supported by a visual—a chart, an icon, or a bold quote. Zendeck's AI-powered design suggestions can automatically recommend visuals based on your content. For example, if you mention a statistic, it might suggest a bar chart.
Use data visualization.
Numbers tell a story, but only if they're presented clearly. Zendeck can turn raw data into charts and graphs using Chart.js and D3—not stock graphics. This means your webinar deck can include real, interactive-looking visuals that resonate with your audience. Learn more about data-to-deck trends in 2026.
Design for the back row.
Your slides will be viewed on screens of all sizes, from laptops to projectors. Use large fonts, high-contrast colors, and plenty of white space. Zendeck's smart templates are designed with readability in mind, so you don't have to think about it.
Add a call to action.
Every webinar should end with a clear next step. Whether it's downloading a resource, booking a demo, or signing up for a newsletter, make it prominent. Zendeck's template library includes CTA slides that you can customize in seconds.
IV. Exporting Your Deck to Video: The PPT-to-Video Feature
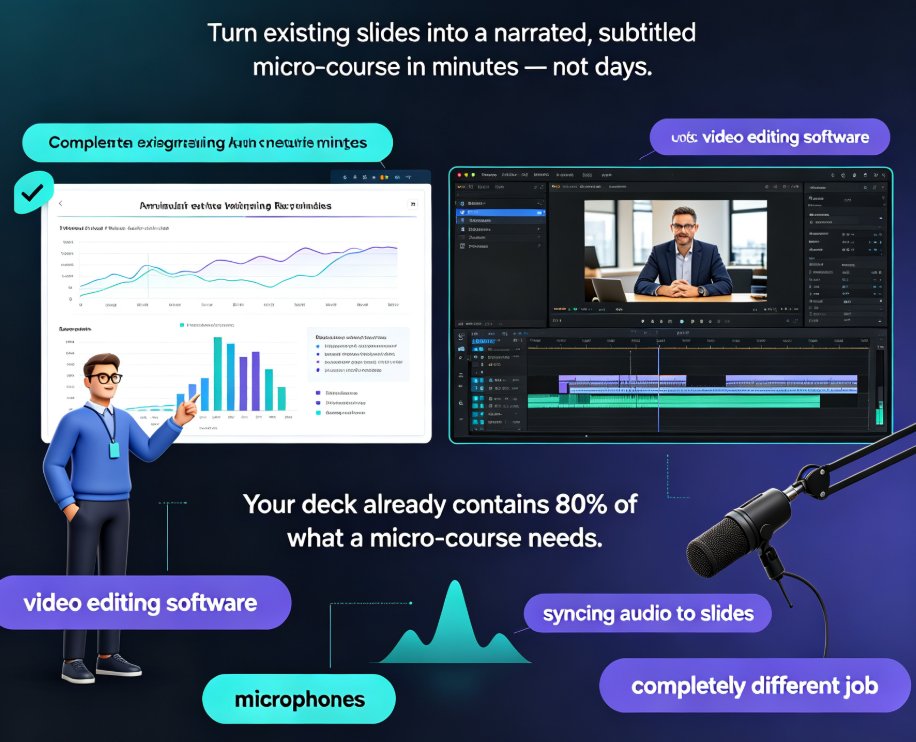
Here's where Zendeck really shines. Once your deck is polished, you can turn it into a narrated video with the PPT-to-video feature. This is perfect for creating an on-demand replay, a micro-course, or a training module—all without a video editor.
Step 1: Add narration.
You have two options: record your own voice or use AI voices. If you're presenting live, you might record your actual presentation. But for an evergreen replay, AI voices in over 20 languages can save you hours. You can even translate your deck into 100+ languages and generate consistent narration for global audiences.
Step 2: Set slide timings.
Zendeck lets you control how long each slide stays on screen. You can sync the timing to your narration or set it manually. This ensures the video flows naturally, just like a live presentation.
Step 3: Export in your preferred format.
Download the video as an HD MP4, share it via a link, or export a SCORM package for your LMS. The SCORM option is a lifesaver for compliance training—your LMS can track who completed the webinar and even score quizzes. If you're building training content, check out this guide to interactive training modules for more ideas.
Step 4: Add a quiz (optional).
To prove comprehension, you can generate a quiz from your deck and export it in QTI format. Your LMS can then score it alongside the video. This is especially valuable for certification or compliance webinars.
V. Making Your Webinar Reusable: From Live to Evergreen
A single webinar shouldn't be a one-time event. With Zendeck, you can repurpose your deck into multiple formats: a video replay, a micro-course, or a series of short clips. This extends your reach and maximizes your ROI.
Turn your webinar into a micro-course.
Break your deck into smaller modules and add narration to each. Zendeck's PPT-to-video makes it easy to create a structured learning path. You can even add branching scenarios to make the content interactive. Learn how to create a micro-course from scratch with Zendeck's AI.
Create an evergreen replay.
Instead of re-recording every time, you can update your deck and re-export the video. The AI handles the narration and timing, so you just tweak the content. This is a huge time-saver for recurring webinars or training sessions.
Share across channels.
Your video can live on your website, YouTube, or your LMS. Zendeck's export options make it easy to distribute your content wherever your audience is.
VI. Manual vs. Zendeck: The Real Difference
Let's put the numbers on the table. Here's a comparison of what it takes to create a webinar deck and video manually versus using Zendeck.
| Task | Manual (PowerPoint + separate tools) | Zendeck AI |
|---|---|---|
| Deck creation | 4-6 hours (design, layout, formatting) | 10-15 minutes (import outline, AI generates) |
| Brand consistency | Manual, error-prone | One-click brand kit application |
| Narration | Record yourself, re-record mistakes | AI voices in 20+ languages, or record once |
| Video export | Use separate video editor, complex | Built-in PPT-to-video, export MP4/SCORM |
| Reusability | Hard to update, re-record needed | Update deck, re-export in minutes |
| Collaboration | Email back-and-forth | Real-time co-editing and comments |
The bottom line: Zendeck saves you 4-6 hours per webinar. That's time you can invest in your content, your audience, or your sanity.
VII. FAQ
Can I export my webinar deck to video with Zendeck?
Yes. Zendeck's PPT-to-video feature lets you export your deck as an HD MP4, a shareable link, or a SCORM package for LMS platforms. You can add AI narration, set slide timings, and generate a polished video without any video editing skills.
How do I add narration to my webinar slides?
In Zendeck, open your deck and go to the PPT-to-video mode. You can record your own voice per slide, or use AI voices in over 20 languages. Adjust the timing, preview the video, and export. It's that simple.
Does Zendeck support SCORM export for LMS?
Yes. When exporting your webinar video, choose the SCORM option to create a package that integrates with Moodle, Canvas, Blackboard, or any SCORM-compliant LMS. This makes it easy to track completions and quiz scores for compliance training.
Can I collaborate on a webinar deck with my team?
Absolutely. Zendeck offers real-time collaboration, so your team can co-edit slides, leave comments, and share feedback. You can also set permissions for external clients or stakeholders, making it perfect for cross-functional webinar projects.
What formats can I export from Zendeck?
You can export your webinar deck as PPTX, PDF, Google Slides, or a narrated video (MP4, link, or SCORM). This flexibility ensures your content works for live presentations, on-demand replays, and LMS distribution.
Your next webinar doesn't have to be a stress-fest. With Zendeck, you can go from outline to a polished, narrated video in under an hour. Try it for your next session and see how much time you save. And if you're curious about other ways to leverage AI in your presentations, explore our PPT-to-video category for more tips and workflows.