How to Co-Edit a Deck with Your Team in Real Time Using Zendeck
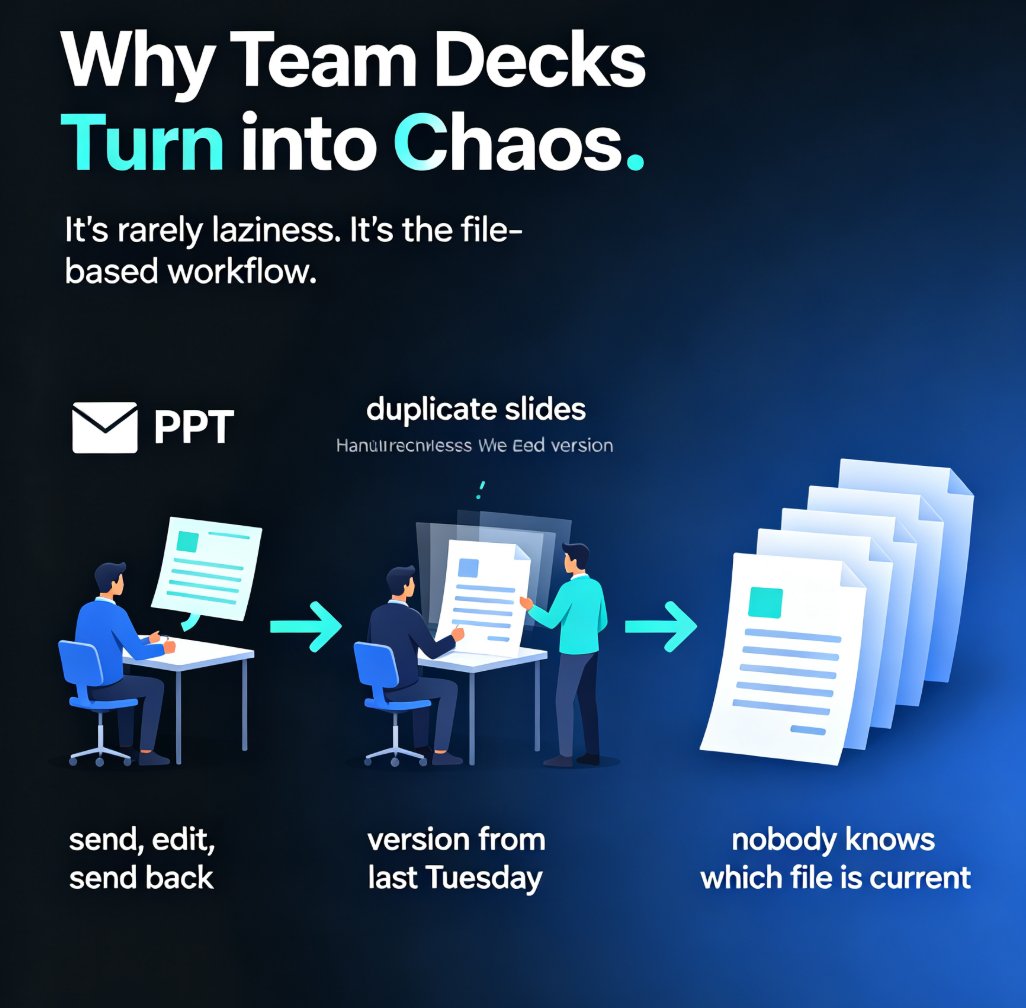
Let's be honest: the "final_v3_FINAL_reallyfinal.pptx" era needs to end. If you've ever waited 40 minutes for a colleague to email back the latest version of a deck, only to discover they edited the wrong file, this guide is for you. Real-time co-editing isn't a luxury anymore — it's the baseline for any team that ships presentations on a deadline.
In this tutorial, I'll walk you through exactly how to set up and use the collaboration features in Zendeck so your team can co-edit a deck in real time, avoid version conflicts, and keep everyone aligned in one place.
I. Why Real-Time Co-Editing Is No Longer Optional
The old workflow is broken. Someone exports a PPTX, emails it to three people, gets three different sets of edits, and spends an afternoon merging feedback by hand. Sound familiar? That's the pain point. The fix is a cloud-based workspace where everyone edits the same file simultaneously.
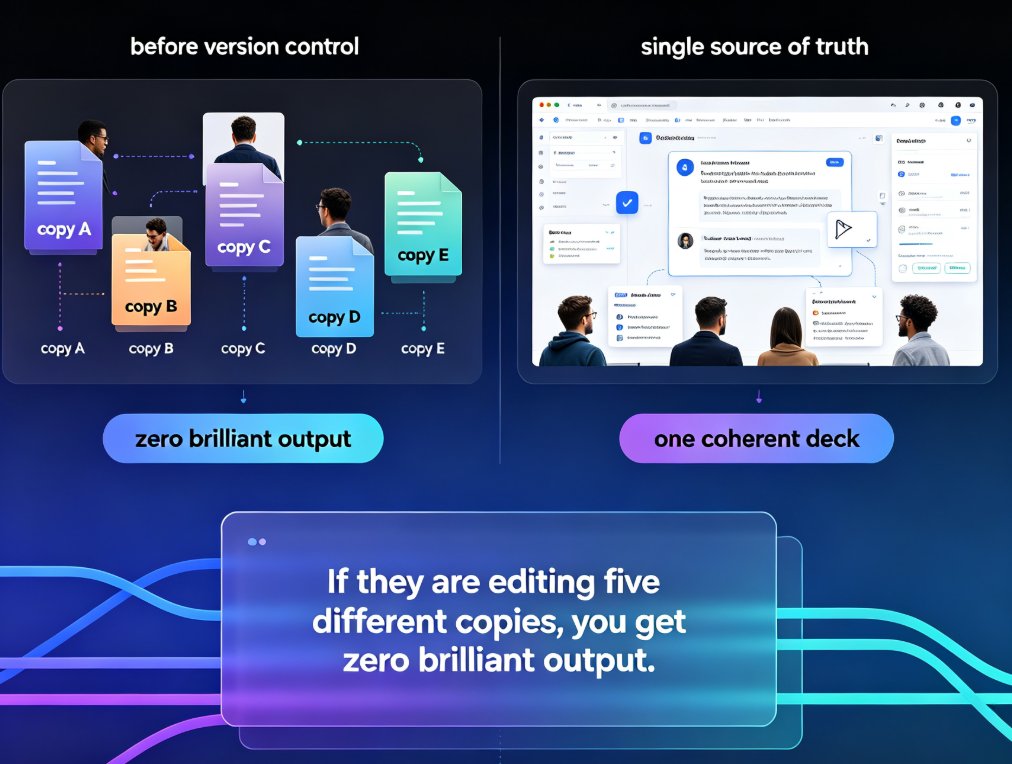
Real-time co-editing means no more file ping-pong. Team members can add content, leave comments, and refine details at the same time, with all changes saved automatically to the cloud and a full version history available. This approach significantly improves cross-functional team collaboration and supports smoother, more efficient collective creation.
The outcome is a single source of truth. Instead of asking "which version is current?", your team always knows the deck they're looking at is the live one. That alone can cut review cycles by hours.
If you want the deeper reasoning behind why real-time co-editing has become table stakes, check out our breakdown of why real-time co-editing is now a baseline for collaborative AI decks.
II. Setting Up Your Workspace for Collaboration
Getting started takes about two minutes. Here's the workflow we use internally.
Step 1: Create or Open Your Deck
Log in to Zendeck and either create a new presentation or open an existing one. If you're starting from scratch, you can paste a Markdown or Word outline and let the AI generate a structured deck — but you can also just start with a blank template and build from there.
Step 2: Invite Your Team
Click the Share button in the top-right corner. Enter the email addresses of your teammates, and choose what level of access each person gets (more on permissions in a moment). They'll receive an invite link and can jump in immediately — no software installation, no file downloads.
Step 3: Start Co-Editing
Once everyone is in, you'll see their cursors and edits in real time. It's like Google Docs, but for slides. Changes are saved automatically, so nobody has to remember to hit "save" or "send."
The key insight: real-time co-editing removes the location constraint. Team members can access the latest version of a presentation anytime and anywhere, which keeps productivity high in remote and hybrid work environments.
III. Managing Permissions: Who Can Edit, Comment, or Just Watch
Not everyone on a project needs full edit access. Zendeck lets you set granular permissions so the right people have the right level of control.
| Permission Level | What They Can Do | Best For |
|---|---|---|
| Full Edit | Add, delete, and modify slides; change layouts; add comments | Core team members actively building the deck |
| Comment Only | View the deck and leave feedback, but can't change content | Stakeholders, reviewers, subject-matter experts |
| View Only | Read the deck without making any changes | Executives, clients, final approvers |
Setting the right permissions prevents accidental edits. If a stakeholder only needs to review, giving them comment-only access keeps the content safe while still capturing their feedback. This is especially important when you're working with external clients or contractors.
A quick tip from experience: when you're bringing in an outside collaborator, set them to comment-only first. You can always upgrade them to full edit later if the workflow demands it. It's much harder to undo an accidental edit than to grant access.
For a deeper dive on working with outside stakeholders, see our guide on real-time collaboration with external clients on Zendeck.
IV. Avoiding Version Conflicts: The Workflow That Actually Works
Even with real-time co-editing, teams can still create chaos if they don't have a shared workflow. Here's the system we've refined over years of shipping decks.
The Golden Rules
- Assign slide ownership. Before a big co-editing session, agree on who "owns" which slides. This prevents two people from editing the same slide simultaneously and stepping on each other's work.
- Use comments for feedback, not edits. If you want a change, leave a comment and tag the owner instead of making the edit yourself. This keeps the editing history clean.
- Check the version history before big changes. Zendeck keeps a full version history, so if something goes wrong, you can roll back to any previous state.
Traditional vs. Real-Time Workflow
| Aspect | Traditional File Sharing | Real-Time Co-Editing |
|---|---|---|
| File version | Multiple conflicting versions | One live version |
| Feedback loop | Email ping-pong, days of delay | Inline comments, instant |
| Edit conflicts | Merged by hand, error-prone | Resolved automatically in real time |
| Remote access | Depends on who has the latest file | Available to everyone, anytime |
| Version history | Manual backups | Automatic, full history |
The result: review cycles that used to take days now take hours. When everyone works on the same live file, there's no "latest version" question, no merge errors, and no wasted time reconciling conflicting edits.
V. Keeping Everyone Aligned: Comments, Notifications, and Review Cycles
Real-time co-editing isn't just about avoiding conflicts — it's about keeping the whole team aligned. Here's how to make the most of it.
Use Comments as Your Communication Channel
Instead of scheduling a separate feedback meeting, use inline comments on specific slides. Tag the person responsible, ask your question, and get an answer without leaving the deck. This keeps all context in one place.
Set Clear Review Milestones
Even with real-time editing, you still need checkpoints. We recommend three: draft complete, feedback incorporated, and final approval. At each milestone, do a quick review pass and lock the deck (or switch everyone to comment-only) to signal that the content is frozen.
Keep the AI in the Loop
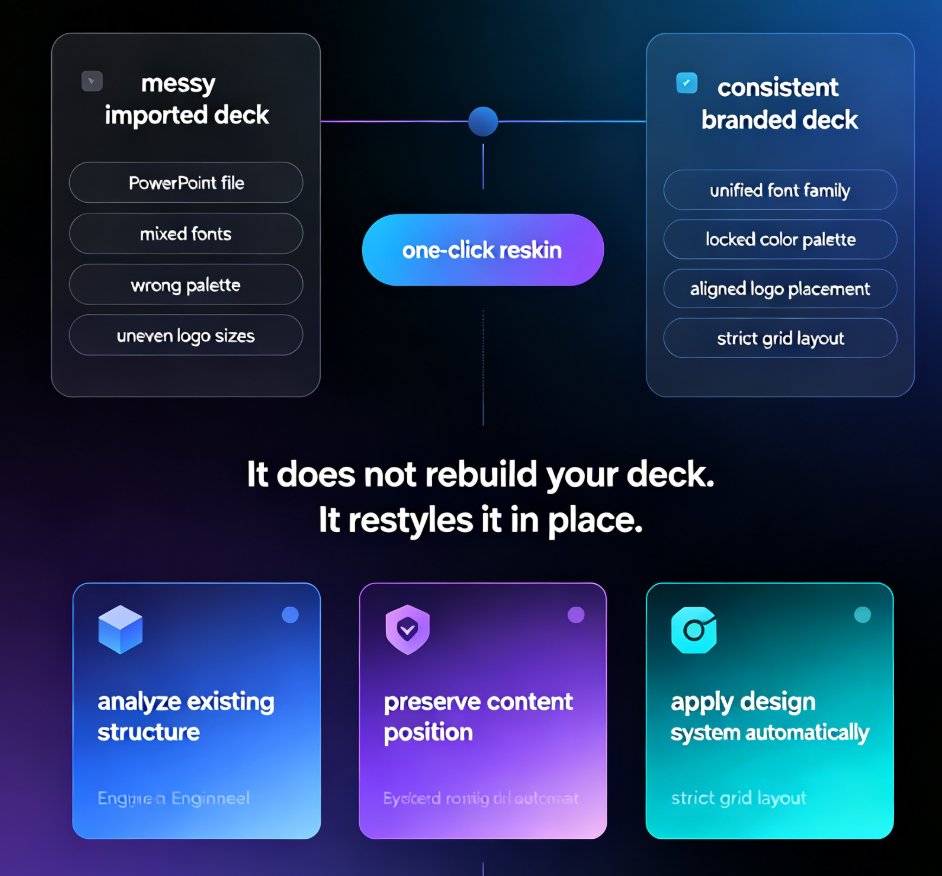
One advantage of this workflow is that the AI stays useful throughout the collaboration. If a teammate adds a slide that breaks the visual consistency, you can use the one-click reskin feature to reapply your brand fonts, colors, and layout across the whole deck. That way, real-time editing doesn't mean visual chaos.
A practical note: if someone on your team is worried about losing manual control, rest assured — you can manually edit AI-generated slides in Zendeck anytime. Co-editing doesn't mean giving up fine-grained control.
VI. Common Mistakes to Avoid When Co-Editing
Let's be real — even with great tools, teams find ways to create friction. Here are the three mistakes we see most often, and how to avoid them.
Mistake 1: Everyone Editing Everything
Without clear ownership, you get overlapping edits and confusion. Fix: assign slide ownership before the session starts.
Mistake 2: Using Comments for Trivial Changes
If a typo is the only issue, just fix it. Fix: reserve comments for substantive feedback that needs discussion.
Mistake 3: Not Reviewing the Version History
The version history is your safety net. Fix: check it before major milestones to make sure nothing was accidentally lost.
VII. The Bottom Line
Real-time co-editing with Zendeck turns presentation creation from a serial, email-driven chore into a parallel, collaborative workflow. You get a single source of truth, faster review cycles, and a team that's actually aligned — not just cc'd on the latest email thread.
If you're still trading PPTX files over email, you're losing hours every week. Set up the collaboration features today, and your next deck will be the one that ships on time.
For more ways to streamline your team's presentation workflow, browse our office efficiency guides or check out the presentation skills category.
FAQ
How do I invite team members to co-edit a deck in Zendeck?
Click the Share button in the top-right corner of your deck, enter your teammates' email addresses, and choose their permission level. They'll receive an invite link and can start editing immediately — no installation required.
Can I control whether someone can edit or just comment?
Yes. Zendeck offers three permission levels: Full Edit, Comment Only, and View Only. You can change a collaborator's permission at any time.
Does Zendeck save version history automatically?
Yes. All changes are saved to the cloud in real time, and Zendeck keeps a full version history so you can roll back to any previous state if needed.
Can I co-edit with external clients who don't have a Zendeck account?
Yes. You can invite external collaborators via email or shareable link, and control their access level. For best practices, see our guide on collaborating with external clients.
What happens if two people edit the same slide at the same time?
Zendeck handles real-time conflicts automatically, and the version history preserves both sets of changes. To minimize conflicts, we recommend assigning slide ownership before a co-editing session.