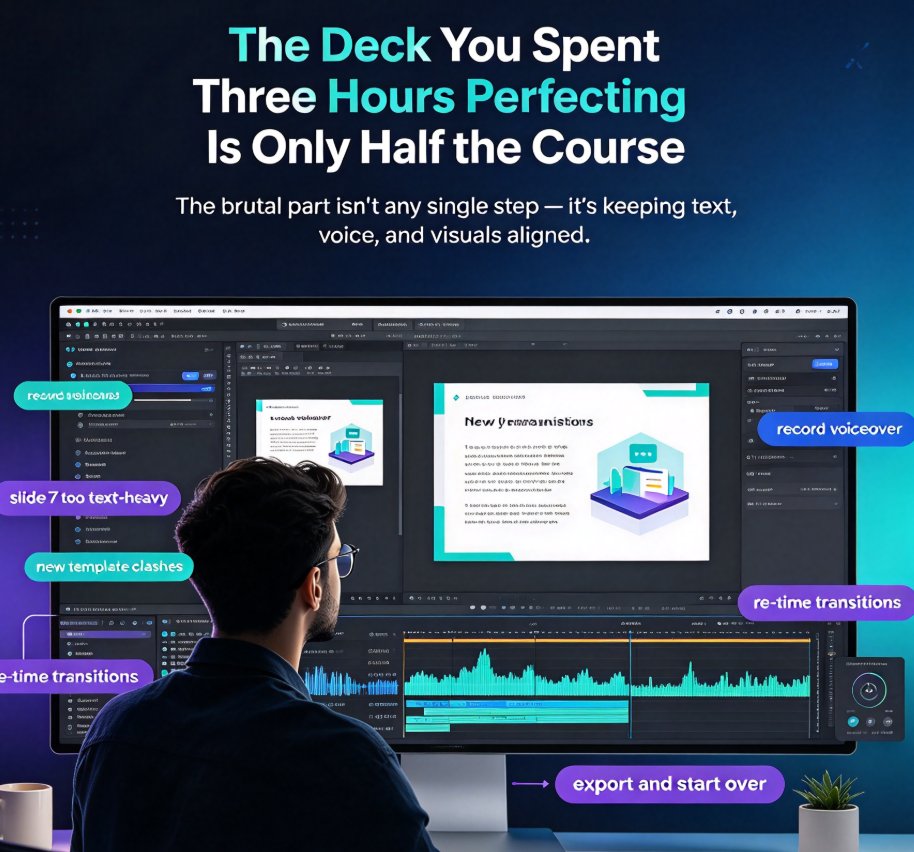
3 Easy Ways to Turn PPT into Narrated Micro-Lesson with Zendeck
You've spent hours building a killer slide deck—maybe for a course module, a safety training session, or a sales pitch. Then you present it once, and it sits in a folder, gathering dust. Let's be real: a static PPT is a one-time performance. But turn that same deck into a narrated video micro-lesson, and suddenly it works on-demand for every student, every new hire, every time they need a refresher.
That's exactly what Zendeck's PPT-to-video feature does—and you don't need a single minute of video editing experience. Here's the three-step workflow that turns old slides into learning content people actually watch.
01 Why Static Slides Are Wasting Your Best Content
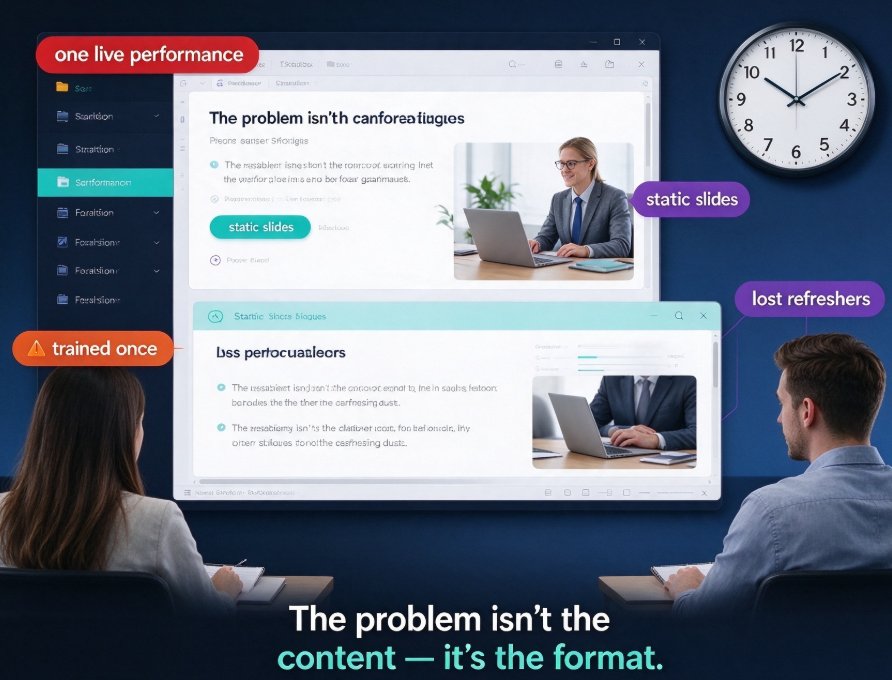
Every week, teachers and trainers open the same tired PowerPoint, hit "present," and hope the class follows along. The problem isn't the content—it's the format. Static slide decks demand your live presence, and they die when you close the laptop.
Here's what happens when you convert that deck into a narrated micro-lesson:
- Students can review at their own pace—pause, rewind, rewatch the tricky parts.
- Your content works 24/7—no scheduling conflicts, no repeated sessions.
- Retention improves—video micro-learning has a strong track record for improving knowledge retention compared to text-heavy presentations.
The research-backed logic is simple: video adds a dual-channel effect (audio + visual), which helps learners process and remember information better. Zendeck's PPT-to-video converts your existing slide deck into this dual-channel format, without a camera, microphone, or editing software.
If you're still building decks from scratch every semester, consider how much time you could win back by repurposing what you already have. That time-investment math is the core argument behind the growing adoption of AI-generated video decks in corporate training, as we covered in our earlier piece on AI-generated video decks replacing traditional corporate training.
02 Step 1: Import Your Slides and Let AI Clean Up the Layout
◉ What happens when your deck is a mess of fonts and misaligned boxes?
You know the drill: slide 5 has a title overlapping an image, slide 12 uses three different font sizes, and slide 17 looks like someone dropped a pie chart onto a ransom note. Cleaning that up manually takes an hour—and that's before you even think about recording.
Zendeck's Smart Layout automatically unifies fonts, colors, and spacing across your entire deck in one click. You import a Word outline or paste Markdown, or simply upload your existing PPTX, and the AI normalizes the visual hierarchy. No design skills required.
What to prepare before you import
- Fix any factual errors in the slides—the AI keeps your text, but it won't fact-check it.
- Remove clutter—delete irrelevant animations or notes that don't belong in a video.
- Think about pacing—break dense slides into two or three simpler ones if needed. Video learners need breathing room.
03 Step 2: Add AI Voiceover and Auto-Generated Subtitles
◉ How do you narrate a deck without a mic or recording skills?
This is the step that feels like magic. Zendeck's AI voiceover generates natural-sounding narration for each slide based on your script or slide text. You pick a voice, set the speed, and the AI reads your content with proper intonation.
The options don't stop there:
- Choose from multiple AI voices—pick one that fits your subject matter and audience.
- Adjust pacing and emphasis—slow down for complex topics, speed up for reviews.
- Switch to human narration—record your own voice for specific slides if you want a personal touch.
Subtitles are generated automatically from your narration, which is a game-changer for accessibility. Learners who are deaf or hard of hearing can follow along, and everyone benefits from reading while listening. If you're building courseware for diverse learners, this alone is worth the switch—we've written more about auto-captions in accessible micro-courses.
Pro tip (off the record)
Don't try to narrate every single word on the slide. The best micro-lessons paraphrase the slide content, not read it verbatim. Write a short narration script (2-3 sentences per slide) that explains what the bullet points mean, not what they literally say. Your students will thank you.
04 Step 3: Export as MP4 and Share Everywhere
◉ Where does the video go after you hit export?
Once your narration and subtitles are set, you preview the whole flow—slide by slide, checking timing and transitions. Then you export. Zendeck packages everything into a single MP4 file, ready to upload anywhere.
- LMS platforms—upload to Moodle, Canvas, or your company LMS.
- Video hosting—YouTube, Vimeo, or an internal video library.
- Direct sharing—send the link to students or embed it in an email.
The MP4 format keeps things simple. No proprietary player needed, no special software on the viewer's side. Just a standard video file that plays on any device.
What the final product looks like
- Clean visual flow—slides transition smoothly, with the layout you approved.
- Timed subtitles—synced to the narration, styled for readability.
- Consistent branding—if you've set up a custom brand kit in Zendeck, the video maintains your colors and fonts automatically.
05 How Much Time Does This Actually Save?
Let's do some honest math. Assume you have a 20-slide deck on, say, intro to project management.
| Task | Manual approach | With Zendeck |
|---|---|---|
| Fix layout inconsistencies | 45–60 min | 2–3 min (Smart Layout) |
| Record narration per slide | 60–90 min (with mistakes and retakes) | 5–10 min (AI voiceover) |
| Add and sync subtitles | 30–45 min | Auto-generated, light touch-up |
| Export and prepare for LMS | 10–15 min (rendering + converting) | 2–3 min (direct MP4 export) |
| Total | 2.5–3.5 hours | 10–20 minutes |
That's roughly a 90% reduction in production time. And the result gets watched at 10 p.m. the night before the exam—when your students actually need it.
06 Three Quick Wins for Better Micro-Lessons
You've got the workflow down. Now let's sharpen the output.
1. Keep each slide to one key idea
If a slide has more than three bullet points, split it. Video viewers drop off at dense slides—one idea per slide keeps attention high.
2. Use a conversational tone in your narration script
AI voices sound best when the script reads like someone explaining a concept out loud, not a textbook. Write like you talk.
3. Add a quick quiz at the end
A one-question recap at the end of the video boosts retention. You can even embed interactive quizzes directly into your micro-courses if you're sharing the deck online rather than as an MP4.
07 When to Choose MP4 vs. the Interactive Online Deck
Zendeck gives you two ways to share your narrated course: export the MP4, or share a link to the interactive deck. Here's how to choose:
| Scenario | Best format | Why |
|---|---|---|
| Required training for all staff | MP4 (LMS upload) | Completion tracking, standard delivery |
| Self-paced elective course | Interactive link | Learners navigate, revisit sections, interact |
| Review before an exam | MP4 on YouTube | Easy playback, mobile-friendly |
| Flipped classroom | Interactive link | Students explore before class discussion |
The MP4 works best when you need a finished, trackable asset. The interactive link shines when you want engagement and flexibility.
08 Why Zendeck Fits a Teacher's Workflow
If you've read this far, you likely already have a deck in mind that's begging to be converted. Here's why Zendeck is the right tool for that job:
- No design or video skills required—the AI handles layout, narration, and subtitles.
- Repurposing is the point—you're not starting from zero; you're upgrading what exists.
- Accessible by default—auto subtitles and alt text support diverse learners, a topic we explored in our accessibility guide for courseware.
The best part? You control the output. The AI does the heavy lifting, but you decide which voice, which pacing, which slides to include.
FAQ
How long does it take to turn a PPT into a narrated video with Zendeck?
The entire workflow—importing slides, generating AI voiceover, auto-adding subtitles, and exporting an MP4—takes roughly 20 to 30 minutes for a standard 15-20 slide deck. You can spend more time fine-tuning the AI voice or subtitles if you need a polished result.
Can I use my own voice instead of AI narration?
Yes. Zendeck lets you record human narration directly for each slide, or upload pre-recorded audio files. You can also mix AI voiceover and human narration across the deck—for example, use AI for overview slides and your own voice for complex explanations.
Does Zendeck automatically generate subtitles for the video?
Yes. Zendeck auto-generates subtitles from your narration or slide text, and you can fine-tune the timing and wording. This is a built-in accessibility feature that makes your micro-lessons easier to follow and more inclusive.
What video formats can I export from Zendeck?
Zendeck exports your narrated slides as MP4, which is the most widely supported format for platforms like YouTube, Moodle, and company LMS systems. You can also share the interactive deck online via a link if you want students to navigate at their own pace.
You've got the deck. Now you've got the workflow. Turn that static PowerPoint into a narrated micro-lesson today, and stop presenting the same content five times a semester—once is enough when you've got the video version ready.