How to Use Zendeck's PPT-to-Video to Create a Product Demo Video
Introduction
Let's be real: product demo videos are the workhorses of modern sales and marketing. They show your product in action, answer objections before they're asked, and give prospects that "aha" moment without a single sales call. But here's the catch — creating a polished demo video traditionally takes hours of screen recording, editing, and re-recording. You've probably been there: fumbling through clicks, muting the mic, re-doing takes because you stumbled over a word.
What if you could turn your existing slide deck into a professional product demo video in minutes? That's exactly what Zendeck's PPT-to-Video feature does. It takes the slides you've already built and transforms them into a narrated, animated video — no video editing skills required. In this guide, I'll walk you through the exact workflow, share the pro tips that make demos convert, and show you why this approach beats the traditional screen-recording grind.
I. Why Product Demo Videos Matter (and Why Most Are Painful to Make)
Product demos aren't just nice-to-have; they're decision-makers. According to a recent survey, 93% of B2B buyers watch a product demo before making a purchase decision. Yet most teams avoid creating them because the process is tedious and error-prone.
The Traditional Pain Points
- Screen recording chaos: You need a clean environment, sample data, and a rehearsed click path. One wrong click and you start over.
- Editing hell: Trimming dead air, adding annotations, blurring sensitive info — it's a time sink.
- Inconsistent quality: Different team members record differently, leading to demos that look and sound unprofessional.
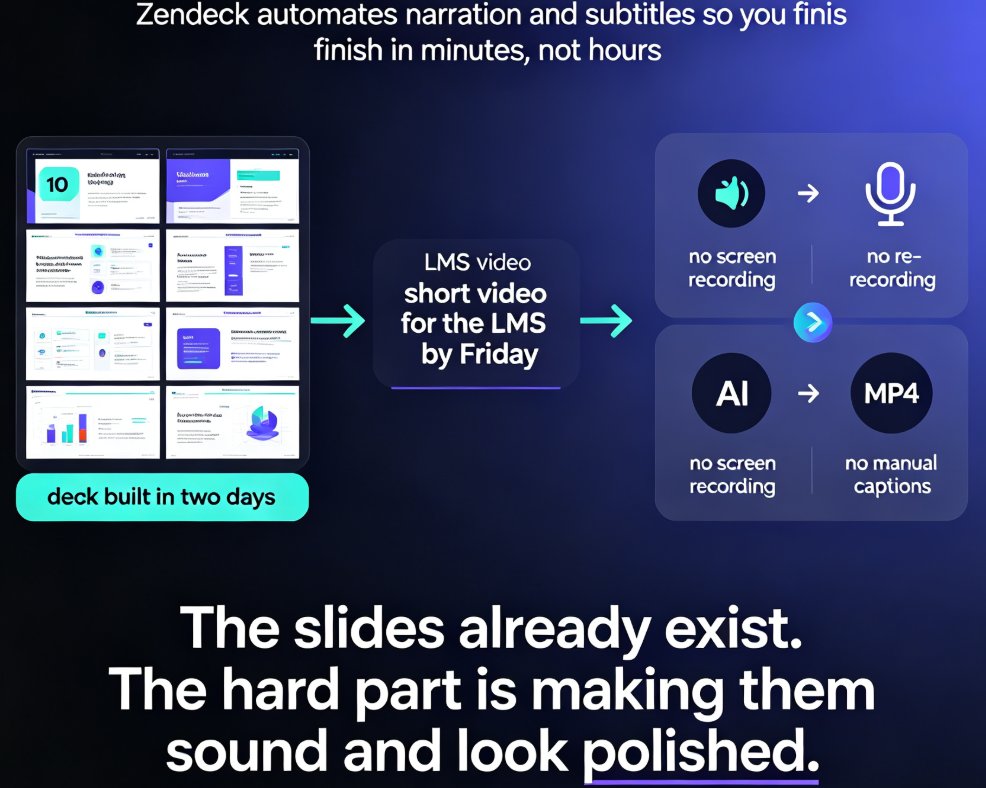
The solution is to stop recording your screen and start building your demo from slides. When you use Zendeck's PPT-to-Video, you're working with a structured narrative that's already designed to communicate your product's value. The AI handles the transitions, timing, and voiceover, so you get a consistent, polished result every time.
II. What You Need Before You Start
Before you dive into Zendeck, take 15 minutes to prep. This is the difference between a demo that flows and one that feels like a slideshow on autopilot.
1. Outline Your Demo's Story Arc
Your demo should follow a classic structure: problem → solution → proof → call to action. Map out 6–10 slides that cover:
- Hook: The pain point your product solves
- Feature highlights: 3–5 key features with real-world use cases
- Proof: Metrics, testimonials, or a mini case study
- CTA: What you want viewers to do next
2. Gather Your Assets
- Screenshots or UI mockups: Clean, high-resolution images of your product interface
- Sample data: Realistic but anonymized data that showcases your features
- Brand assets: Your logo, colors, and fonts (Zendeck's brand kits make this easy)
3. Write a Script (Even a Rough One)
You don't need a Hollywood screenplay, but having talking points for each slide keeps your narration focused. Zendeck can auto-generate speaker notes from your slide content, so you can start with bullet points and refine later.
III. Step-by-Step: Creating Your Product Demo with Zendeck's PPT-to-Video
Now for the fun part. Here's the exact workflow I use to turn a slide deck into a demo video that gets results.
Step 1: Build Your Deck in Zendeck
If you haven't already, create your presentation in Zendeck. You can start from a template, import a Word outline, or paste Markdown. The AI will structure your content into clean, visually consistent slides. This is where Zendeck shines — it eliminates the design guesswork, so you can focus on the story.
Step 2: Add Narration (AI or Your Own Voice)
Once your slides are ready, head to the PPT-to-Video feature. You have two options:
- AI voiceover: Pick a natural-sounding voice and let Zendeck generate narration from your speaker notes.
- Record your own: If you want a personal touch, record your voice directly in the tool.
Pro tip: If you're recording your own voice, keep your script nearby but off-screen. Zendeck's teleprompter mode (if available) can help, but even a printed script works. Just avoid long pauses — you can always edit them out later.
Step 3: Customize Transitions and Timing
Zendeck automatically sets slide durations based on your content length. You can adjust the timing per slide to match your narration pace. The key is to keep each slide on screen long enough to be read but short enough to maintain energy.
Step 4: Add Overlays and Annotations
This is where your demo goes from good to great. Zendeck lets you add text overlays to emphasize key points, show keyboard shortcuts, or call out specific features. Use them sparingly — think of them as digital highlighter marks.
Step 5: Blur Sensitive Information
If your demo includes real data, use Zendeck's blur tool to hide confidential details. Simply drag a blur box over the sensitive area and adjust the timeline. This is a lifesaver when you're showing a live dashboard or customer data.
Step 6: Insert CTAs and Chapters
Don't wait until the end to ask for action. Place a "Start Free Trial" button right after your most impressive feature demo. Zendeck allows you to customize the button's appearance, position, and timing. Also, break your demo into chapters so viewers can jump to specific sections — this is especially valuable for longer demos.
Step 7: Export and Share
Once you're happy with the result, export your video in 1920x1080 (full HD) or 1080x1920 for vertical formats. Zendeck supports multiple export options, including MP4, so you can upload directly to your website, YouTube, or social channels.
IV. Pro Tips for Making Your Demo Stand Out
You've got the basics down. Now let's talk about the details that separate a forgettable demo from one that drives conversions.
Tip 1: Keep It Under 2 Minutes (Ideally)
Attention spans are short. The ideal product demo is 60–90 seconds. If you have more to say, create a longer version for your website and a short teaser for social media. Zendeck makes it easy to create both from the same deck.
Tip 2: Use Realistic Sample Data
Nothing kills credibility faster than "John Doe" or "Acme Corp." Use sample data that looks real — names like "Sarah Chen" or "Northwind Traders" — and avoid anything that looks like a placeholder.
Tip 3: Zoom In on Key Details
If you're showing a complex interface, use Zendeck's zoom effect to highlight specific areas. This guides the viewer's eye and prevents them from getting lost.
Tip 4: Add a Rating or Social Proof Element
Including a quick customer testimonial or a star rating at the end of your demo builds trust. Zendeck's asset library has icons and graphics you can drop in.
V. Traditional vs. Zendeck: A Side-by-Side Comparison
Still skeptical? Here's a breakdown of how the traditional screen-recording approach stacks up against Zendeck's PPT-to-Video workflow.
| Aspect | Traditional Screen Recording | Zendeck PPT-to-Video |
|---|---|---|
| Setup time | 30–60 min (clean environment, sample data, rehearsals) | 5–10 min (prepare slides) |
| Editing effort | High (trimming, annotations, blur, re-records) | Low (AI handles transitions, timing) |
| Consistency | Varies by person | Uniform, on-brand |
| Narration | Separate recording, sync issues | Integrated AI or voiceover |
| CTAs & chapters | Manual, often skipped | Built-in, customizable |
| Total time | 4–8 hours | 30–60 minutes |
| Skill required | Video editing expertise | None |
The verdict is clear: Zendeck saves you hours and produces a more professional result. If you're already using Zendeck for your presentations, you're one click away from a video demo.
VI. Common Mistakes to Avoid
Even with a great tool, there are pitfalls. Here's what I've seen teams trip over:
- Cramming too much text per slide: Keep slides visual. Your narration carries the details.
- Ignoring the audio quality: If you record your own voice, use a decent mic and a quiet room. Background noise is a dealbreaker.
- Skipping the CTA: Always end with a clear, clickable call to action. Don't assume viewers know what to do next.
- Forgetting to blur sensitive data: Double-check your slides for any confidential info before exporting.
VII. FAQ
How long does it take to create a product demo with Zendeck's PPT-to-Video?
With Zendeck, you can turn a well-structured slide deck into a narrated video demo in under 30 minutes. The AI handles the layout, transitions, and voiceover generation, so you only need to focus on the content and final tweaks.
Can I add narration to my product demo video?
Yes. Zendeck's PPT-to-Video feature lets you add AI-generated voiceovers or record your own narration. You can also auto-generate speaker notes to guide the narration, ensuring a smooth and professional delivery.
What resolution should I use for my product demo video?
For full HD quality, use 1920x1080 for landscape videos and 1080x1920 for vertical formats. Zendeck supports these resolutions, so your demo will look crisp on any screen.
Can I blur sensitive information in my demo?
Absolutely. Zendeck includes a blur tool that lets you hide confidential data, personal details, or proprietary content directly in the video editor. Just drag a blur box over the sensitive area and adjust the timing.
How do I add clickable CTAs to my product demo?
Zendeck allows you to insert clickable buttons at any point in your video timeline. Place a "Start Free Trial" button right after demonstrating your most impressive feature to maximize conversions.
Ready to Create Your Demo?
Product demo videos don't have to be a nightmare. With Zendeck's PPT-to-Video, you can turn the slides you already have into a compelling, narrated demo that sells your product while you sleep. Whether you're a solo founder or part of a marketing team, this workflow will save you hours and elevate your content.
If you want to dive deeper into specific features, check out our guide on adding narration to your slides or learn how to create interactive training modules with the same tool. For a broader look at turning outlines into videos, see our complete workflow for micro-courses.
Stop recording your screen. Start building your demo. Your future self (and your conversion rate) will thank you.