How to Build a Branded Training Deck with Zendeck Templates
Let's be real about training decks for a second.
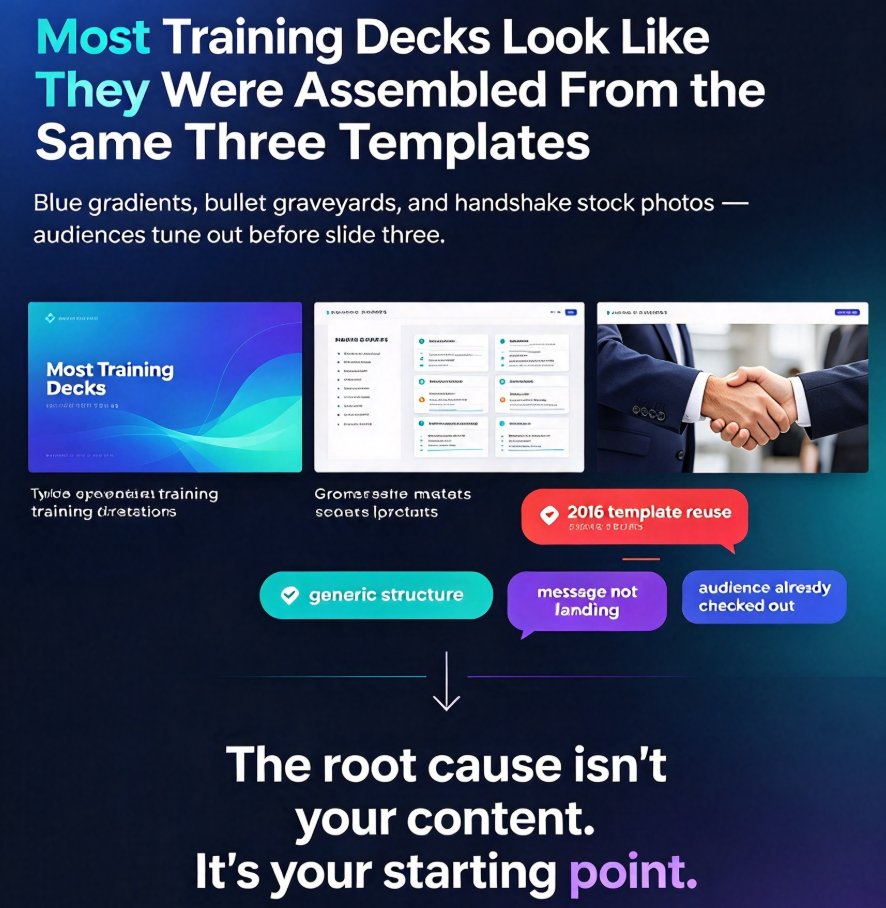
Most of them look like they were assembled from the same three templates everyone used in 2016 — the blue gradient title slide, the bullet-point graveyard, the stock photo of a handshake that adds nothing to the message. If your audience has sat through a hundred of these, they've already tuned out before you reach slide three.
The root cause isn't your content. It's your starting point.
Generic templates force your content into their structure. A branded training deck, by contrast, should feel like it belongs to your organization — because it does. And that's exactly what a template library like Zendeck's is built for.
This walkthrough covers how to select and customize Zendeck's templates to create a cohesive, on-brand training presentation for corporate learning or classroom use. Six steps, no design degree required.
01 Define Your Brand Foundation Before You Open Any Template
Here's the mistake almost everyone makes: they open a template first, then try to hammer their brand into it. That's backwards.
Before you touch a template, settle your brand foundation — your color palette, typography, tone of voice, and the mission behind what you're teaching. The best branding decks start with an introduction that sets the tone, then tell your brand story, values, positioning, and the problem you're solving.
Zendeck handles this cleanly with its brand kit feature. You define your colors, fonts, and logo once, and every template you use after that inherits them. That's the difference between a deck that looks "personalized" and one that actually feels on-brand.
A truly branded training deck isn't decorated — it's governed by brand rules you set once and never re-apply slide by slide.
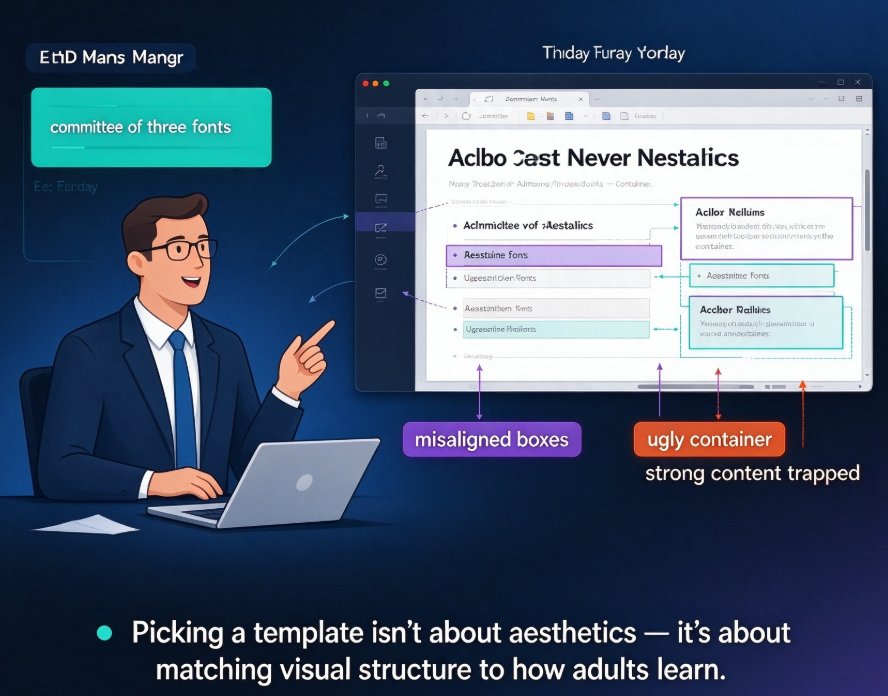
02 Pick the Right Template From the Library — Not the Pretty One
Zendeck's template library is organized by context: onboarding, training, education, corporate reporting, product pitches. This matters more than most people realize.
Generic templates are everywhere, and they're the reason almost every corporate deck looks the same. The 2026 trend in template libraries is shifting toward contextual templates — systems that match the purpose of your deck, not just its aesthetic. If you want the full picture on why generic templates are losing ground, this breakdown of contextual template trends is worth reading.
So when you pick a template, ask three questions:
- Does the layout type match the content? A compliance training deck needs different pacing than a hands-on skills workshop.
- Does the color and typography scheme already fit your brand, or does it fight it?
- Can your content flow through the deck without restructuring every slide?
Choose a template for its structure, not its thumbnail. Zendeck's templates adapt to the outline you bring, so the slide count and ordering follow your material — not the other way around.
03 Customize Colors and Fonts With the Brand Kit
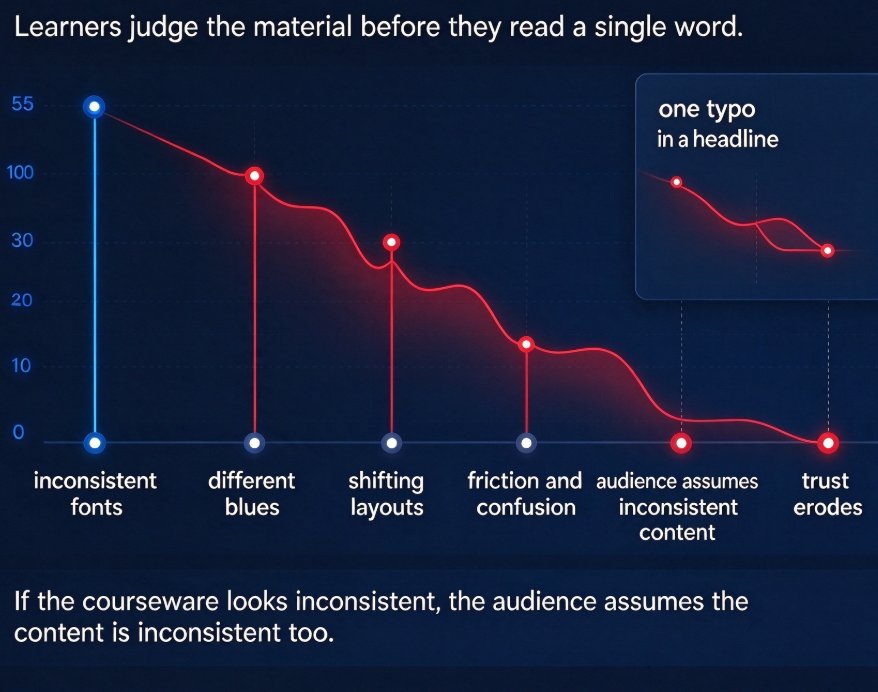
Once you have a template, the fastest way to kill your brand is inconsistent styling. Heading sizes that drift, fonts that change mid-deck, colors that don't match your logo — that's the "assembled" look.
Zendeck's brand kit centralizes your visual identity. Set your palette, typography, and logo once, and apply it across the entire deck. If you want to go deeper, the five ways to create a custom brand kit in Zendeck guide covers how to keep every deck consistent without redoing the work each time.
The outcome: your training deck becomes a case study of your visual identity — a polished, professional reference for how your brand presents itself, not just a one-off document. That's what separates branded courseware from a generic slide dump.
04 Structure Your Content for a 10–20 Slide Flow
Let's talk length, because almost every training deck is either bloated or thin.
The golden range for a branding-style training deck is 10 to 20 slides. Condense big ideas into bite-sized chunks, and focus on the key elements: brand story, values, positioning. If your training needs more depth, split it into a series of decks rather than cramming one deck to 40 slides.
Structure the deck as a journey:
- Opening that sets the tone
- The problem you're solving
- Your mission and values
- Your positioning and approach
- The training modules or core content
- Recap, resources, and next steps
Different training scenarios call for different pacing. Here's a quick cheat sheet for choosing the right template context:
| Template Context | Best For | Key Focus | Typical Slide Count |
|---|---|---|---|
| Onboarding | New-hire training | Company story, culture, roles | 10–15 |
| Skills workshop | Hands-on sessions | Exercises, examples, breakouts | 12–20 |
| Compliance / policy | Mandatory training | Rules, scenarios, checkpoints | 10–15 |
| Product education | Sales enablement | Features, use cases, objections | 12–20 |
Storytelling matters here too. Weave a narrative through the deck — what your team struggled with, how you solved it, where you're going next. Training content is more memorable when it's a journey, not a list.
05 Reskin the Whole Deck With One-Click Smart Layout
Now for the part that saves you the most time.
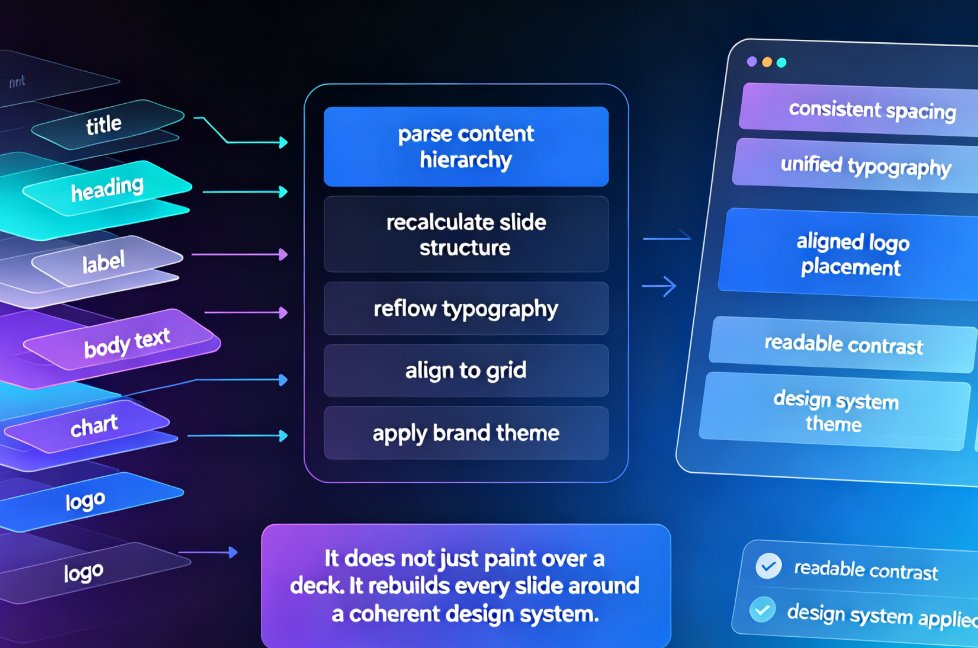
After you've poured in your content and picked your template, Zendeck's smart layout reskins the entire deck in one click — unifying fonts, colors, spacing, and alignment across every slide. You don't nudge boxes pixel by pixel; the tool does the layout work for you.
This is the difference between a deck that takes hours of manual adjustment and one that looks designed on the first pass. For teams that produce courseware at scale, this is the feature that actually moves the needle — here's how Zendeck's smart layout cuts design time if you want the specifics.
One-click reskinning means your brand consistency is enforced by the tool, not by your discipline — and that's how teams maintain quality across hundreds of slides.
06 Turn the Deck Into a Narrated Micro-Course
If you're building training material, your deck isn't the end product — it's raw material.
Zendeck's PPT-to-video feature converts your static slides into a narrated micro-course, adding voiceover and subtitles automatically. That turns a training deck into learning content your team can consume on their own schedule, at their own pace. For educators, it's how you scale a one-time workshop into a reusable course library. You can see the whole workflow in this guide to adding narration to slides.
FAQ
How long should a branded training deck be?
Aim for 10 to 20 slides. Condense big ideas into bite-sized chunks and focus on key elements like brand story, values, and positioning. If your training needs more depth, split it into a series of decks instead of stretching one deck past 40 slides.
How do Zendeck templates keep my brand consistent?
Zendeck's brand kit lets you set colors, fonts, and logo once, and every template you use inherits them. One-click smart layout reskin unifies styling across all slides, so your brand consistency is enforced by the tool rather than by manual effort.
Can I convert my training deck into a video course?
Yes. Zendeck's PPT-to-video feature turns static slides into a narrated micro-course with voiceover and auto-generated subtitles — ideal for asynchronous training or scaling a workshop into reusable e-learning content.
Do I need design skills to use Zendeck templates?
No. Templates handle the layout and visual structure; the brand kit handles identity. You focus on the content and the tool handles the design. That's the core value proposition — anyone without design training can produce branded courseware.
Are Zendeck templates flexible enough for different training topics?
Yes — the library is organized by context: onboarding, skills workshops, compliance, and product education. Contextual templates adapt to the outline you bring, so the deck structure follows your content, not a rigid grid.