Interactive Quiz Micro-Course: Zendeck Steps to Add Questions & Polls
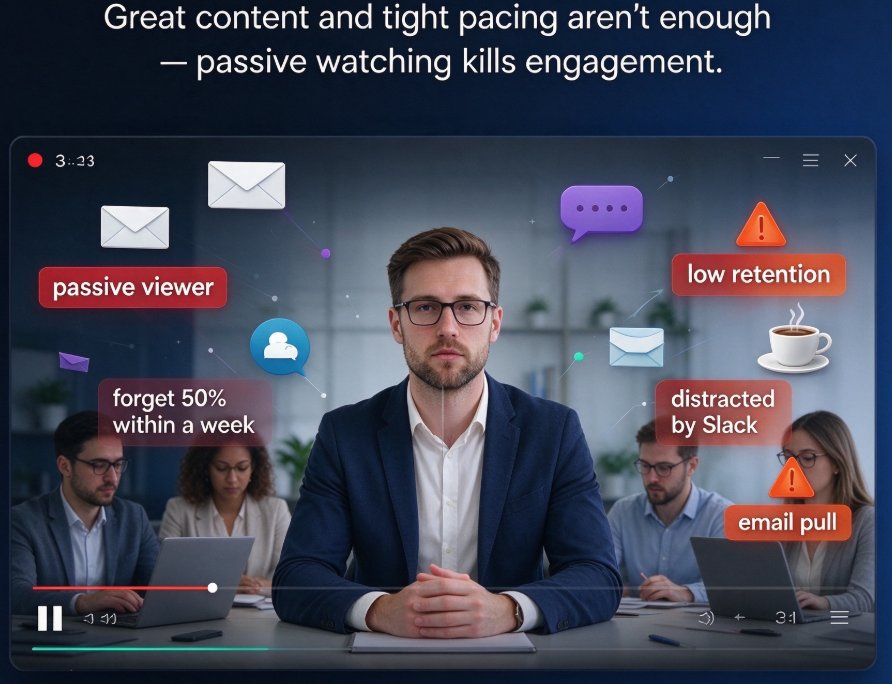
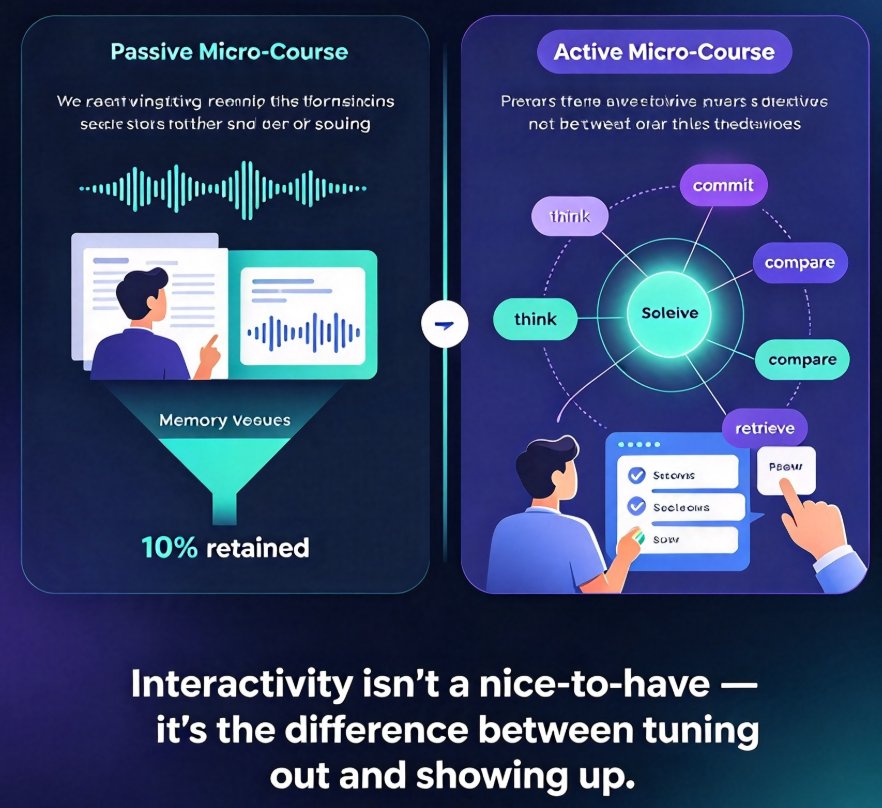
Let's be real: most micro-courses are just repackaged PowerPoint decks. You click "next slide" a hundred times, listen to a monotone voiceover, and by the end, you've absorbed maybe 10% of the material. If that's what you're creating, your audience is going to tune out fast.
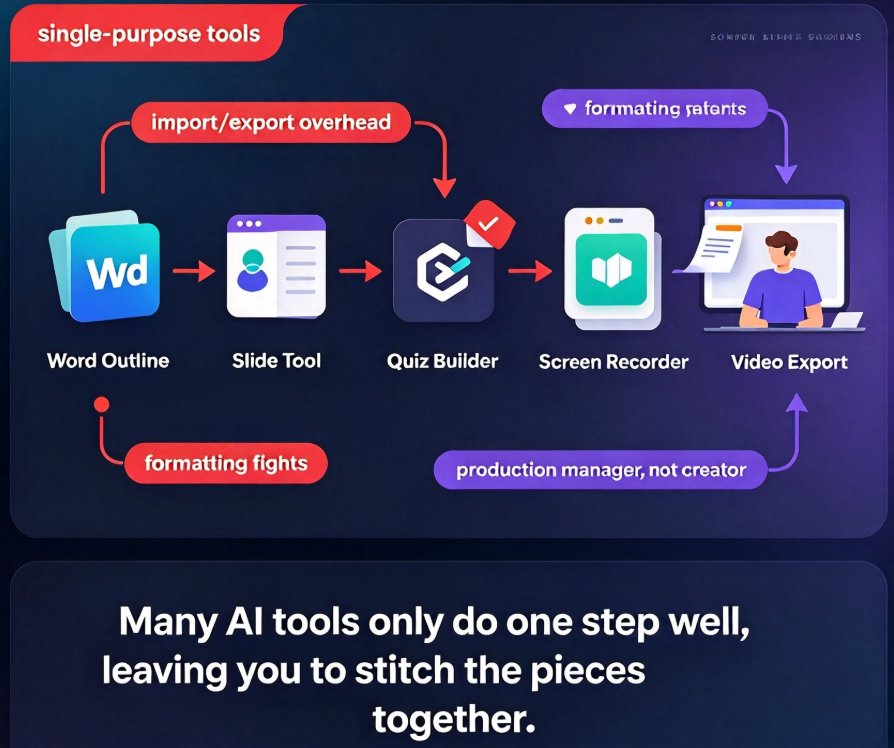
Here's the thing—people don't remember what they watch; they remember what they do. That's why interactive quizzes and polls aren't just nice-to-haves in a micro-course. They're the difference between a passive viewing experience and an active learning one. And unlike a few years ago, you don't need a complex authoring tool or a web developer to build them.
In this article, I'll show you how to add multiple-choice questions and polls to your micro-course slides step by step, using Zendeck. No coding, no design skills, no stress. Just a genuinely easy way to make your courses feel more like a good conversation and less like a lecture.
01 | Why Interactivity Is the Secret Weapon of Micro-Courses
If you're building micro-courses for a corporate training program or an online course, you've probably seen the numbers: learners forget up to 70% of new information within 24 hours unless they actively engage with it. That's a brutal stat. But here's the good news: interactive elements like quizzes and polls can boost retention by forcing the learner to retrieve, evaluate, or express an idea—and that makes the content stick.
A study in online learning environments has shown that learners who interacted with polling-style questions during a lesson reported higher engagement levels and better recall. The mechanism is simple: when you ask someone a question mid-lesson, their brain shifts from passive reception to active processing. They have to think, commit to an answer, and then see how that answer compares to the correct one or to the group's opinion. That's a tiny moment of cognitive work, and it works.
For you as a course creator, the payoff is equally concrete. You can identify where learners struggle, see which concepts need more explanation, and get an honest read on whether your content is actually landing. It's like having a real-time pulse on your audience. A quiz isn't just a way to test people—it's a way to learn about them.
If you're new to the idea of adding interactive elements, you might want to check out our guide on boosting engagement with polls and quizzes in slides. It's a great overview of how these tools fit into a broader presentation strategy.
02 | Step 1: Plan Your Interaction Points Before You Build
Here's a mistake I see over and over: people build their entire course slides, realize it's boring, and then try to cram a quiz in at the end. That's like adding a treadmill to a TV show you recorded and calling it a workout. Interactivity works best when it's built into the moment it's needed, not bolted on as an afterthought.
Before you open Zendeck, take five minutes to map out your micro-course slide by slide. As you outline, ask yourself three questions:
- Where do learners likely zone out? That's where you need a quick poll to re-energize them.
- Where is a key concept introduced? That's where a quick quiz helps them lock it into memory.
- Where can learners make a decision or express an opinion? That's where a poll adds relevance and makes the content feel personal.
Let me give you a concrete scenario. Say you're creating a 7-minute micro-course on data privacy for employees. Your slides might look something like this:
| Slide | Slide Content | Interaction Point |
|---|---|---|
| 1 | Hook: why data privacy matters to you | Poll: "Have you ever clicked a phishing link?" |
| 2 | Key statistic: 90% of breaches are caused by human error | Quiz: "Which of these is a phishing email?" |
| 3 | A real-world example | Poll: "What would you do in this situation?" |
| 4 | Policy overview | Quiz: "What's the correct procedure for reporting a breach?" |
| 5 | Summary and next steps | Quiz: "Which of these is NOT a reason to report an incident?" |
That rhythm—content, quick question, more content, another question—keeps learners engaged without turning your course into a test session. Notice how each quiz or poll isn't just there to be there; it directly reinforces the slide right above it.
Once you've planned your interaction points, you can think about what type of interaction fits each moment. There are basically two tools you'll reach for in Zendeck: quizzes and polls. In the next steps, I'll show you how to add both.
03 | Step 2: How to Add a Multiple-Choice Quiz to Your Slide
Now we're getting to the hands-on part. Adding a quiz in Zendeck is genuinely straightforward, and once you've done one, you'll be able to add them in under a minute.
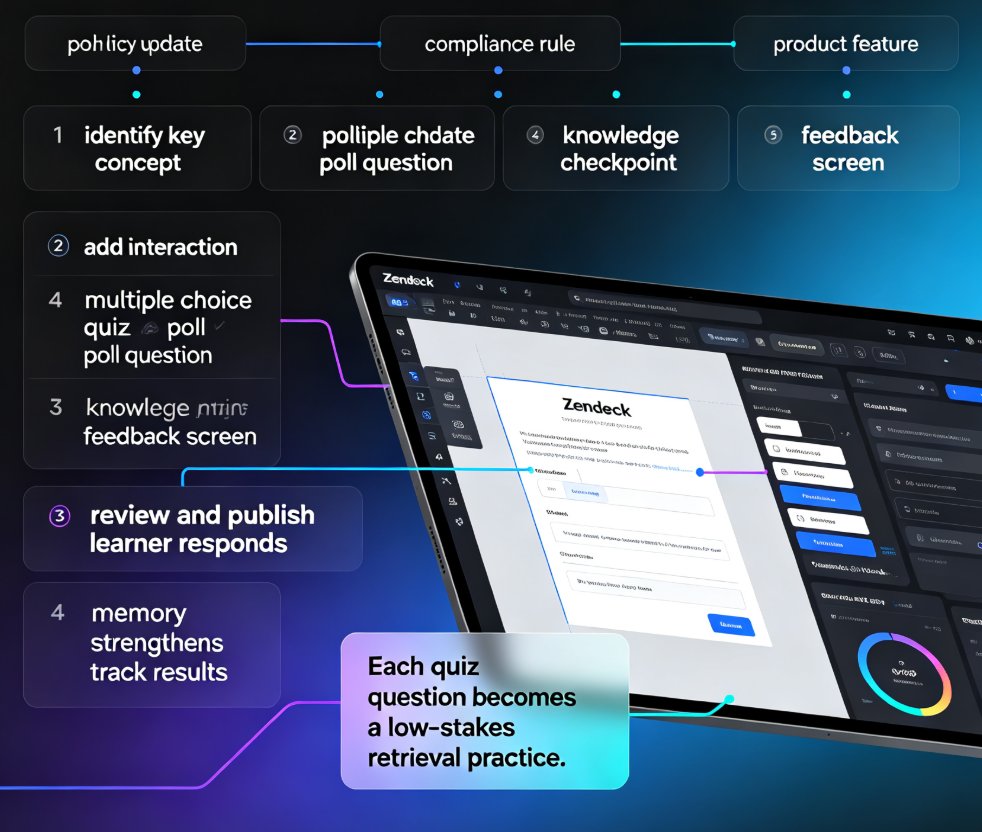
- Open your deck in Zendeck's editor. If you haven't already, convert your Word outline or Markdown into slides. Everything we're about to do works with slides you've generated from text or started from a template.
- Select the slide where you want the quiz. Click on it in the slide thumbnail pane on the left. It should be the slide right after the concept you want to test.
- Click "Add Interactive Block" in the toolbar. In the options that pop up, choose "Quiz".
- Type your question in the question field. For example, "Which of the following is a strong password?"
- Add your answer options. You can have up to five choices. Enter them in the "Option" fields.
- Mark the correct answer. Click the radio button next to the right answer. This is what learners will see highlighted as correct.
- Optional: add an explanation. This is a pro tip. When a learner answers correctly, you can show a short explanation like "Correct—a strong password mixes letters, numbers, and symbols." When they're wrong, they see why, so they learn from the mistake immediately.
That's it. You've just added a quiz to your slide. The quiz will adopt your deck's existing fonts and colors, so it won't look like a random widget glued onto the page. It looks like part of the design.
A quick tip about writing questions: make sure the options are genuinely ambiguous enough that learners actually think. A question like "Which password is strongest?" with one obviously random string and three simple words is almost too easy. Give them choices that all look vaguely plausible. That's when the quiz actually does its job—it makes them stop and reason.
If you want to see more about how quizzes can be used in different contexts, check out our article on adding interactive quizzes to micro-courses. It's full of ideas for different learner scenarios.
04 | Step 3: Insert a Poll to Gather Opinions and Check the Mood
Polls are the light, social cousin of quizzes. They don't have right or wrong answers—they're there to collect opinions, gauge confidence, or break the ice. Adding a poll to your slide follows the same basic flow.
- Go to the slide where you want the poll. This might be at the very beginning of your course to set context, or any point where you want learners to commit to a perspective.
- Click "Add Interactive Block" (same place you'd go for a quiz).
- Choose "Poll" from the menu.
- Type your poll question. For example, "How confident are you about using our new software?" or "Which of these topics would you like to dive deeper into?"
- Add options for voting. You can have multiple options, and learners can pick one.
- Decide if you want the poll to be anonymous. Anonymous polls are great for sensitive topics, like asking people to admit they don't understand something or feel uncomfortable about a policy.
A good example of a clever poll placement: you're teaching a course on new sales software, and you start with a poll: "How would you rate your current confidence with CRM tools?" Learners vote "Low", "Medium", or "High". Now you know exactly where your audience is. That's a poll with a purpose.
If you want to explore more ideas on how polls can boost engagement, our guide on adding polls and quizzes to slides covers a bunch of creative use cases beyond the typical "quiz after every slide" approach.
Let's look at a comparison of quizzes and polls to make sure you choose the right one for each moment:
| Comparison | Quiz | Poll |
|---|---|---|
| Purpose | Test knowledge | Gather opinions or gauge sentiment |
| Right/wrong answer | Yes | No |
| Effect on learner | Reinforces memory, provides feedback | Builds connection, makes content relatable |
| Best used when | You've just explained a key concept | You want to check the room's attitude or baseline |
| Data you get | Correct/incorrect rates per question | Response distribution per option |
| Example | "Which of these elements should be in a sales email?" | "What's your biggest challenge with cold calling?" |
05 | Step 4: Make Your Interactive Blocks Look Professional
Here's where most people worry: "I'm not a designer—how do I make sure these quiz blocks don't ruin my deck's look?" The answer is simpler than you think. Zendeck's interactive blocks inherit your deck's style automatically—the fonts, colors, spacing, and layout all match because the blocks are part of the same design system as your slides.
But you can still customize if you want to. Let me give you a few quick thoughts on the design side:
- Keep it one question at a time. Resist the urge to cram multiple questions into one slide. A single question with options takes up enough space without feeling cluttered. Your learners will appreciate the breathing room.
- Make the correct answer feel special. If you want to draw extra attention to the right answer's explanation, use an accent color from your brand kit to highlight it. It creates a little "aha" moment.
- Use a consistent placement. If you always put quizzes at the bottom left of a slide and polls at the top right, learners will intuitively know where to look. Consistency builds predictability.
- Test on mobile. Some of your learners will watch on their phone. Make sure the question text and answer options are readable on a smaller screen. Zendeck automatically handles responsiveness, but it's worth double-checking with your own phone.
One more technical-but-human point: accessibility matters. That's one of the emerging trends in e-learning—and for good reason. If you have learners with visual impairments, make sure your interactive blocks include alt text. Zendeck makes it easy to add alt text to images and even auto-generates it when you add assets. For quizzes and polls, keep the text contrast strong and the interaction simple. Don't force users to hover to see an answer option—everything should be clickable or tappable.
If this is your first time thinking about accessibility, don't worry. Our article on creating accessible AI presentations with WCAG tips for Zendeck users is a practical starting point that won't overwhelm you.
06 | Step 5: Test, Review, and Improve with Real Data
Here's the part people often skip, and it's honestly the most valuable. After you've added your quizzes and polls and published your micro-course, you need to look at the results.
Zendeck lets you see response summaries for each question—how many learners chose each option, how many got the right answer, and how much time (if any) they spent on the slide. This data is gold. Let's walk through how to actually use it.
Scenario 1: A question that's too easy. If 98% of learners answer correctly, that question is just confirming what they already know. It's not adding value. Either make the options more challenging or replace it with a different concept to test.
Scenario 2: A question that's too hard. If 80% of learners miss a question, that's a huge signal. It means the concept right above it wasn't explained well. Go back to that slide, rephrase the explanation, maybe add a short recap, and try again.
Scenario 3: A poll with surprising results. Let's say you polled about "What's your biggest challenge?" and 70% said one specific issue. That's your roadmap for a follow-up lesson or an FAQ to address.
So review your quiz data, treat it as feedback, and iterate. The best course creators don't just create; they refine. And with Zendeck, refining is quick because you can edit a slide and republish the course in seconds.
For a deeper look at how data can shape your content strategy, check out this thoughtful guide on building a custom brand kit—it's a bit of a tangent, but it shows how consistent design reinforces the feedback loop.
07 | Step 6: Turn Your Interactive Slides into a Video Course (Optional)
Now, this is a fun step. Once you have your interactive micro-course deck polished, you might want to turn it into a video course for viewers who prefer to watch. Zendeck's PPT-to-video feature can generate a narrated version of your slides, complete with AI voiceover.
Here's the subtle art: your quizzes and polls won't translate into a video as interactive elements. But they can still serve as on-screen questions. You can either keep them visually on the slide as rhetorical prompts, or remove them before converting and replace them with a "pause and think" cue.
My personal take: if you're going to make a video, use the questions as pause points. Say something like "Here's a question you should think about: ..." and then let the next slide provide a brief answer. That keeps the interactive spirit alive even in a passive format.
If you're curious about the video side of things, here are two relevant deep dives: our article on PPT-to-video automation for micro-courses and our piece on AI agents that can turn an outline directly into a micro-course. Both are great reads if you're building multiple courses in a series.
08 | The Wrap-Up: Start Small, but Start Now
I've shown you six steps: plan your interaction points, add quizzes, insert polls, keep the design clean, use the data, and optionally turn it into a video. Let's be honest about one thing—you don't have to do all of this perfectly on your first try.
The best approach is to start small. Pick one course, add one quiz and one poll at natural breaks, and see how the learners respond. The data will tell you what to do next.
Zendeck makes the technical part feel like nothing. The real work is deciding where to put the interaction and what to ask. And that's exactly the kind of work you're good at—you understand your learners.
So give it a shot. Open a deck, drop in a poll, see the difference it makes. You might be surprised how much more alive your micro-courses feel—and how much more your learners actually take away.
FAQ
Q: How do I add a quiz to my Zendeck micro-course?
Open your deck in Zendeck's editor, select the slide where you want to add the question, choose "Add Interactive Block" from the toolbar, then pick "Quiz". You can type your question, add multiple-choice options, and toggle on an explanation for the correct answer. It takes about 30 seconds per question.
Q: Can I add polls to my micro-course, or just quizzes?
Both. Zendeck lets you add either quizzes or polls directly to any slide. The difference is that polls have no right or wrong answer—they're for gathering opinions, checking baseline knowledge, or letting learners vote on a topic before you dive deeper.
Q: How many questions should I include in a micro-course?
For a 5-to-10-minute micro-course, aim for 3-5 questions placed at natural breaks—after you introduce a key concept or before you move to a new section. That's enough to keep people engaged without turning the course into an exam.
Q: Can I customize the look of my quizzes and polls?
Yes. Zendeck applies your deck's existing fonts and colors to your quizzes and polls, but you can also adjust them individually. Use your Brand Kit to keep everything consistent, or tweak the accent color on a single block to make a question stand out.
Q: Will my quiz results help me improve future lessons?
Absolutely. Zendeck lets you view response summaries per question. If you see a question that 80% of learners get wrong, you now know exactly which part of your course needs a clearer explanation. That's data you can act on.