One-Click Re-Skin: AI Unifies Fonts, Colors & Layout in PPT
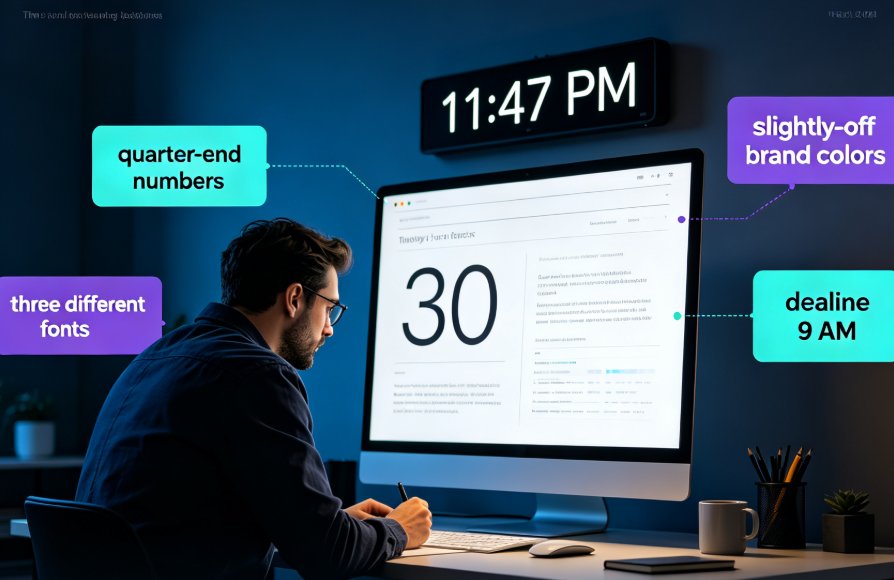
It's 6:47 PM on a Thursday. The email lands in your inbox: "Love the content — but the deck doesn't look like us. Can you match the new brand colors and fix the fonts before Monday?"
You open the file and wince. Slide 3 uses one font, slide 9 uses another. Some titles are centered, some are left-aligned. Half the images are stretched. The palette looks like a crayon box that fell down the stairs. Sound familiar?
Here's what most of us actually do in that moment: we go slide by slide, squinting at font sizes, nudging text boxes, re-picking hex codes. Four to six hours later, the deck is "fine" — until the next brand refresh lands and you get to do it all over again.
There is a faster path. AI-powered one-click re-skinning can unify fonts, colors, and layouts across an entire presentation in well under an hour — with zero design skills required. This guide walks through what re-skinning actually means, how the AI thinks, how you can use it without wrecking your content, and where to keep your hand on the wheel.
01 What "one-click re-skinning" actually means
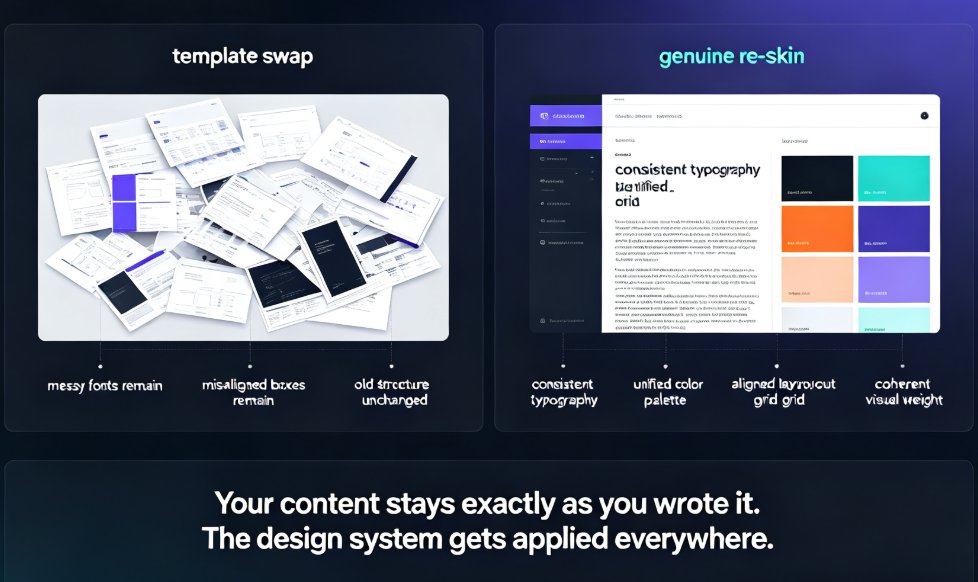
Let's be real: a re-skin is not a template swap. Dragging a new template onto your deck usually just changes the background and leaves all the messy fonts and misaligned boxes untouched. That's exactly why the result still looks broken.
A genuine re-skin is a systematic redesign: every slide gets consistent typography, a unified color palette, aligned layout grids, and coherent visual weight — while your content stays exactly as you wrote it. It is the difference between changing the wallpaper and remodeling the whole room.
| Approach | What changes | What stays the same | Typical effort |
|---|---|---|---|
| Manual slide-by-slide edits | Everything, but inconsistently | Nothing moves together | 4–8 hours |
| Template swap | Background, maybe master slides | Fonts, colors, misalignment remain | 1–2 hours |
| AI one-click re-skin | Fonts, colors, layout, visual style on all slides | Your text, data, and story | 15–30 minutes |
The table above is the honest picture of your options. Notice where the effort lives: the fastest path is also the one that preserves your actual content.
The line between "restyled" and "re-skinned" is consistency. If slide 5 still uses a different font from slide 12, you did a template swap, not a re-skin. Consistency is the whole point — and it is exactly what a machine is better at than any tired human on a Thursday night.
02 The three design sins AI fixes first
Designers talk about "visual noise," but let's call it what it is: amateur mistakes that destroy credibility. Across the deck-review guides published by leading AI presentation teams, the same three problems keep getting flagged over and over. A one-click re-skin is built to fix exactly these.
◉ Sin 1: Font chaos
Using four or five typefaces across one deck signals amateur work instantly. The rule professionals follow is simple: two fonts maximum — one for headings, one for body text. AI re-skinning enforces this pairing automatically, so your headings and body copy finally speak the same language on every single slide.
◉ Sin 2: Clashing colors
When every slide pulls from a different palette, your deck looks less like a story and more like a patchwork quilt. A re-skin maps the entire deck to one brand palette and applies it uniformly — so the accent color you use on slide 2 is the same accent color on slide 22. No more guessing, no more "close enough."
◉ Sin 3: Broken layout
Misaligned boxes, orphaned text, charts overflowing their frames. Low-resolution or stretched images destroy credibility faster than almost any other design mistake. An AI re-skin flags low-resolution assets, fixes alignment, and reflows text so nothing overlaps or floats in the void. It is the cleanup pass you never have time for.
03 How AI diagnoses your deck in seconds
The effective AI presentation tools do not just slap a new skin onto your content. They follow a three-stage repair process that mirrors how a professional designer would approach a broken deck. Understanding this is what separates a good result from a mediocre one.
Stage 1 — Content analysis. The AI parses your file — whether it is a Word outline, Markdown, PPTX, or PDF export — and catalogs every element: text blocks, images, charts, and shapes. It measures text density per slide, counts font variations, checks image resolution, and maps the color palette in use. This diagnostic step takes roughly 3 to 5 seconds for a typical deck.
Stage 2 — Design diagnosis. Now the AI compares your deck against established design rules and flags the violations: too many fonts, low-res images, unbalanced text density, inconsistent spacing. It basically runs the same checklist a designer runs — just in seconds instead of hours.
Stage 3 — Repair. Here is where Zendeck comes in. Instead of just painting over the damage, the platform's smart-layout engine unifies fonts, rebuilds the color system, aligns every element to a grid, and rebalances text blocks — then lets you review every change before you lock it in. This context-aware approach is what modern AI deck tools are moving toward: not "pick a template," but understand your narrative and apply a coherent system to it. If you want to dig into why that shift matters, our guide on why AI deck tools are moving beyond templates is worth a read.
[Link: ./ai-deck-tools-context-aware-design.html]
04 What a real re-skin should touch
A superficial re-skin changes wallpaper. A good re-skin changes everything visual — and nothing factual. Here's the checklist of what should change when you re-skin a deck properly:
Typography. One heading font, one body font, consistent sizes and weights. No more random bold, no more 14-point titles on one slide and 28-point on the next.
Palette. A fixed set of colors — primary, secondary, accent — applied the same way slide after slide, so the deck reads as one visual identity.
Layout grid. Every slide snaps to the same margins and alignment rules, so nothing floats in the void and elements line up the way a designer would line them up.
Charts and visuals. Charts get restyled to match the palette, and low-resolution images are flagged for replacement instead of quietly embarrassing you in front of the client.
And the stuff you don't notice until it is gone: consistent bullet spacing, uniform corner rounding, matching icon styles, balanced text density across the whole deck.
This is the difference between a deck that looks "fine" and a deck that looks deliberate. When the whole system holds together, your audience stops noticing the design and starts hearing the message. That is the outcome you are actually paying for.
05 The 20-minute re-skin workflow
Here is the exact workflow we have used across dozens of decks — with teams, trainers, HR, and content operators who "don't do design" and have said it out loud in meetings. It takes about twenty minutes from start to finish.
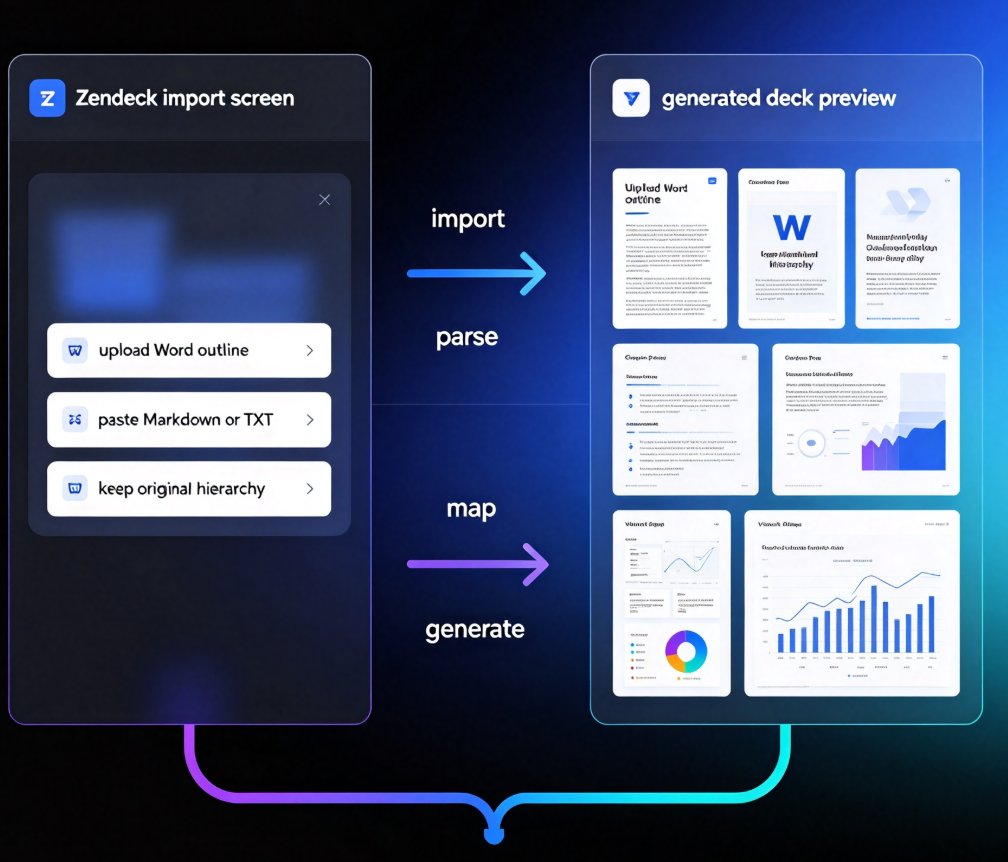
Step 1 — Import. Upload your Word outline or paste your Markdown or TXT into Zendeck. The AI builds a structured draft deck from your content, so you are never starting from a blank white slide.
Step 2 — Pick a direction. Choose a template family that matches the room you are walking into — a boardroom, a classroom, or a product launch. This is the taste part, and it is the one place where your judgment still matters.
Step 3 — One click to re-skin. Apply a theme change. The AI propagates fonts, colors, and layout to every single slide at once. This is the click that used to cost you a whole evening.
Step 4 — Review the delta. Click through the slides and spot-check that your content survived intact. Fix anything the AI got wrong. This should take five minutes, not five hours.
Step 5 — Ship. Export to PPTX or share a link. Done before dinner. For teams that want every deck to look like the same company, our guide to creating a custom brand kit in Zendeck shows how to lock the look in permanently.
[Link: ./5-ways-create-custom-brand-kit-zendeck-consistent-decks.html]
06 What re-skinning costs you (in hours)
Let's put numbers on it. We modeled a typical 40-slide corporate deck that needs a full visual refresh. The results are not subtle.
The honest numbers: a manual redesign eats 6–8 hours of your week. A template swap plus manual cleanup runs 3–4 hours. An AI one-click re-skin lands around 15–30 minutes — and the result is more consistent, because the machine never gets tired and never "forgets" to fix slide 31.
That is the difference between a task you dread and a task you can quietly hand to a machine. If you want the bigger picture on where this automation trend is heading, our piece on AI-driven design automation covers the full shift.
[Link: ./ai-driven-design-automation-smart-layouts-2026.html]
07 Re-skin mistakes to avoid
One-click re-skinning is fast, but it is not magic. Here are the four mistakes I have watched people make — and how to dodge them.
Mistake one: re-skinning before the content is finished. A re-skin is a polish step, not a content fix. Finish your narrative first, then restyle. Otherwise you re-skin twice, which defeats the entire point.
Mistake two: assuming one click means no review. Even the best AI gets the odd thing wrong — a chart label that doesn't fit, a quote you would rather keep in its original color. Budget five minutes to skim. That is a bargain at any price.
Mistake three: chasing a trendy template that fights your brand. The deck should look like your company, not like a design-studio demo. When you pick a direction, ask one question: does this make us look more like us? If the answer is no, move on.
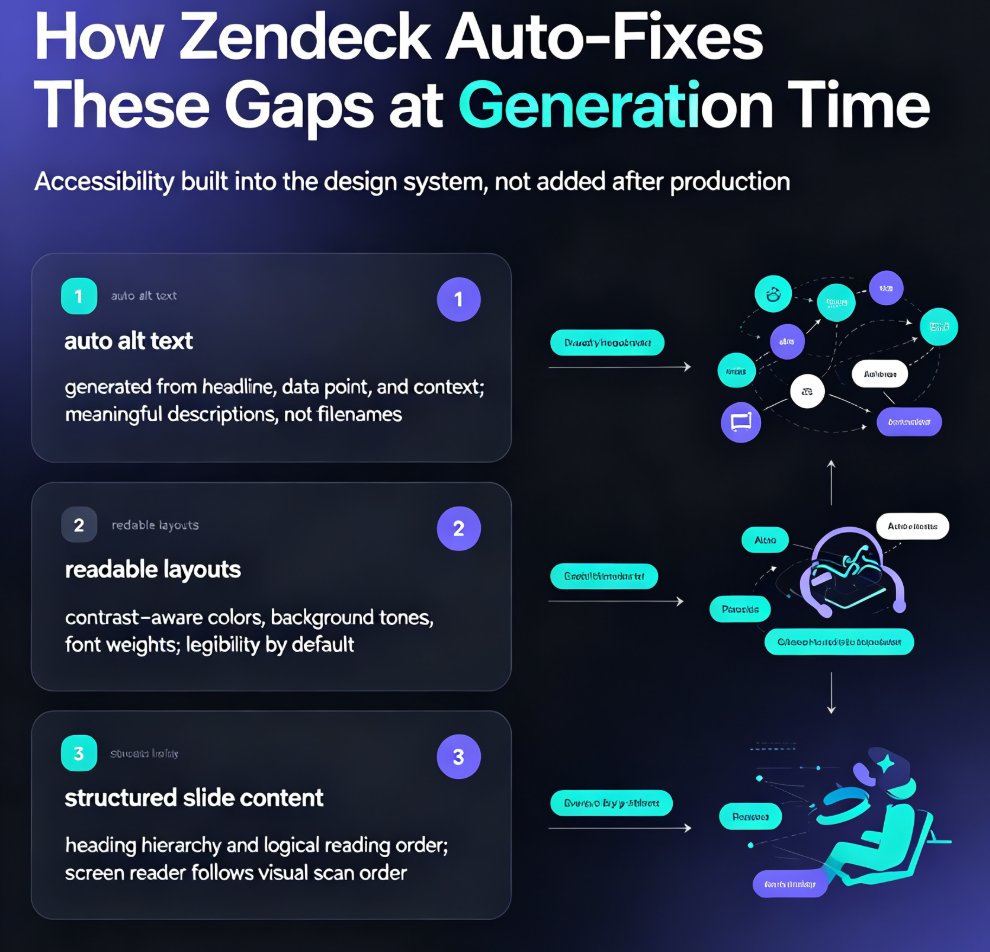
Mistake four: ignoring accessibility. A unified palette is great; a palette with sufficient contrast is better. Accessible AI presentations are genuinely becoming the new baseline, and you can see why in our WCAG deep-dive.
[Link: ./accessible-ai-presentations-wcag-compliance-trend.html]
If you want the full list of gotchas, we have catalogued the five most common AI presentation mistakes and how to dodge them in a separate guide.
[Link: ./ai-presentation-mistakes-avoid-2026-zendeck.html]
The bottom line
If you are still manually re-picking hex codes across 40 slides, you are paying a tax you do not owe. The tools to unify fonts, colors, and layout in one click are mature, fast, and easy enough to hand to anyone on your team — no design background required.
Whether you are prepping a board deck, a training session, or a course module, one-click re-skinning turns the most tedious part of presentation work into a two-step chore: click, review, ship. And that is the entire point — spend your energy on the message, not on the margins.
FAQ
Q: Does one-click re-skin require any design skills?
No. The AI applies the design rules for you — font pairing, color systems, alignment grids — automatically across every slide. Your only job is to review the result and make sure your content stayed intact.
Q: How fast does AI re-skinning actually work?
The diagnostic step takes roughly 3 to 5 seconds for a typical deck, and a full re-skin of a 40-slide presentation lands in the 15–30 minute range including review time — versus 6–8 hours of manual editing.
Q: Will re-skinning change or lose my content?
No. A re-skin changes the visual system — fonts, colors, layout, and chart styles — while preserving your text, data, and narrative. Think of it as a new wardrobe for the same person, not a new script.
Q: Can I re-skin just part of a deck?
Yes. Most tools, including Zendeck, let you apply changes selectively — a single slide, a section, or the whole deck. That is useful when a client has already approved some slides and you only need to refresh the rest.
Q: What file formats can I start from?
Common inputs include PPTX, PDF, Word outlines, and Markdown or TXT files. You import the file, the AI builds a structured deck from your content, and then you re-skin it in one click.