Word to PPT in Minutes: Zendeck's AI Import for Busy Teachers
Word to PPT in Minutes: Zendeck's AI Import for Busy Teachers
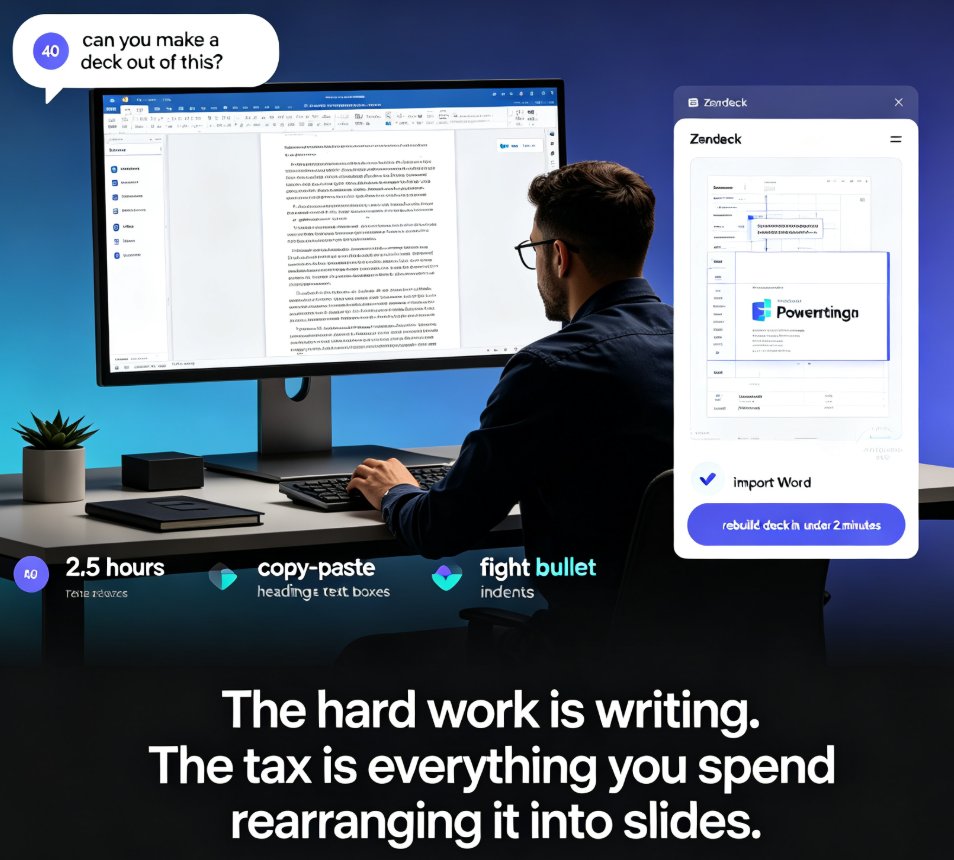
It's Sunday night. You've just finished typing up your lesson outline in Word — the objectives, the key points, the discussion questions. Then you stare at the blank PowerPoint template and think: "I have to do this all over again?"
That's the moment most teachers lose an hour of their weekend. Copying text into text boxes, resizing fonts, hunting for icons, fixing misaligned titles. It's not design work — it's data entry with extra steps. And it's exactly the kind of repetitive formatting that AI should handle for you.
Zendeck's Word import turns a finished outline into a polished slide deck in minutes — no copy-paste, no manual formatting, no design skills required.
Let's walk through how it works, why it beats the old workflow, and how to get the best results from your Word files.
01 Why manual copy-paste is quietly eating your prep time
Let's be honest: most teachers don't enjoy making slides. They enjoy teaching. But the deck has to exist — for the lesson, for the substitute teacher, for the students who missed class.
The manual workflow looks like this:
- Open Word and PowerPoint side by side.
- Copy a paragraph, paste it into a text box.
- Shrink the font so it fits.
- Repeat for the next 15 slides.
- Realize the title font changed halfway through.
- Spend another 20 minutes fixing inconsistencies.
A typical 20-slide deck built by hand takes most educators 45 to 90 minutes — and most of that time is spent on formatting, not content.
The pain isn't just the time. It's the cognitive drain. Every minute you spend nudging text boxes is a minute you're not thinking about how to explain a concept clearly, or how to sequence the lesson for different learning levels.
02 How Zendeck's Word import works: from outline to slides
Here's the part that feels almost too easy. You don't build the deck in Zendeck. You build it in Word — where you're already comfortable — and let Zendeck do the translation.
◉ Step 1: Structure your Word doc with headings.
Use Heading 1 for slide titles and Heading 2 (or body text) for the content under each. Zendeck reads that structure and maps each heading to a slide.
◉ Step 2: Upload or paste.
Drop your Word file into Zendeck, or paste the content as Markdown or plain text. The import recognizes your outline instantly.
◉ Step 3: Pick a template.
Zendeck suggests templates that match your content type — a lecture deck, a training module, a workshop. You pick one, and the AI applies the layout, fonts, and colors.
◉ Step 4: Review and refine.
The generated slides come out structured and consistent. You tweak wording, reorder slides, or swap visuals — but you're editing, not building from scratch.
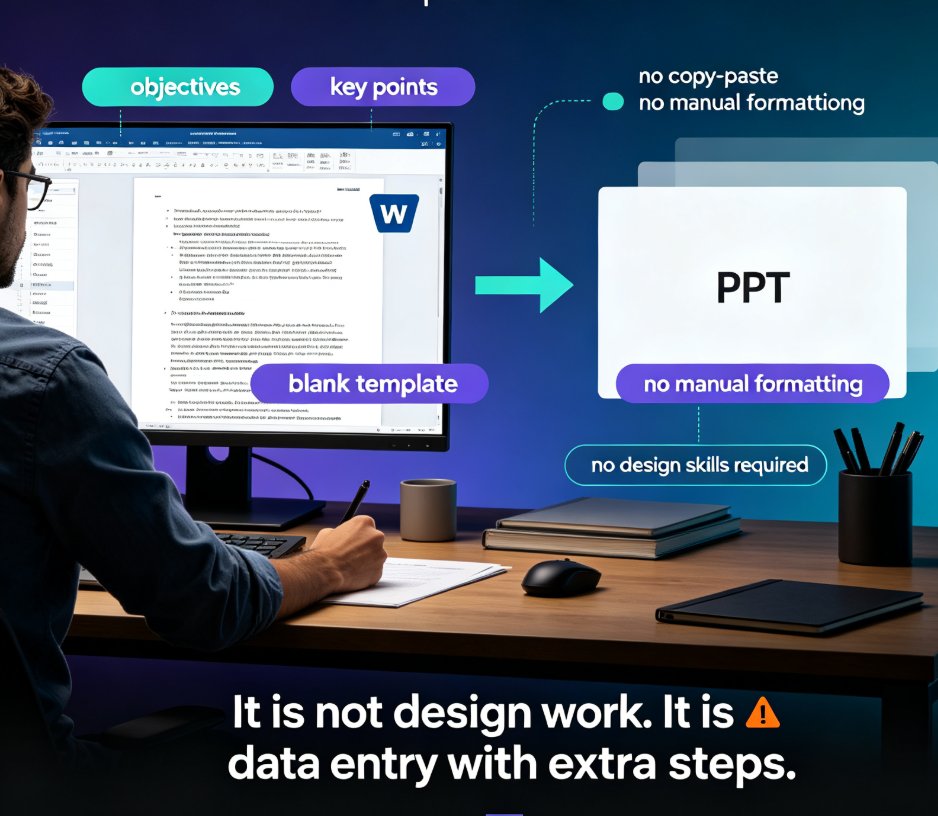
The key difference from a simple "paste into PowerPoint" is that Zendeck understands document structure. It doesn't dump your whole Word file onto one slide. It reads your headings, breaks the content into logical slides, and applies a consistent visual system.
03 What actually makes the output look good (it's not magic)
You might be thinking: "Fine, it imports text. But will it look like a real presentation, or like a wall of text?"
Fair question. The difference comes down to three things Zendeck handles automatically.
◉ Will it look like a real presentation or a wall of text?
Smart layout. Each slide gets a balanced arrangement — title, body, and space for visuals. No more text overflowing the slide edge or awkward empty gaps.
◉ How does Zendeck keep the design consistent?
Consistent design tokens. Fonts, colors, and spacing stay uniform across every slide. If you have a school or department brand, you can apply a custom brand kit so every deck matches your visual identity.
◉ Where do the icons and visuals come from?
Visual suggestions. Zendeck's asset library suggests icons, charts, and illustrations that fit your content. A slide about photosynthesis gets a plant icon, not a random gear.
The result is a deck that looks like someone with design training built it — because the design decisions are handled by the system, not left to your font menu.
04 Side by side: the manual workflow vs Zendeck's AI import
Let's put the two workflows next to each other for a typical 20-slide lesson deck:
| Task | Manual (Word → PPT) | Zendeck AI Import |
|---|---|---|
| Getting text into slides | Copy-paste slide by slide | Auto-detects headings and body text |
| Applying layout | Drag, resize, realign text boxes | Smart layout applied automatically |
| Adding icons and visuals | Search and insert one by one | Auto-suggested from the asset library |
| Keeping fonts consistent | Manual font changes per slide | One-click reskin / brand kit |
| Typical total time | 45–90 minutes | 3–10 minutes |
The chart below shows where those minutes actually go — and why the gap is so wide:
Chart values are typical estimates for a 20-slide deck; your actual times will vary, but the ratio is the point.
When the formatting work drops from roughly an hour to a few minutes, the bottleneck stops being design and becomes your own thinking — which is exactly where it should be.
05 Tips for structuring your Word doc before you import
Zendeck does the heavy lifting, but a little prep on your end makes the output dramatically better. Here are the habits that work:
Use real heading styles, not bold text. If you've been "formatting" by making text bold and larger, stop. Apply Word's actual Heading 1 and Heading 2 styles. Zendeck reads those styles to understand your slide structure.
Keep each slide's content short. A heading plus 3–5 bullet points is ideal. If a section has a wall of text, split it into two slides. Your future students will thank you.
Write slide titles as phrases, not sentences. "Cellular Respiration: Overview" works better than "Today we are going to learn about the process of cellular respiration."
Add speaker notes if you have them. Notes you include in the Word doc can carry over, giving you a head start on what you'll say during class.
One more thing: if you're building a deck for a training session or a workshop rather than a classroom lesson, the same workflow applies — and Zendeck's template library has options tuned for trainers. Check out the trainer-focused template guide for ideas.
06 Beyond slides: turning your deck into a micro-course
Here's where the time savings compound. Once your deck exists in Zendeck, it doesn't have to stay a static slide file.
Zendeck can turn your finished deck into a narrated video — a micro-course your students can watch on their own time. This is huge for flipped classrooms, review sessions, and students who need to revisit a concept at their own pace.
The workflow is simple: add narration to your slides, and Zendeck generates the video with synchronized subtitles. Your Word outline becomes a lesson deck, which becomes a video — all from the same source content.
If you're curious about how this fits into the bigger picture of AI-assisted teaching, the AI courseware category has more on turning outlines into complete learning experiences. And for the broader trend of AI handling the whole path from text to video, this overview of AI agents in course creation is worth a read.
FAQ
Can Zendeck import a Word document directly? Yes. You can upload a Word file or paste its content as Markdown or plain text. Zendeck reads the document structure — headings, body text, and notes — and converts it into a structured slide deck automatically.
Do I need to format my Word doc in a special way first? A little. Use Word's Heading 1 style for slide titles and Heading 2 for content under each title. Keep each section short — a heading plus 3–5 bullet points works best. The cleaner your outline, the cleaner your slides.
Will the slides look professional, or will they be plain text dumps? Professional. Zendeck applies smart layouts, consistent fonts and colors, and suggests relevant icons and visuals from its asset library. You can also apply a custom brand kit to match your school or department's visual identity.
Can I edit the slides after Zendeck generates them? Absolutely. The generated deck is fully editable — you can reorder slides, tweak wording, swap templates, or reskin the whole deck with one click. The AI does the initial build; you keep control of the final result.
Can I turn the finished deck into a video for my students? Yes. Zendeck's PPT-to-video feature adds narration and auto-generated subtitles, turning your deck into a micro-course students can watch on demand. It's a great way to create review materials or flipped-classroom content from the same outline.
That's the full workflow. Next time you're staring at a Word document and dreading the slide-building grind, remember: the formatting is not the job. The teaching is. Let Zendeck handle the busywork.