Turn a Word Outline into a Polished PPT with Zendeck in Minutes
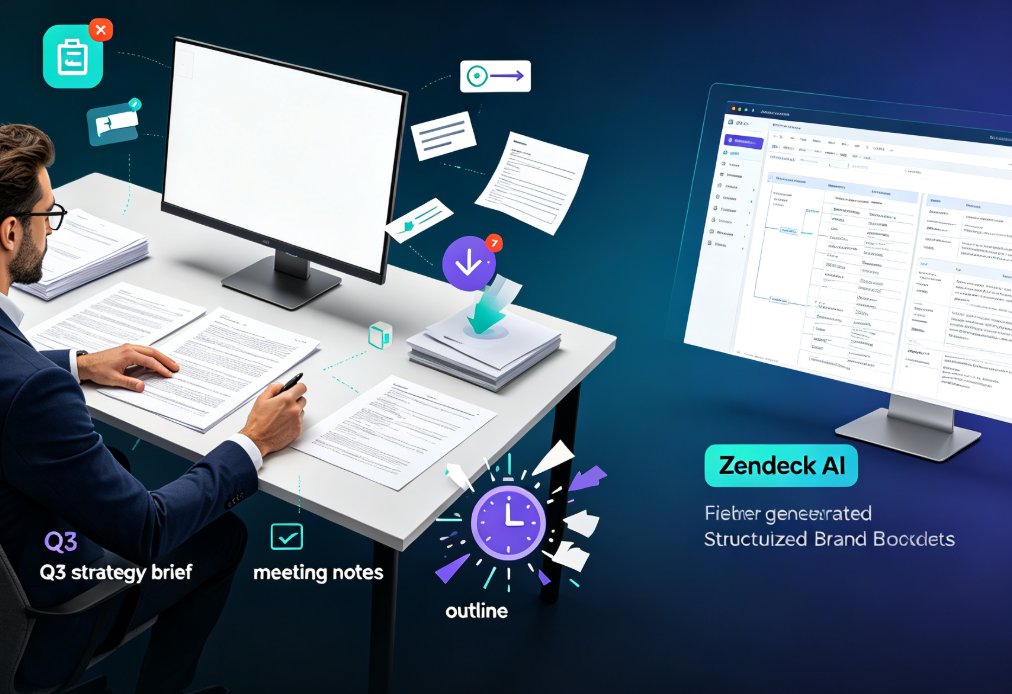
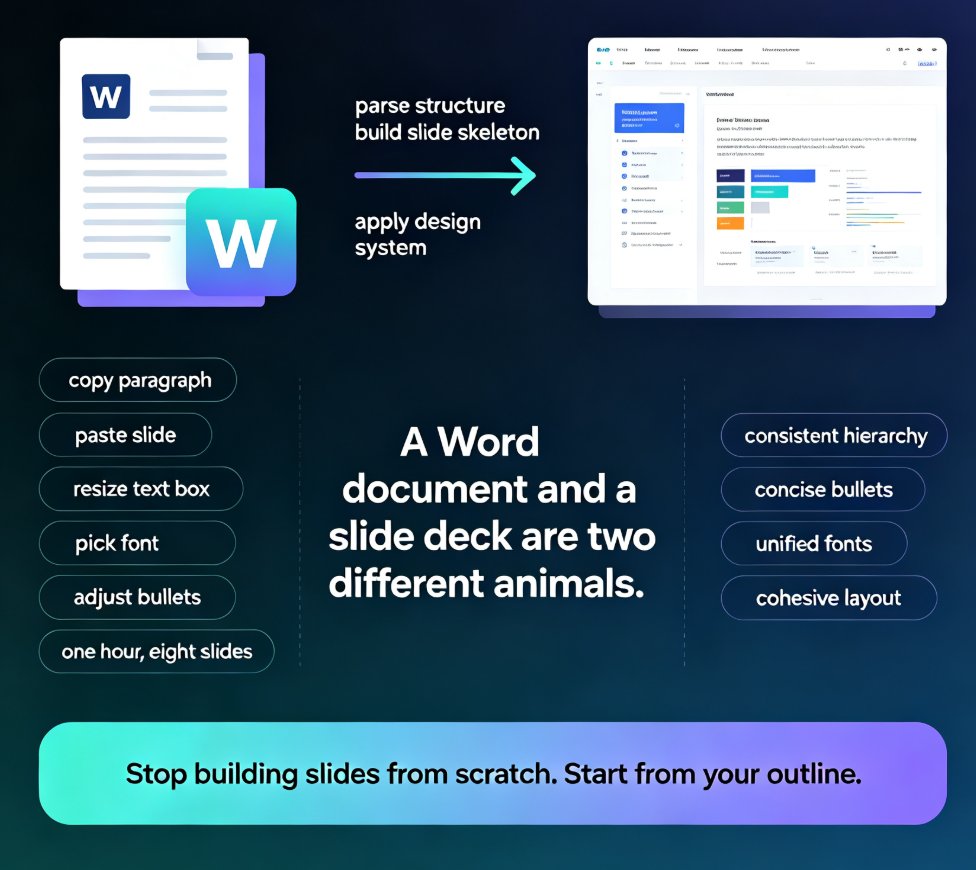
Let's be honest: you didn't lose time because you can't write content. You lost time because you had to reformat words you already wrote into slides. You've got a Word document, maybe 30 pages of solid training material or a detailed course outline, and the clock says you need a deck by EOD. So you open PowerPoint, start a new file, and spend the next four hours copying, trimming, aligning, and wondering why the fonts never match.
There's a better path. Zendeck turns your existing Word outline into a polished, editable PPT in minutes—so you stop rebuilding presentations from a blank canvas and start with the material you already own. This guide walks through the exact workflow, the formatting habits that produce better slides, and the options for exporting a deck that looks like a designer built it.
I. Why Your Word Document Is Already Half a Presentation
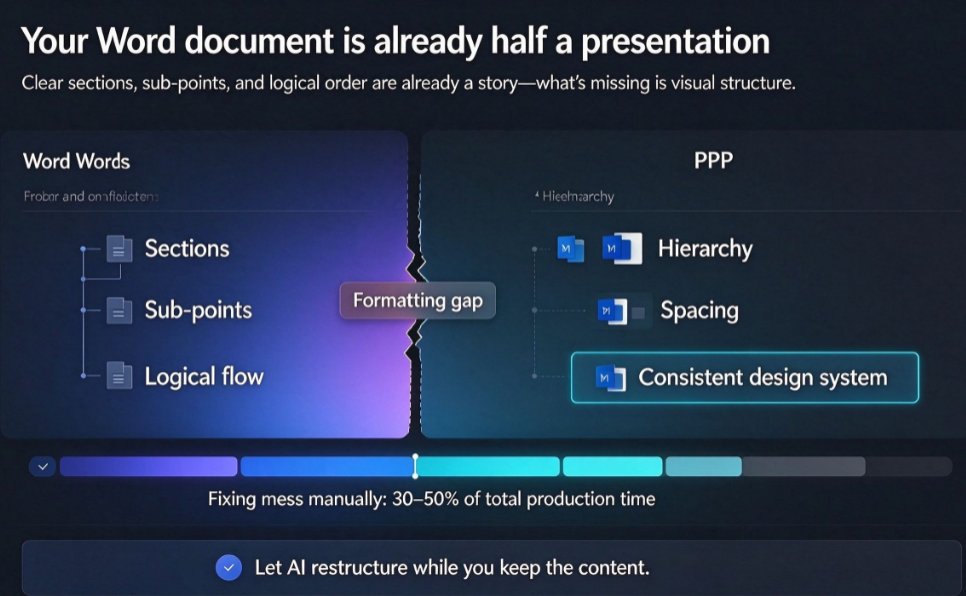
Most people treat a Word outline like a raw material that needs to be crushed and remixed. That's a mistake. If your document has clear sections, sub-points, and a logical order, it's already a story. What's missing is visual structure: hierarchy, spacing, and a consistent design system.
The pain point is real. Copy-pasting from Word into PowerPoint introduces broken formatting, orphaned bullets, and a mess of inconsistent fonts. Fixing that mess manually eats 30–50% of your total production time, even before you think about design.
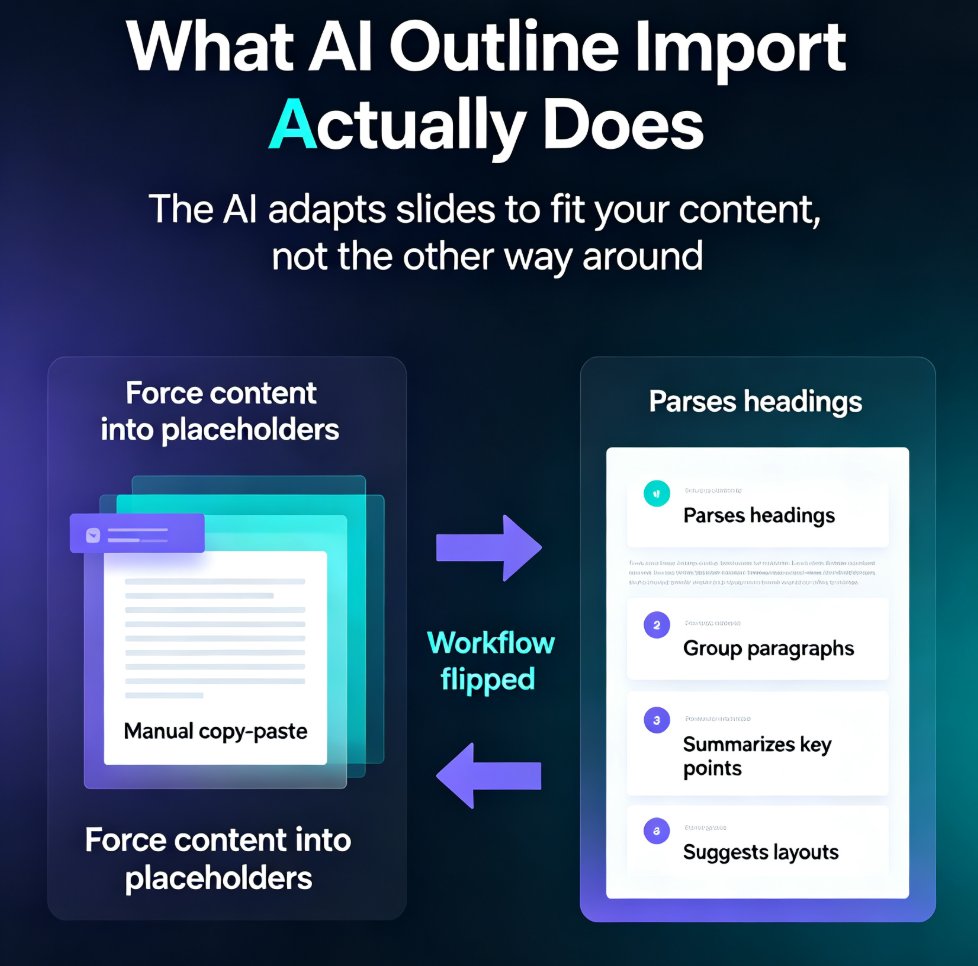
The solution is to let AI do the restructuring while you keep the content. When you upload your outline to Zendeck, the platform doesn't just paste your text into a template. It analyzes the structure, groups related points into slide sections, and creates a logical flow your audience can follow. Your Word document becomes a framework, not a chore.
The outcome? A structured draft in minutes, not hours, with the content intact and the layout handled. For a corporate trainer with six courses to update each quarter, that difference adds up to roughly eight to ten hours saved every cycle.
II. Three Rules for Preparing Your Outline (Before You Import)
You don't need to reformat your entire document. But you should follow three light rules that make the AI's job easier and the output sharper.
Rule 1: Keep the hierarchy honest. If you use Word's built-in Heading 1 for section titles and Heading 2 for sub-points, Zendeck's AI detects that hierarchy and maps it to slide titles and bullet layers. If your document is pure paragraphs, the AI will still work—it groups points by topic—but clean headings deliver cleaner slides.
Rule 2: Cut the filler before you import. Long paragraphs with tangential anecdotes become messy slides. Trim each section to its core statements. Think of your outline as a skeleton, not the full body. You'll add flesh back in the editor if needed. This one habit reduces the edits after generation by about half.
Rule 3: Decide the audience and tone upfront. If your deck is for boardroom approval, you want concise, decision-oriented slides. If it's for a training cohort, you want more explanation and examples. Zendeck's import pipeline lets you specify length, density, and tone—set those parameters before generating, and the AI tailors the wording and slide distribution accordingly.
A quick tip, the kind your colleague would tell you over coffee: name your files descriptively before upload. "Q3-New-Hire-Training.docx" beats "Document3.docx" every time. You'll thank yourself when you're managing ten generated decks later.
III. The Import Workflow: From Outline to Draft in Four Steps
Here's the step-by-step path inside Zendeck. No design skills required, and you can stop worrying about formatting.
Step 1: Upload or paste. You have options. Upload your Word document directly, paste Markdown or plain text, or drop a TXT file. No pre-formatting needed. This is the feature that separates Zendeck from tools that force you to build slides one by one.
Step 2: Set your parameters. Customize the slide count, the density of content, and the tone. Tell the AI which points to emphasize. If you're not sure, let the defaults run—they're tuned for professional readability. You can always adjust after generation.
Step 3: Pick a theme (or let Zendeck choose). You'll get a selection of professionally designed templates. If you're short on time, Zendeck's context-aware selection picks a style that matches your content type—educational decks get a clean, structured look; business pitches get a bolder layout. You can skip the browsing and trust the engine, then reskin later.
Step 4: Generate and review. The AI crafts your outline into a working draft: structured slides, polished wording, and a consistent visual system. From here, you're not starting from zero. You're revising a draft, which is a fundamentally different—and faster—way to work.
Let's break down what this looks like in practice. Take a 15-page training manual. Manually, you'd spend 30 minutes copying content, 45 minutes trimming it to fit slides, and two hours on formatting. With Zendeck, the draft is ready before your coffee cools. You spend that time on the edits that matter: adding a real-world example, adjusting a chart, or polishing a slide title.
IV. From Draft to Deck That Looks Like a Designer Built It
Generating the draft is only half the story. The second half is making it look polished, and this is where Zendeck's design automation quietly shines.
The smart layout does the heavy lifting. One-click reskinning unifies fonts, colors, and spacing across every slide. This matters deeply if your source document had inconsistent styles. Instead of manually matching font sizes in PowerPoint, you hit reskin and the whole deck falls into line. It's the difference between a deck that looks assembled and one that looks designed.
Contextual templates beat generic ones. This is not just marketing talk. As the trends in AI presentation tools show, the old model of "choose from 500 generic thumbnails" is giving way to templates that respond to your content's context. Zendeck's template selection evaluates your material and suggests a visual language that fits the subject matter and audience. A boardroom review deck shouldn't look like a kindergarten workshop, and a training module shouldn't look like an investor pitch.
You keep full control. After generation, everything is editable. Swap text, replace icons from the asset library, adjust charts, or reorder slides. The AI sets the baseline; you set the final polish. If you have a brand kit, you can enforce it here too, ensuring every deck across your team matches your corporate colors and fonts. This is the point where Zendeck moves from a generator to a genuine design tool.
| Task | What You Normally Do | What Zendeck Does | Time You Get Back |
|---|---|---|---|
| Content transfer | Copy, paste, trim manually from Word to PPT | Imports and structures your outline directly | 30–45 minutes per deck |
| Slide layout | Align boxes, adjust fonts, tweak spacing | Applies smart layout and one-click reskin | 1–2 hours per deck |
| Template selection | Scroll endless generic thumbnails | Suggests context-aware theme automatically | 10–15 minutes per deck |
| Brand consistency | Manually match colors and fonts | Custom brand kit enforces consistency | 20–30 minutes per deck |
| Final formatting | Check for orphaned bullets and broken text | Structured import eliminates most issues | 15–20 minutes per deck |
Table: Typical time savings when converting a Word outline to a 20-slide deck using Zendeck's import pipeline.
V. Beyond the Deck: Export and Repurpose Your Slides
Once your deck is polished, you're not done—you've got options. Zendeck lets you export to PowerPoint (PPTX), PDF, or PNG formats. That covers the classic use cases: emailing a deck, printing handouts, and presenting live.
But here's the part busy trainers care about: you can turn that finished deck into a micro-course. Zendeck's PPT-to-video feature adds narration and generates subtitles automatically, turning your static slides into a narrated video you can drop into an LMS or share with remote team members. This transforms a one-time presentation into reusable learning content. If you've already spent the brainpower writing a solid outline, why not get a video out of it too? That's the difference between creating a single asset and building a small library.
A note on privacy: if you're handling sensitive training material or proprietary internal documents, check how the platform you use treats your data. Zendeck's approach is designed with enterprise and educational use in mind, which matters more as institutions and companies tighten their data policies.
VI. What You Can Do Next (Without a Design Degree)
The workflow you just read is repeatable, and it gets faster with practice. Let me leave you with three concrete action items:
- Start with your messiest document. The one you've been putting off turning into slides. That's the highest-leverage use case, and it'll sell you on the process faster than any tutorial.
- Play with the parameters. Slide count, tone, density. Run the same outline twice with different settings and compare. You'll learn what your audience responds to and what your content needs.
- Build a brand kit once, use it forever. If you're preparing decks for a team, set up your brand kit early so every generated deck automatically aligns with your visual identity.
Finally, remember the goal. The best presentation tool isn't the one with the most features—it's the one that removes the distance between your written material and a deck your audience actually enjoys watching. Zendeck closes that gap by treating your existing words as the starting point, not the obstacle. And that's exactly the right way to work.
FAQ
What file formats can I import into Zendeck to create a PPT?
You can upload a Word (.docx) outline directly, paste Markdown or plain text, or drop in a TXT file. This includes rough notes, meeting minutes, training scripts, and course outlines—no slide-by-slide formatting required before import.
Do I need to use specific heading styles in Word for Zendeck to structure the deck?
Strictly speaking, no. Zendeck's AI analyzes your content's hierarchy and groups related points into sections. That said, using Word's built-in Heading 1, Heading 2, and Heading 3 styles makes the AI's job even more accurate, so you get cleaner slide titles and a more logical flow.
How long does it take to turn a Word outline into a full presentation?
Most users go from uploaded outline to a structured deck with a smart layout in under 10 minutes. A 20-slide training deck that might take 4–6 hours to build manually from scratch is typically ready for revision in about 20–30 minutes, including template selection and minor edits.
Can I edit the generated slides, or am I stuck with the AI's output?
You're never stuck. Zendeck produces an editable deck you can refine in the online editor: swap text, replace icons, adjust charts, reorder slides, or apply one-click reskins to change the theme. You retain full control over the final look and content.
What can I export my finished deck as?
You can export as PowerPoint (PPTX) for offline use and sharing, as PDF for a fixed layout, or as PNG images. You can also turn the finished slides into a narrated micro-course via Zendeck's PPT-to-video feature using auto-generated voiceover and subtitles.